Windows
To connect a Windows device to AdGuard DNS, first add it to Dashboard:
- ダッシュボードに移動し、「新しいデバイスを接続」をクリックします。
- 「デバイスタイプ」のドロップダウンメニューから Windows を選択してください。
- デバイスに名前を付けます。
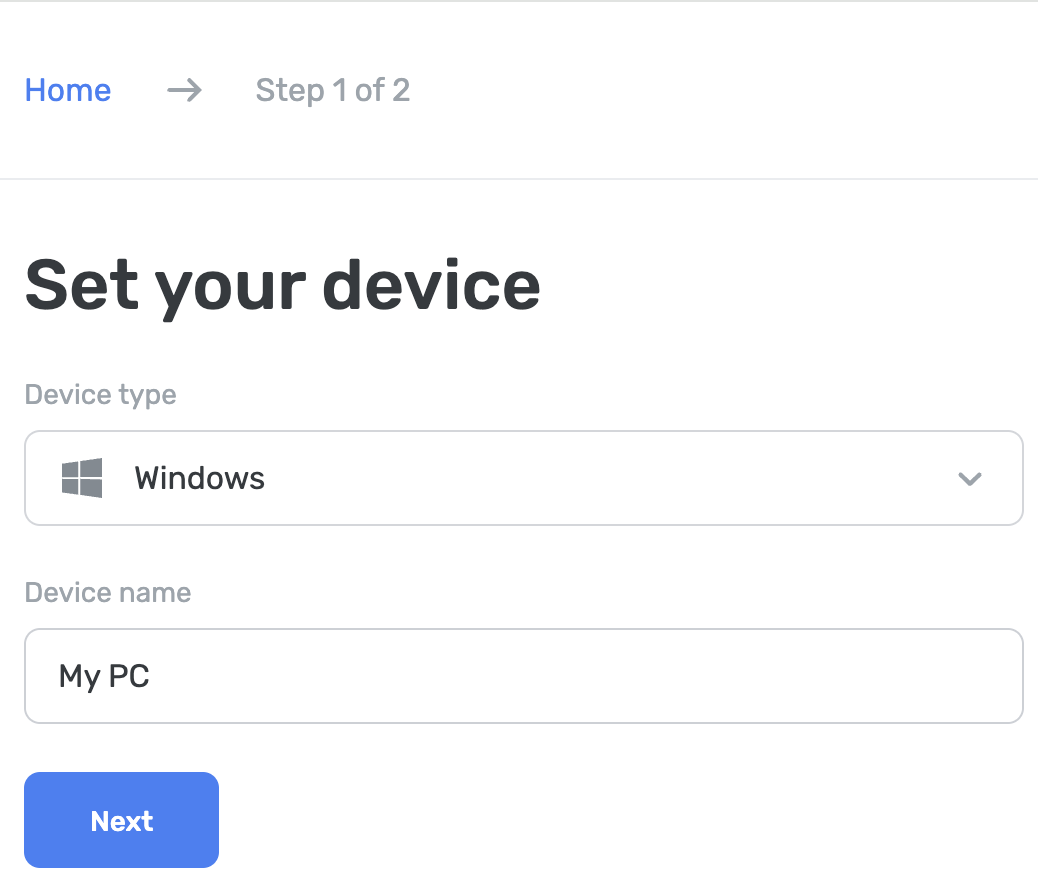
You can set it up via AdGuard or AdGuard VPN apps, in Windows settings, or using the AdGuard DNS Client.
AdGuard 広告ブロッカーアプリを使用する(有料オプション)
The AdGuard app lets you use encrypted DNS, making it perfect for setting up AdGuard DNS on your Windows device. 様々な暗号化プロトコルから選択することができます。 DNSフィルタリングに加えて、システム全体で機能する優れた広告ブロッカーも手に入っちゃうことがメリットです。
- Install the app on the device you want to connect to AdGuard DNS.
- アプリを開きます。
- Click Settings at the top of the app’s home screen.
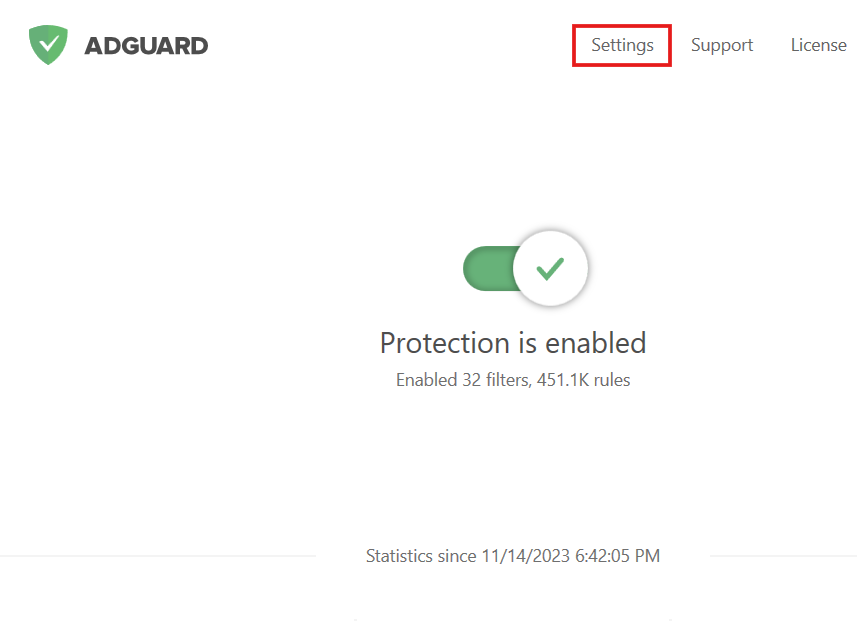
- Select the DNS Protection tab from the menu on the left.
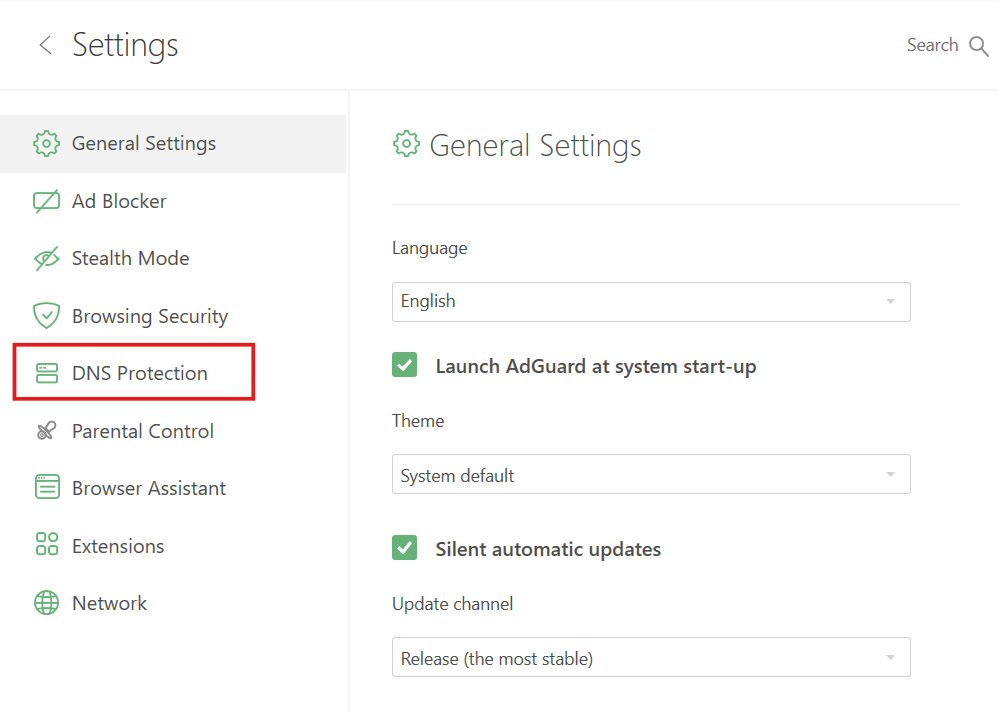
- Click your currently selected DNS server.
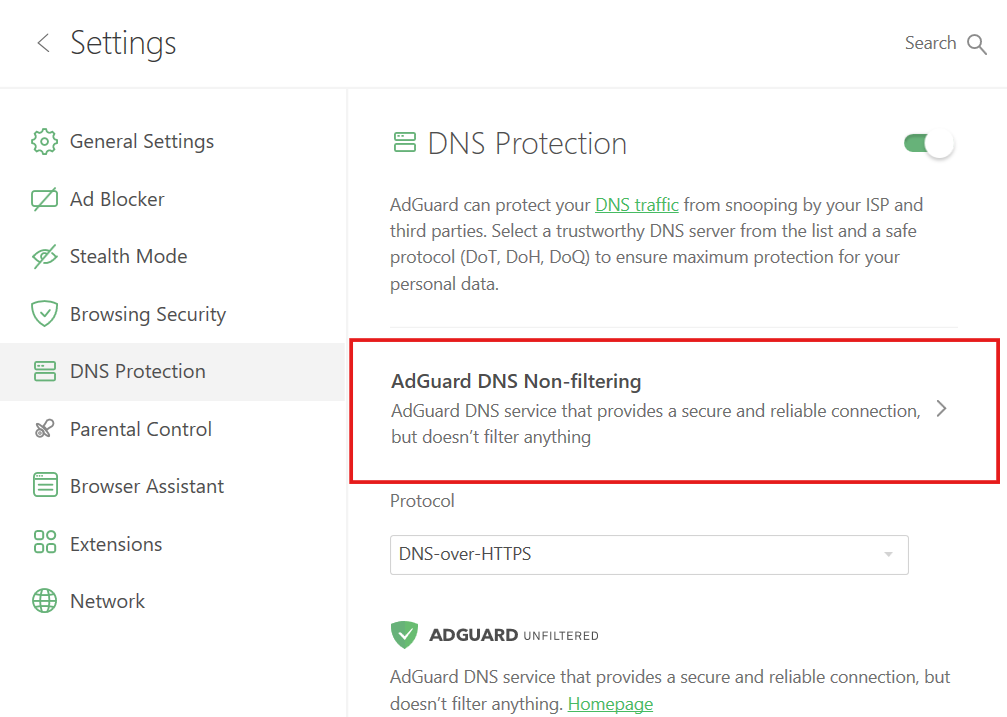
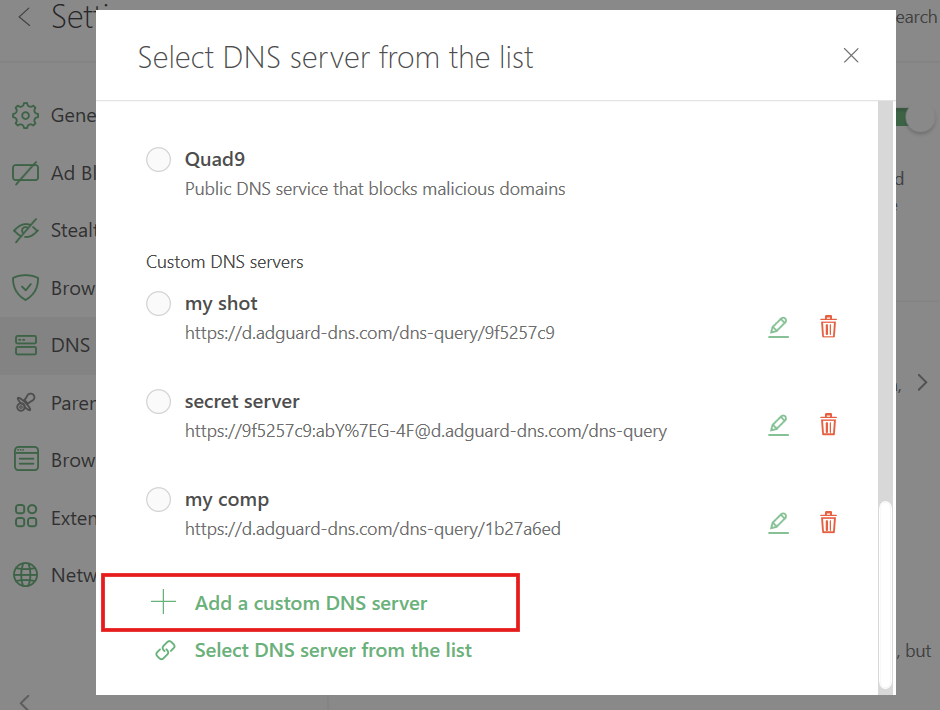
- Scroll down and click Add a custom DNS server.
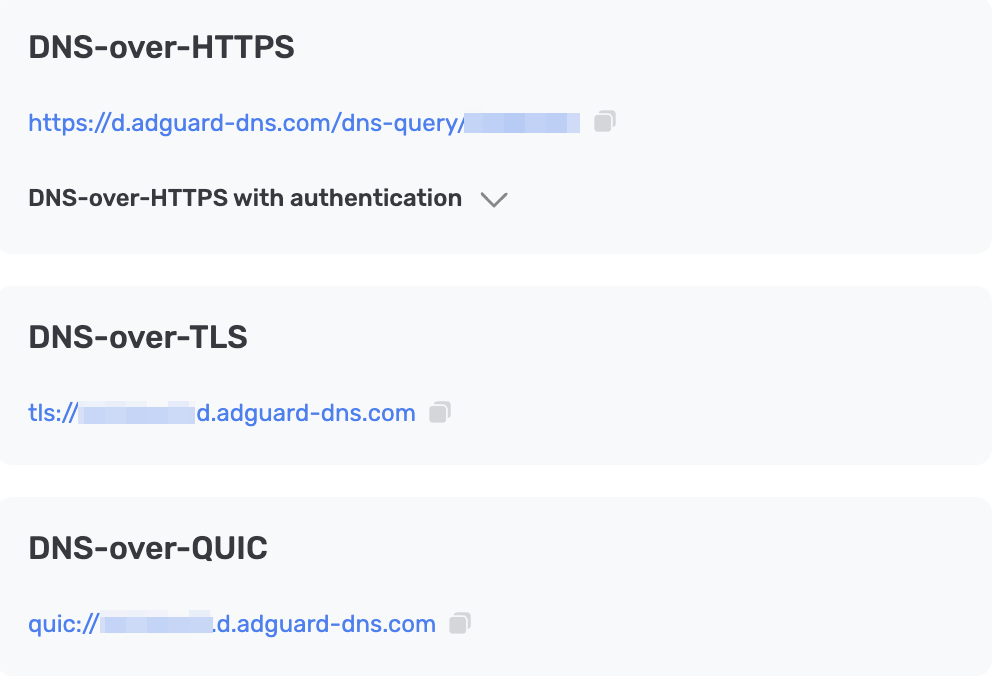
- In the DNS upstreams field, paste one of the following addresses. If you’re not sure which one to prefer, choose DNS-over-HTTPS.
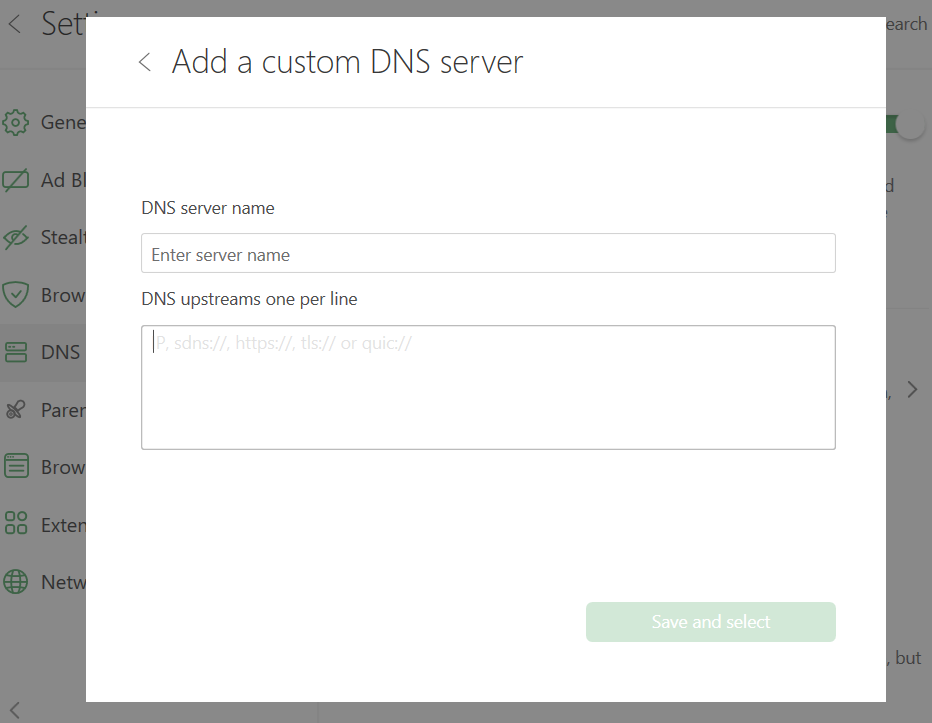
- 「保存して選択する」をクリックします。
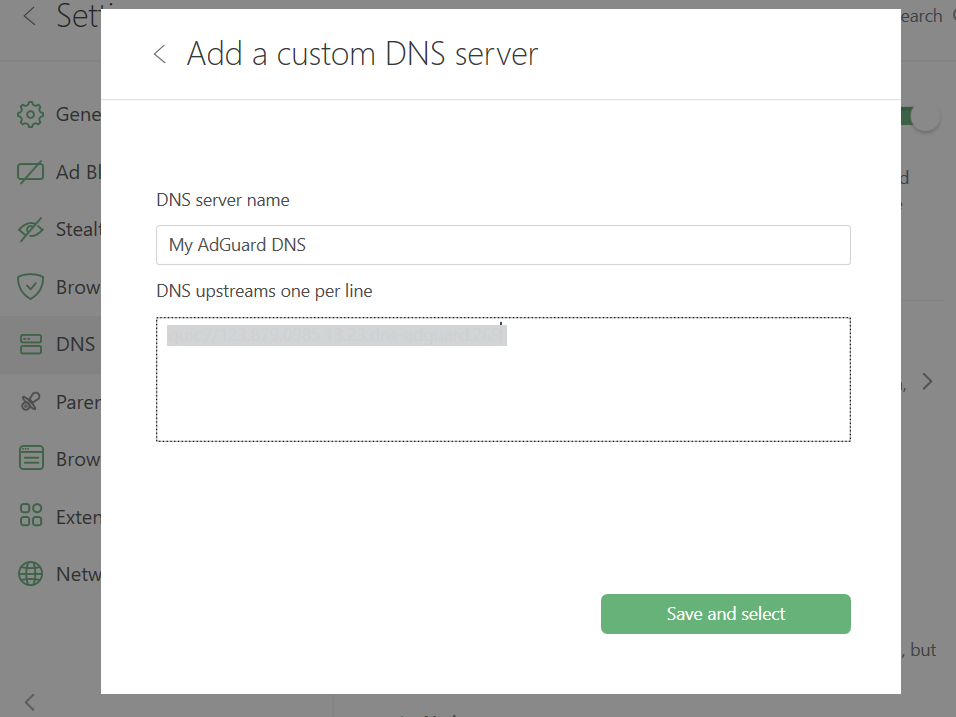
- 追加したDNSサーバーは、「カスタムDNSサーバー」リストの一番下に現れます。
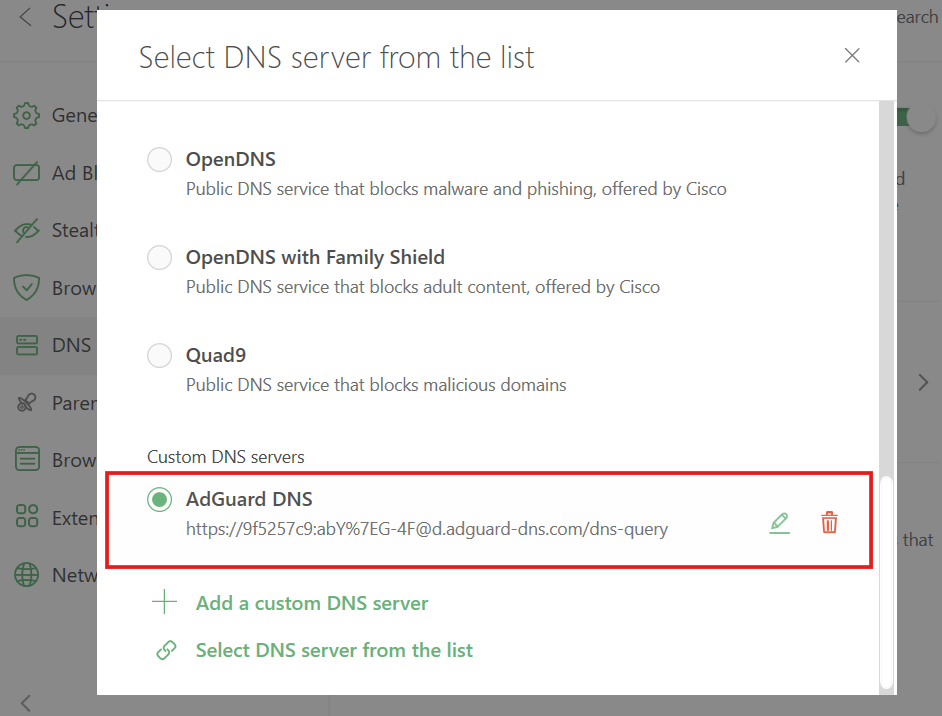
All done! Your device is successfully connected to AdGuard DNS.
AdGuard VPN を使用する
VPNサービスの中には、暗号化DNSをサポートしていないものもあります。しかし、AdGuard VPN は対応しているので、VPNとプライベートDNSの両方が必要な場合、AdGuard VPN がベストチョイスになります。
- Install AdGuard VPN.
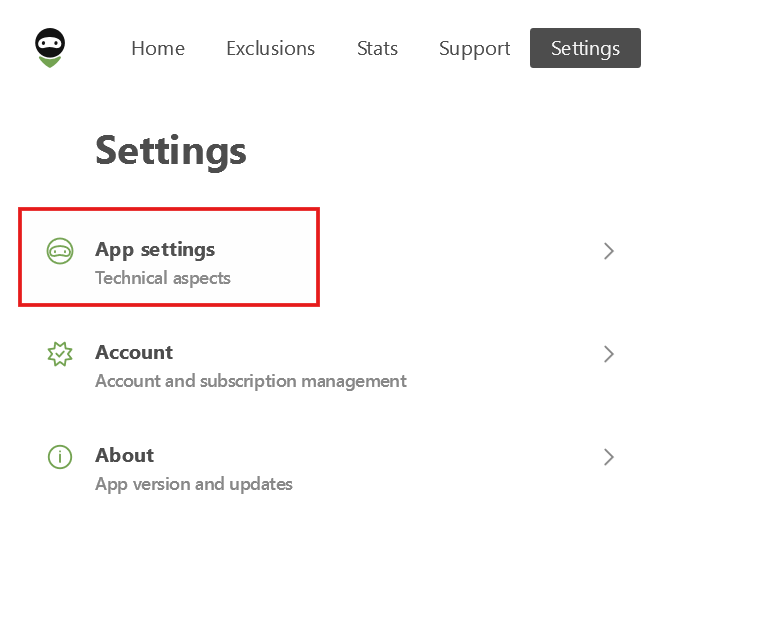
- Open the app and click Settings.
- Select App settings.
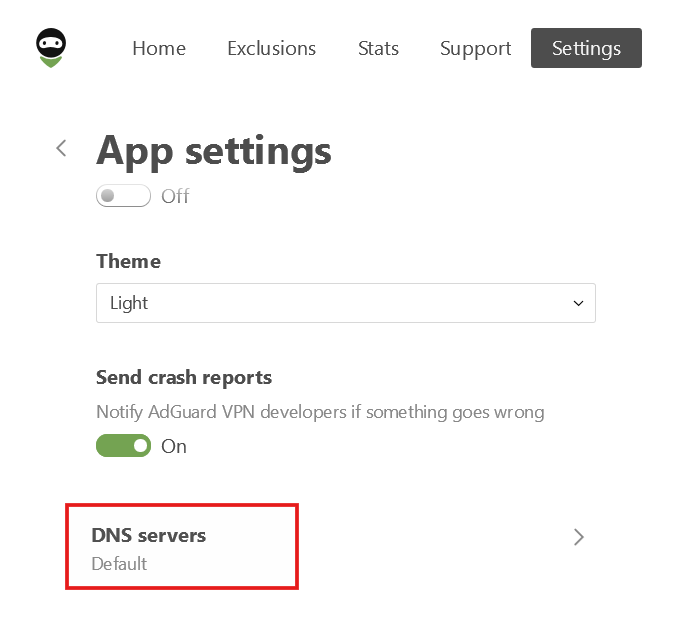
- Scroll down and select DNS servers.
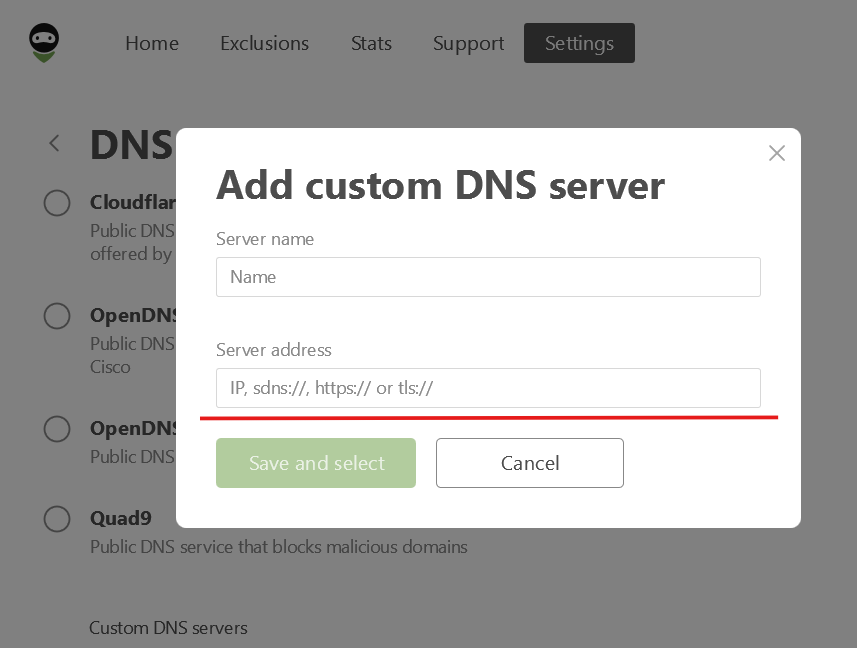
- Click Add custom DNS server.
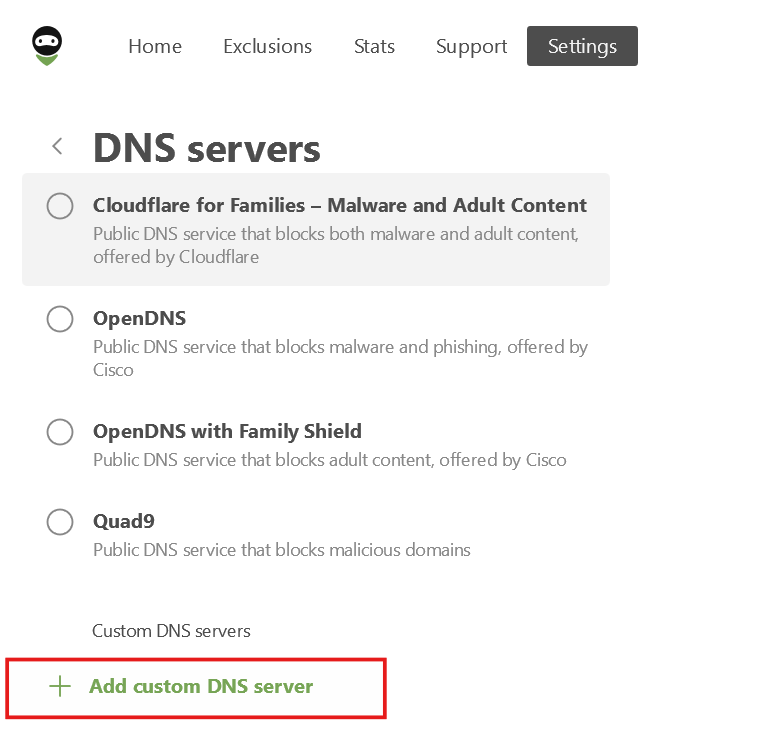
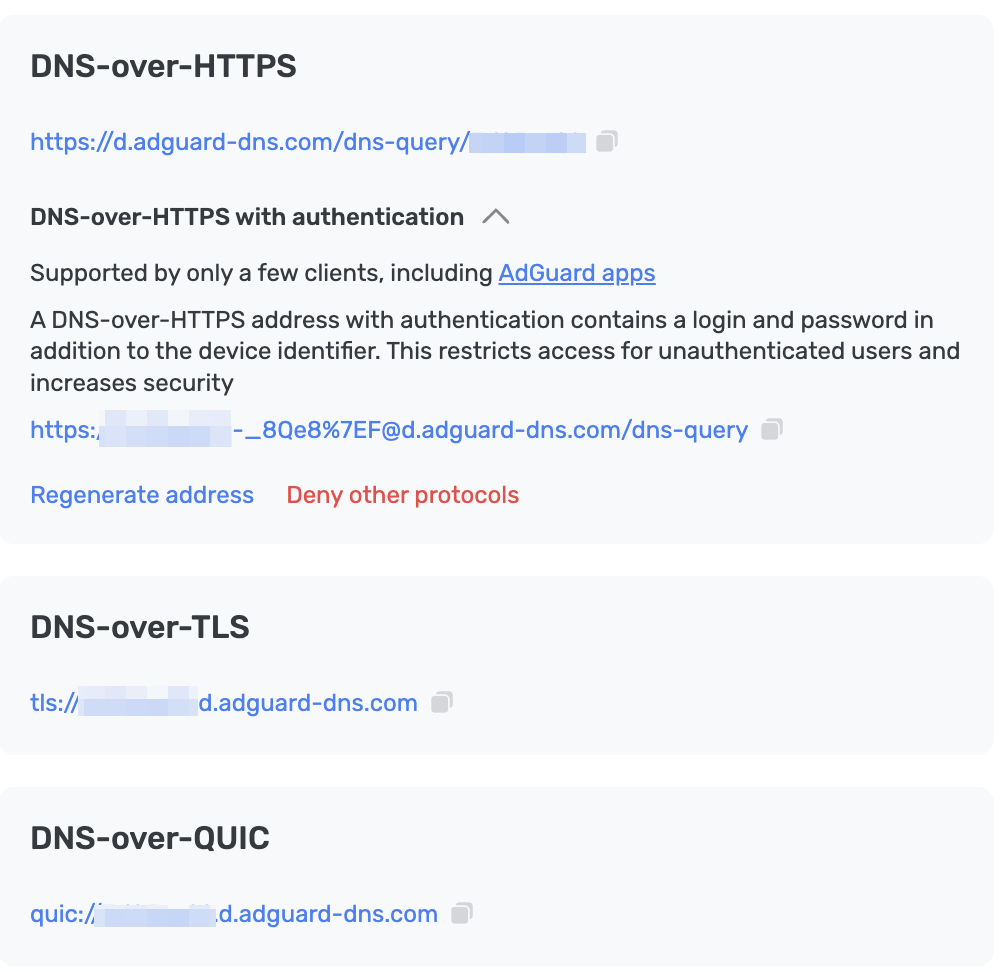
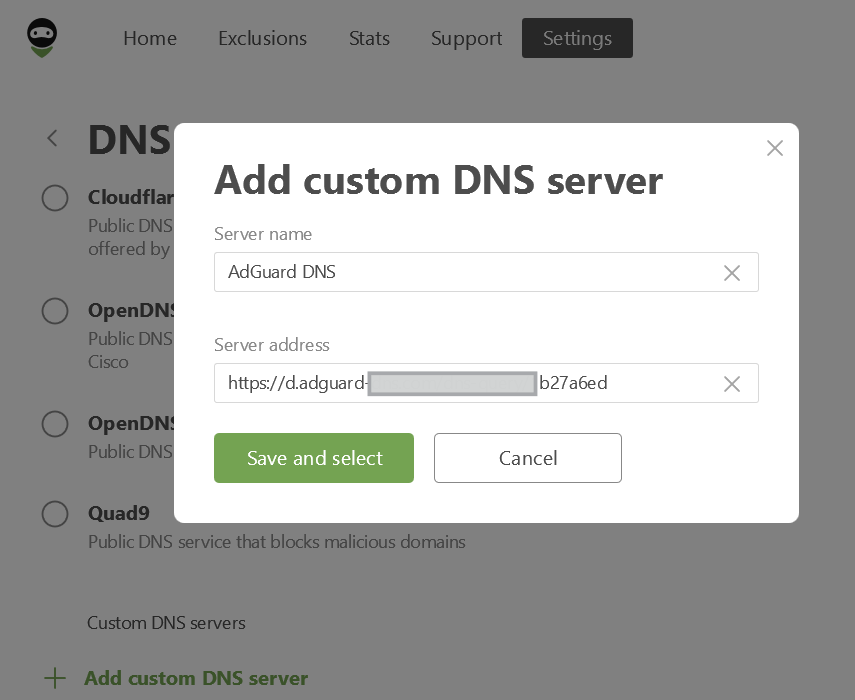
- In the Server address field, paste one of the following addresses. If you’re not sure which one to prefer, select DNS-over-HTTPS.
- 「保存して選択する」をクリックします。
All done! Your device is successfully connected to AdGuard DNS.
Configure via Windows settings
Available only on Windows 11.
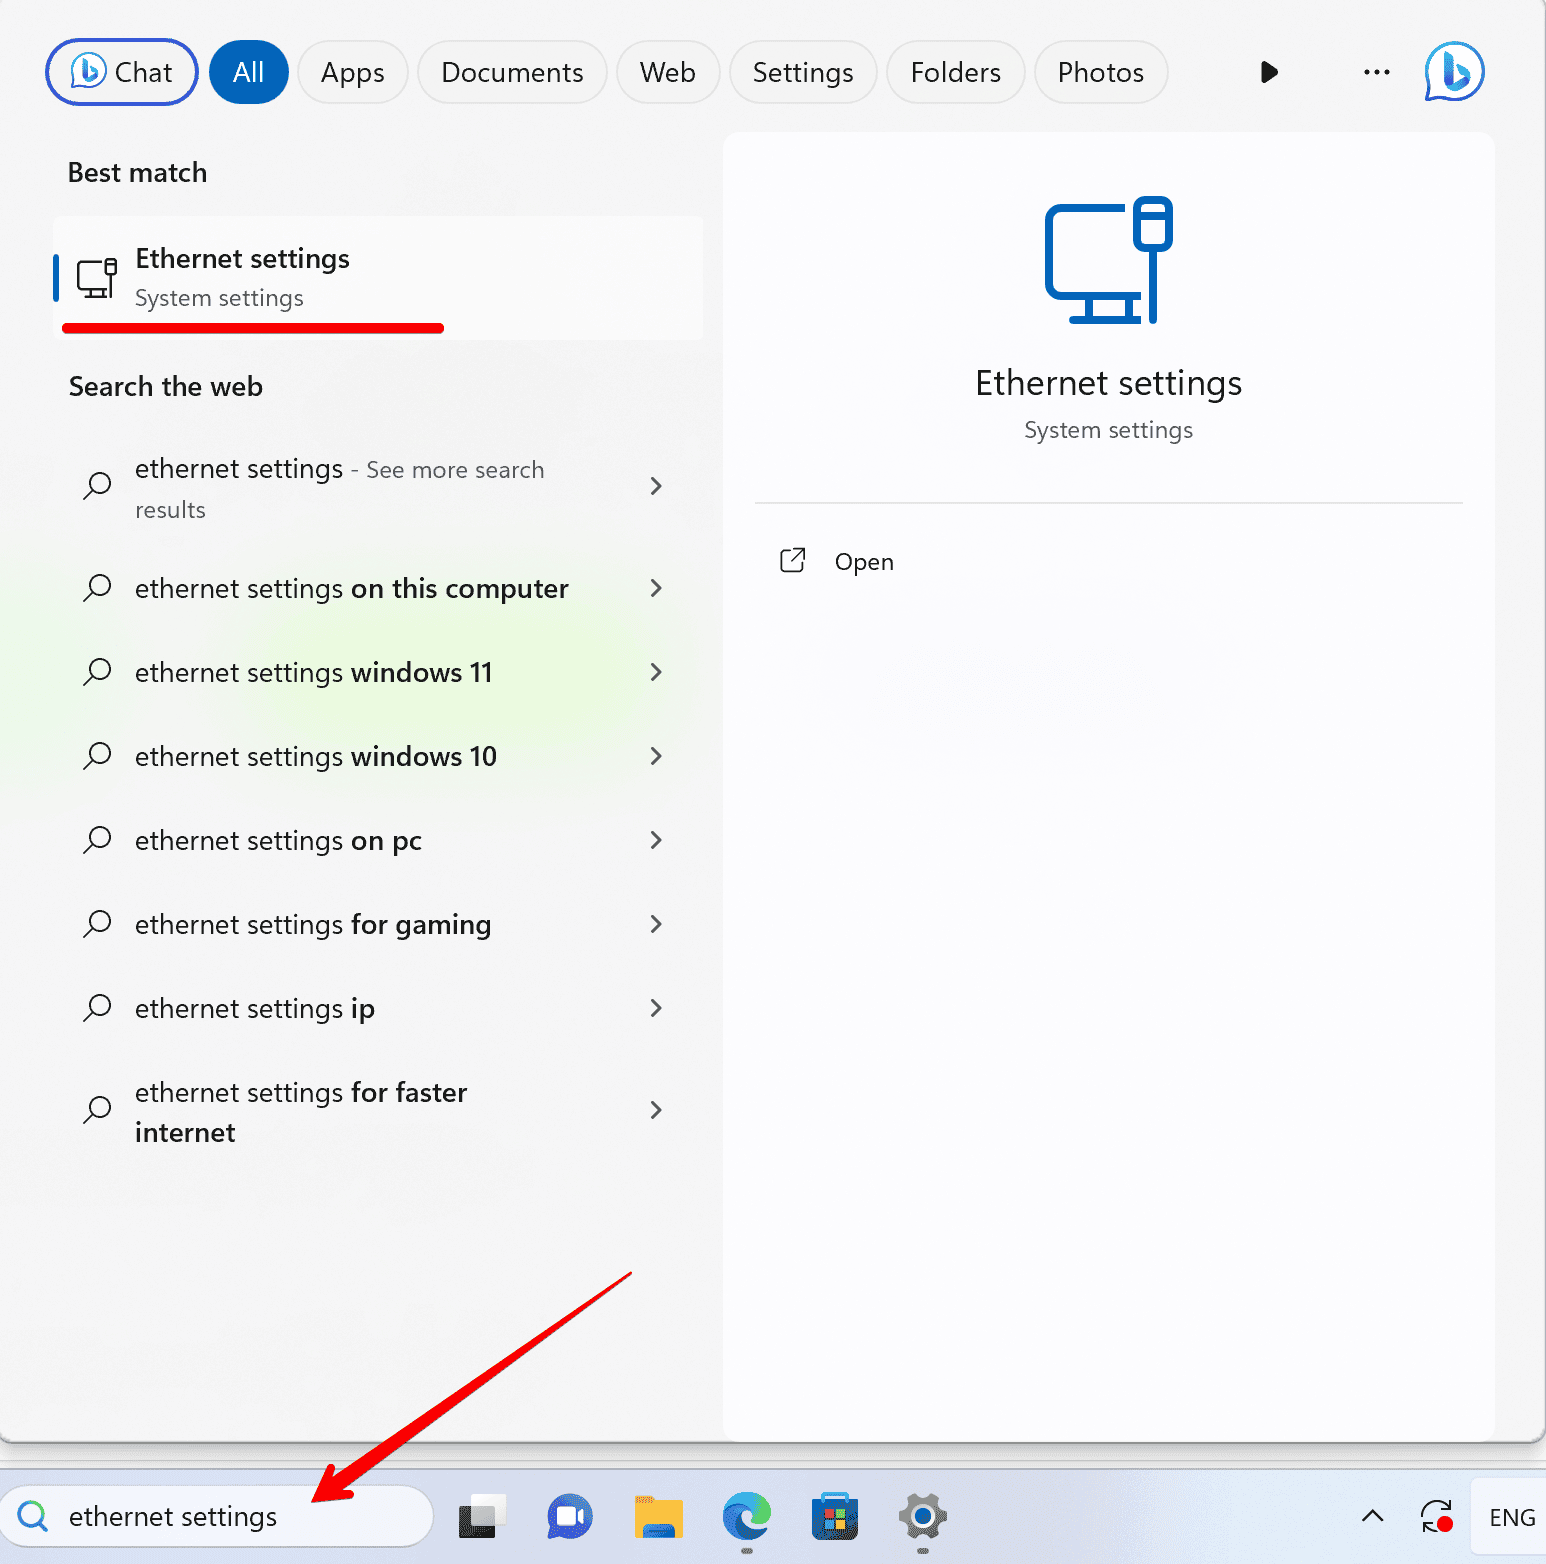
- In the Search bar on the taskbar, type Ethernet settings or Wi-Fi settings, depending on your connection type.
Click the network (Wi-Fi ID or Ethernet) you want to configure.
- Scroll to DNS server assignment and click Edit.
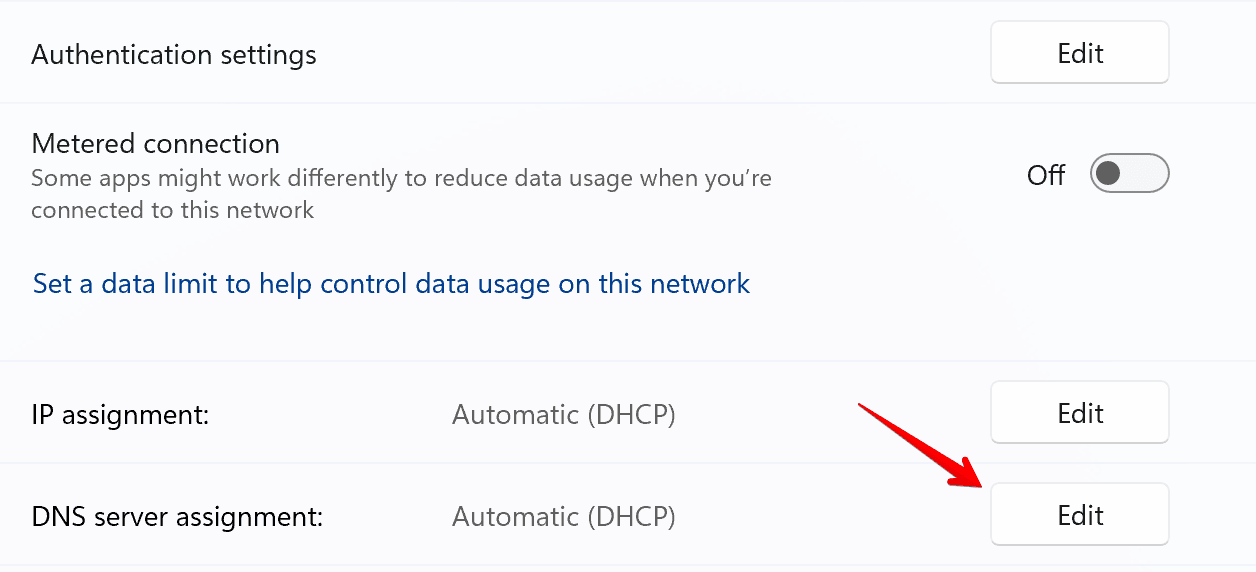
- Change DNS settings to Manual.
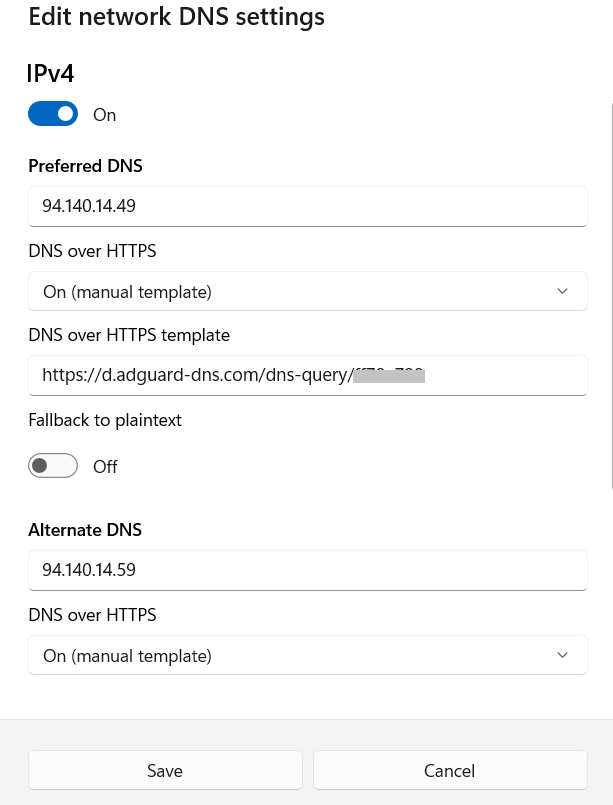
- Toggle the IPv4 switch to On.
- Enter the following DNS server addresses:
- Preferred DNS:
94.140.14.49 - Alternate DNS:
94.140.14.59
- Preferred DNS:
- Turn DNS over HTTPS template to On (manual template) and enter your personal DNS address. You can find it in the Dashboard under Server settings → Devices → Devices settings → DNS-over-HTTPS.
- Click Save. That’s it — your device is now connected to AdGuard DNS!
AdGuard DNS Client を使用する
AdGuard DNS Client is a versatile, cross-platform console tool that allows you to connect to AdGuard DNS using encrypted DNS protocols.
More details can be found in different article.
プレーンDNSを構成する
If you prefer not to use extra software for DNS configuration, you can opt for unencrypted DNS. リンクされた IP または 専用 IP を使用するという次の2つの選択肢があります: