Windows
To connect a Windows device to AdGuard DNS, first add it to Dashboard:
- Vá para o painel e clique em Conectar novo dispositivo.
- No menu suspenso Tipo de dispositivo, selecione Windows.
- Nomeie o dispositivo.
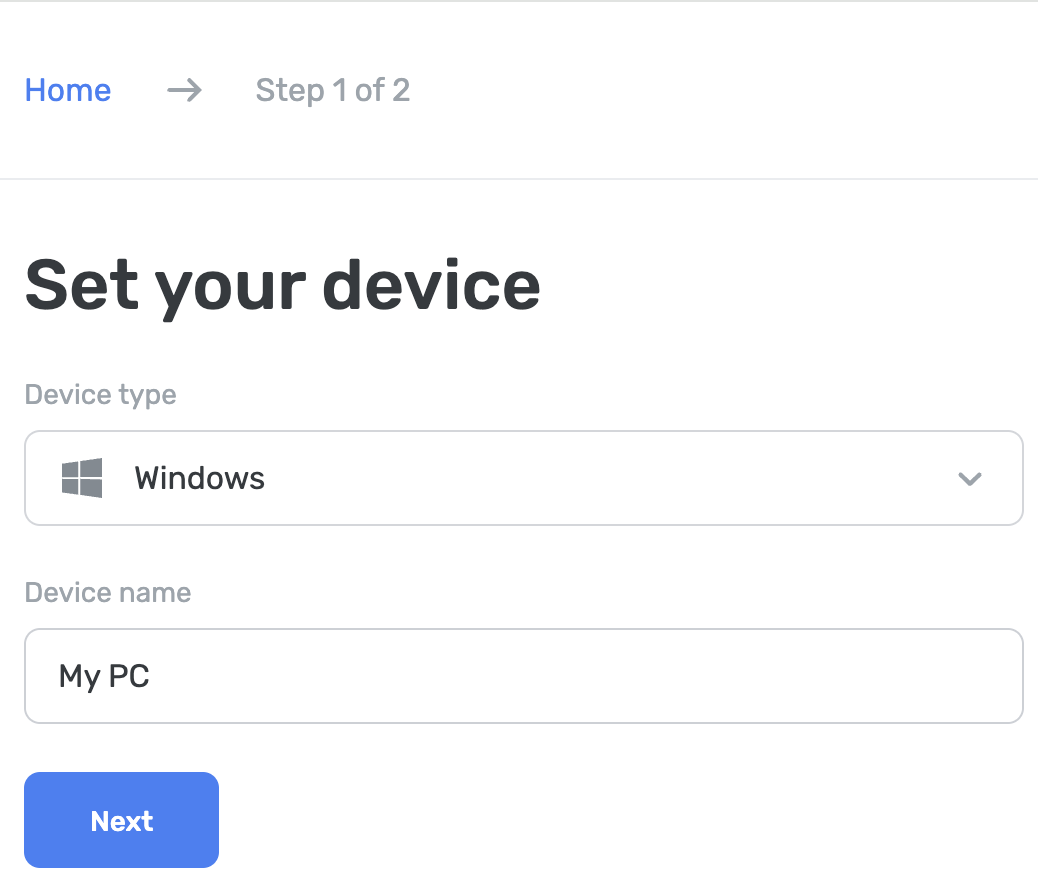
You can set it up via AdGuard or AdGuard VPN apps, in Windows settings, or using the AdGuard DNS Client.
Usando o Bloqueador de anúncios AdGuard (opção paga)
The AdGuard app lets you use encrypted DNS, making it perfect for setting up AdGuard DNS on your Windows device. Você pode escolher entre vários protocolos de Criptografia. Junto com a filtragem DNS, você também tem um excelente Bloqueador de anúncios que funciona em todo o seu sistema.
- Install the app on the device you want to connect to AdGuard DNS.
- Abra o aplicativo.
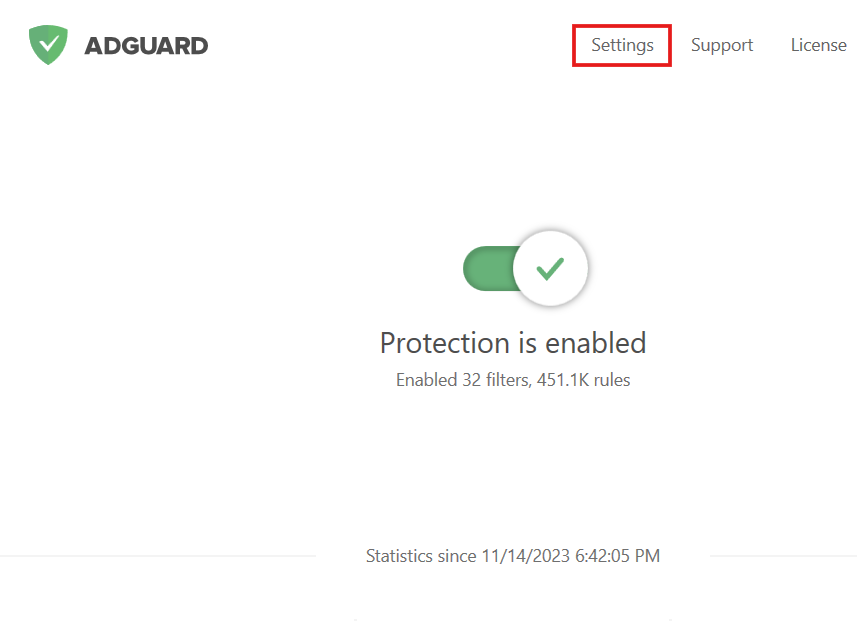
- Click Settings at the top of the app’s home screen.
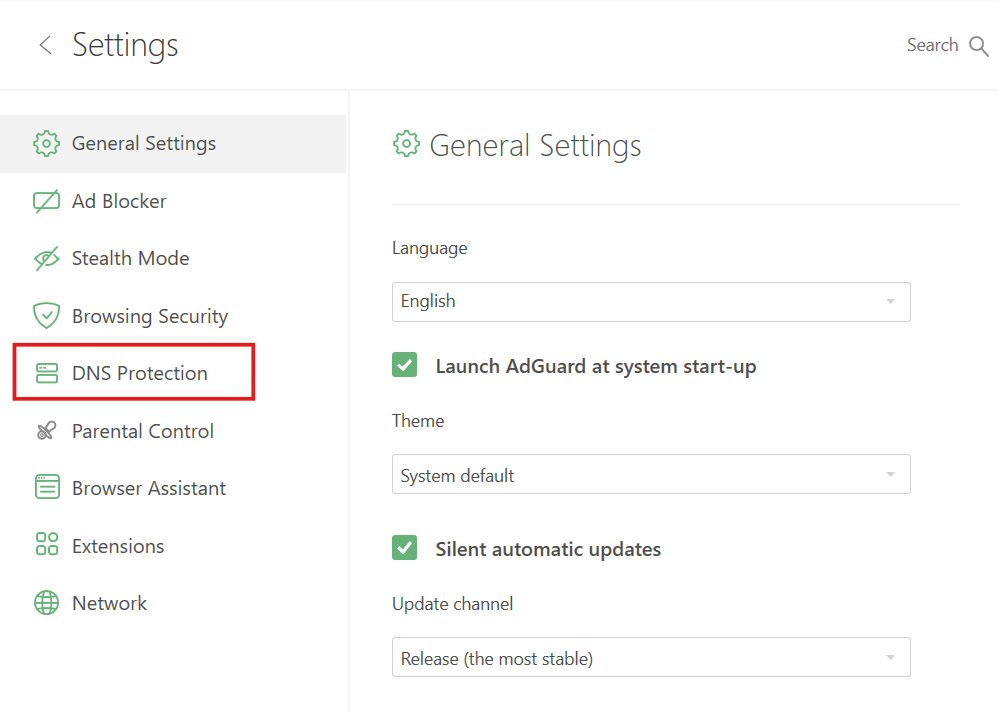
- Select the DNS Protection tab from the menu on the left.
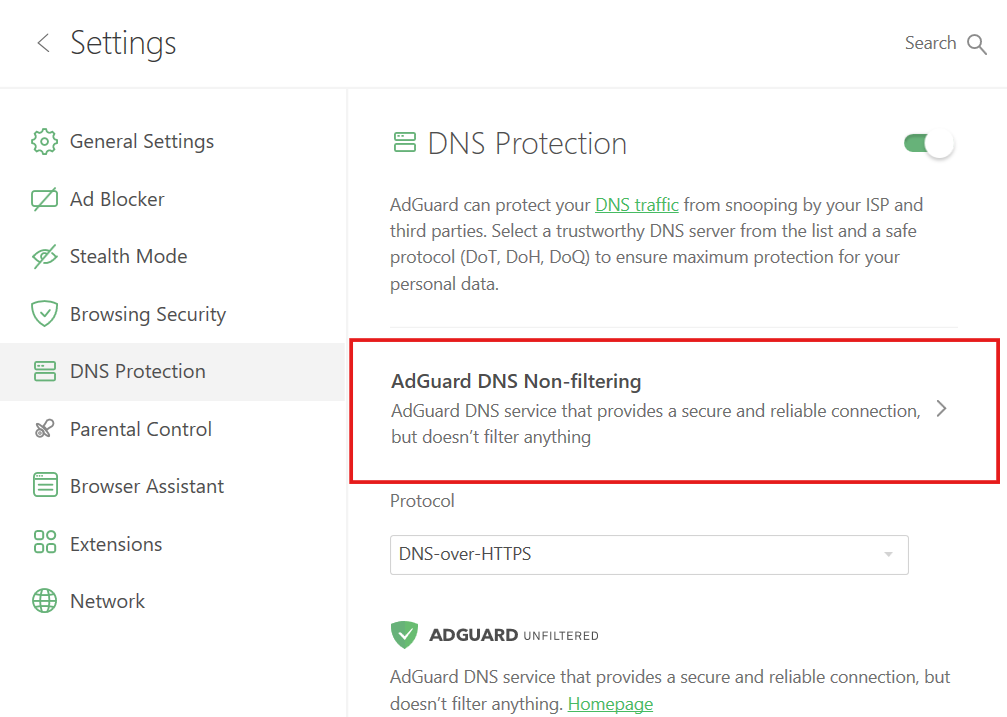
- Click your currently selected DNS server.
- Scroll down and click Add a custom DNS server.
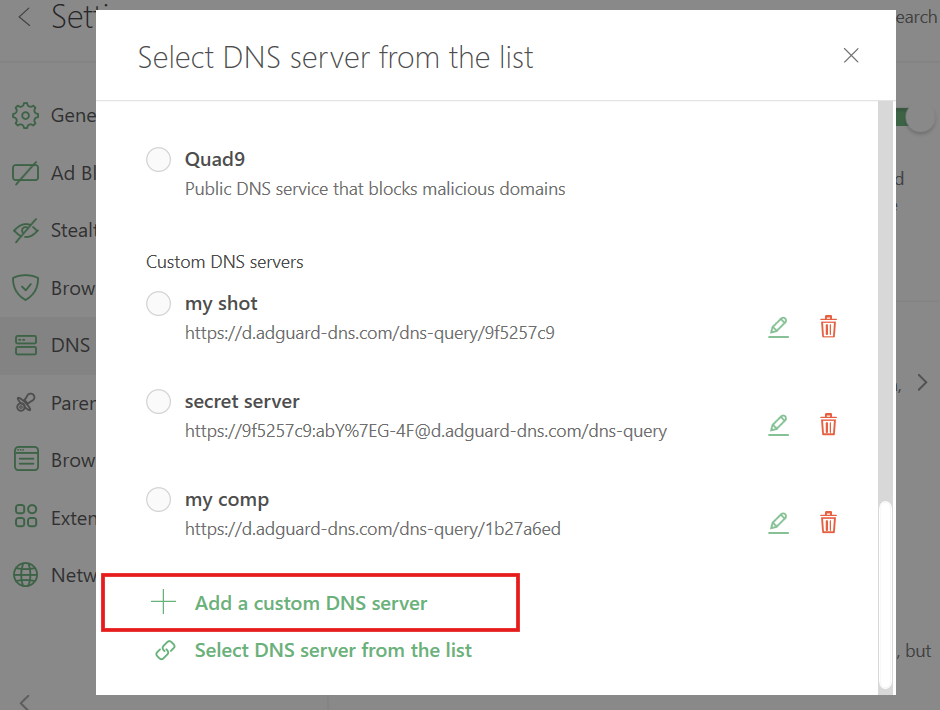
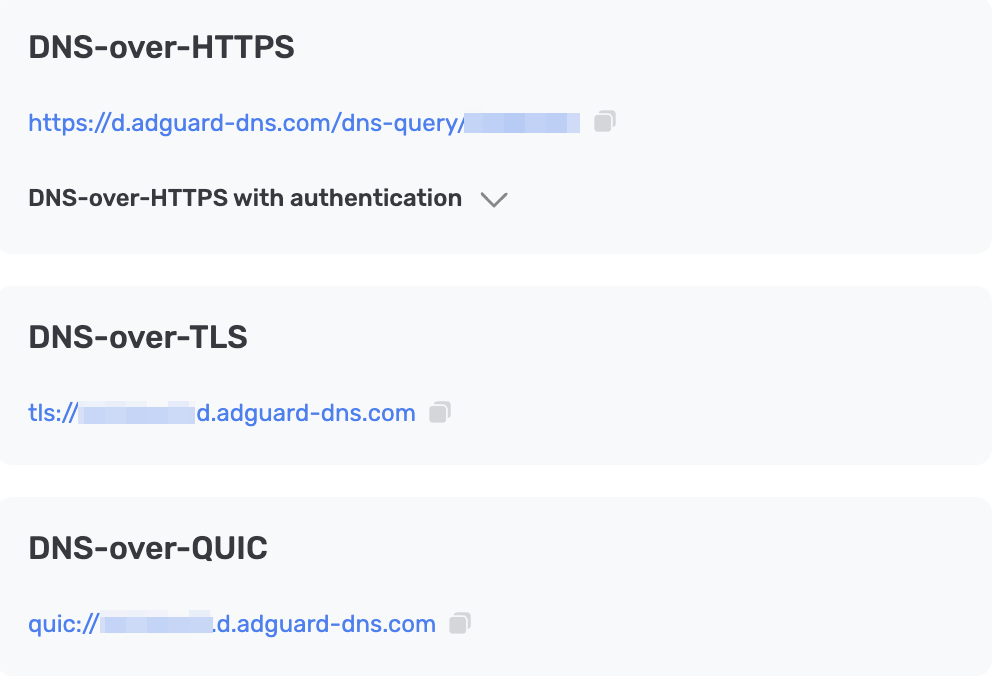
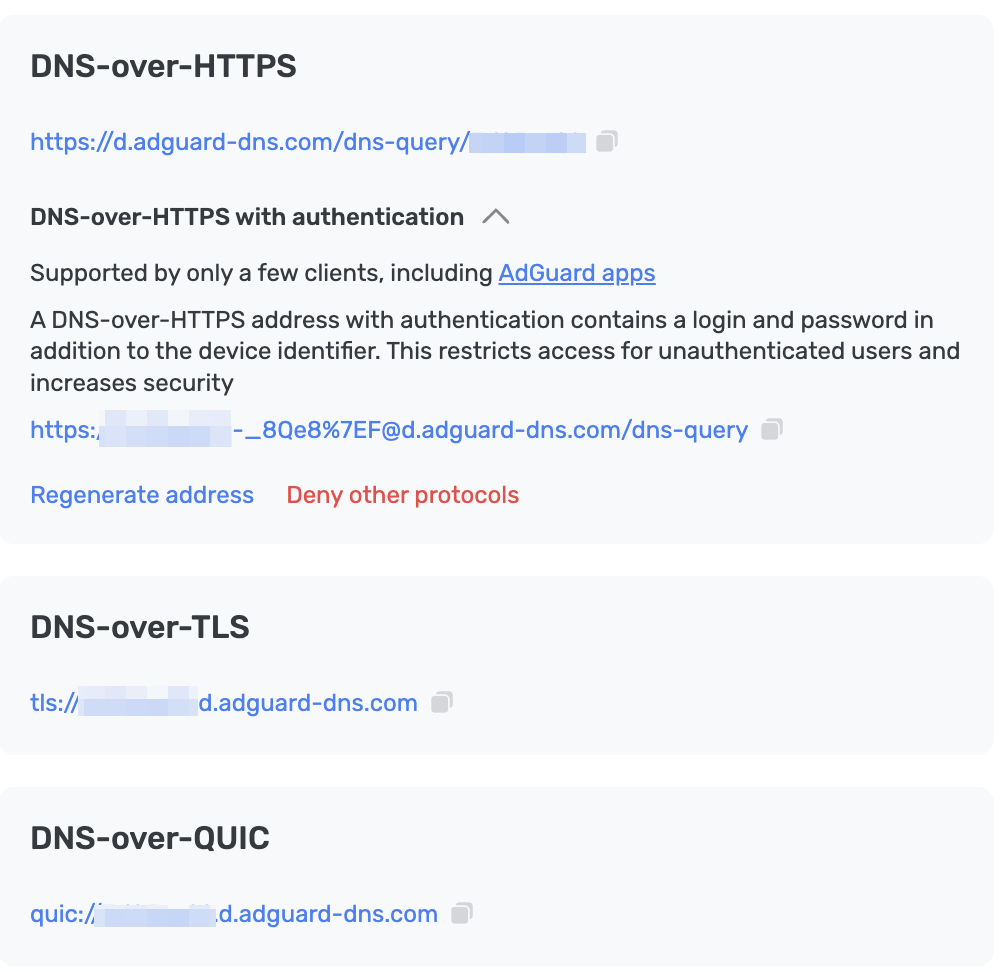
- In the DNS upstreams field, paste one of the following addresses. If you’re not sure which one to prefer, choose DNS-over-HTTPS.
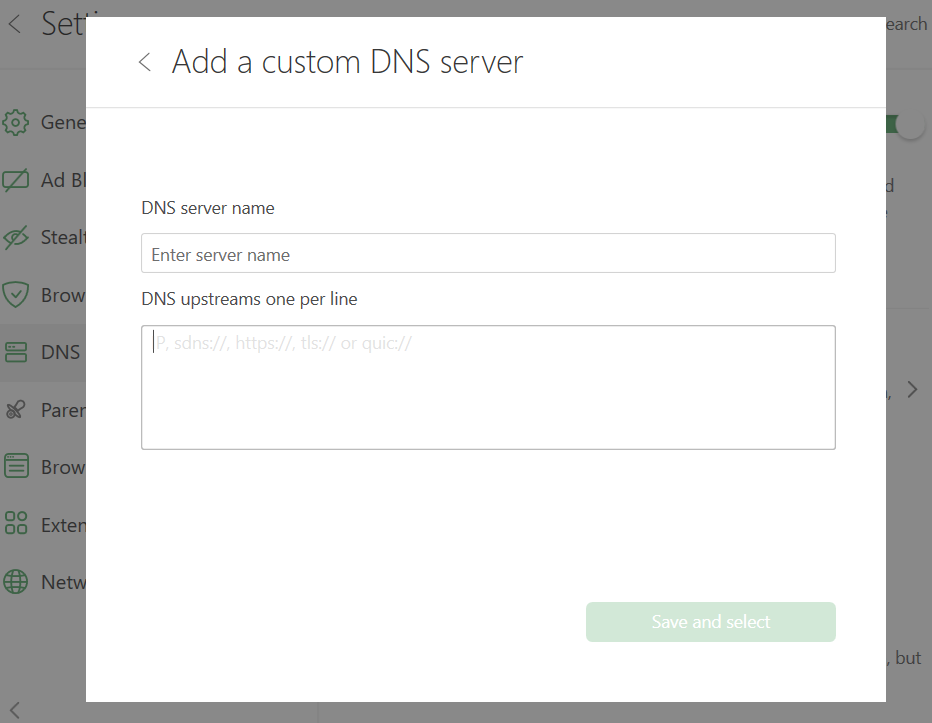
- Clique em Salvar e selecionar.
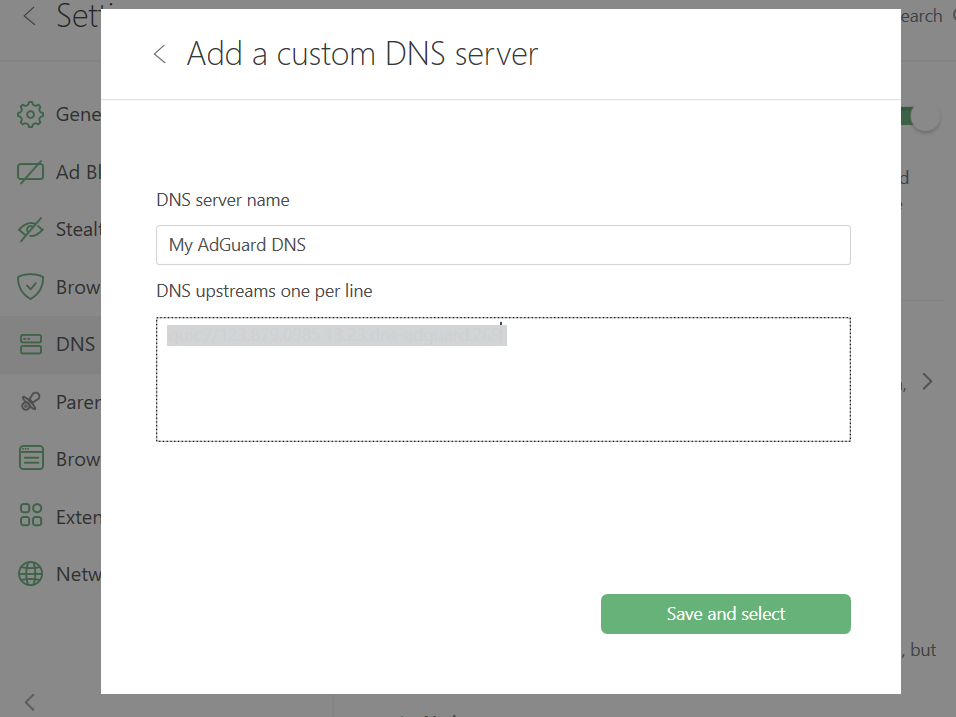
- O servidor DNS que você adicionou aparecerá na parte inferior da lista de Servidores DNS personalizados.
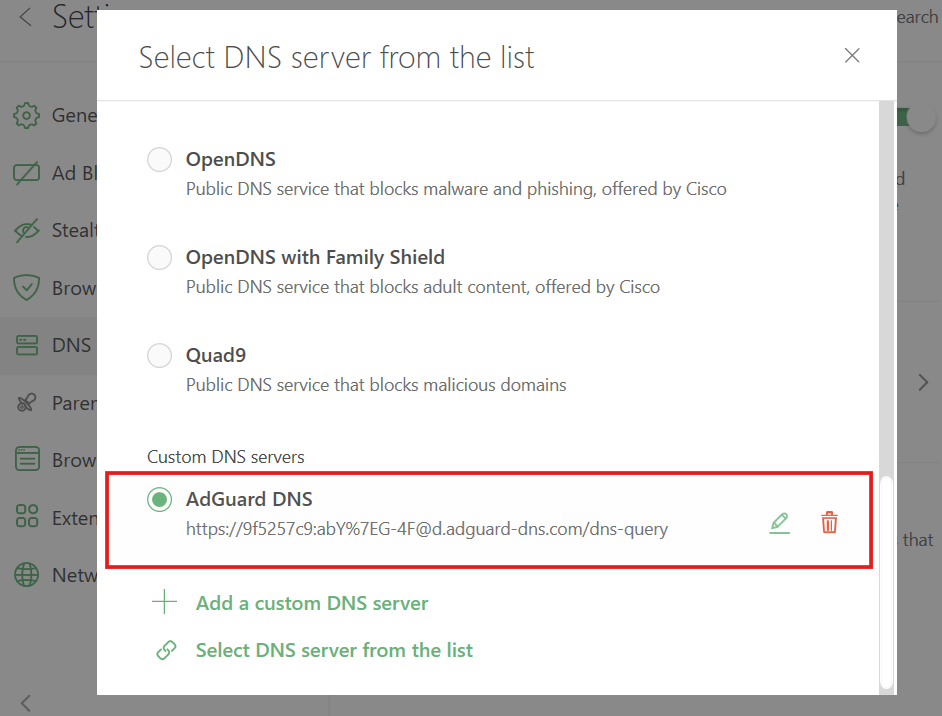
All done! Your device is successfully connected to AdGuard DNS.
Usando o AdGuard VPN
Nem todos os serviços de VPN suportam DNS criptografado. No entanto, nossa VPN é compatível, então, se você precisar tanto de uma VPN quanto de um DNS privado, AdGuard VPN é a sua melhor opção.
- Install AdGuard VPN.
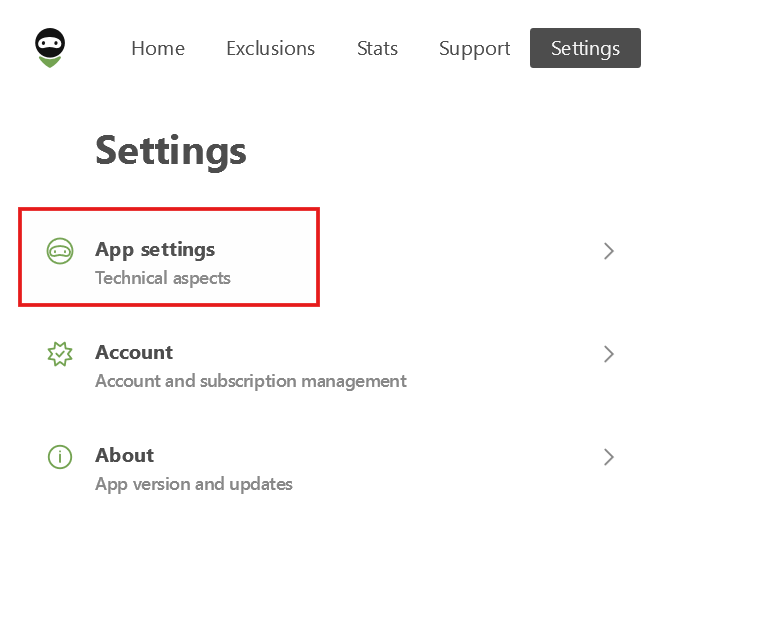
- Open the app and click Settings.
- Select App settings.
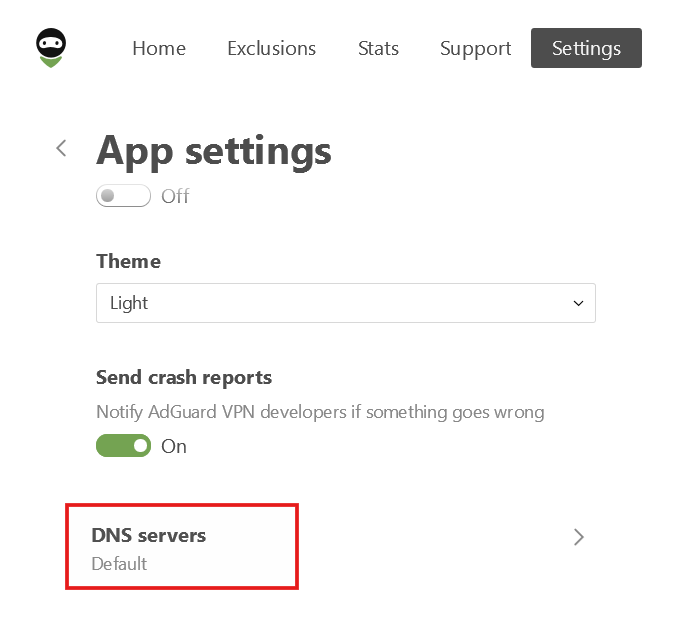
- Scroll down and select DNS servers.
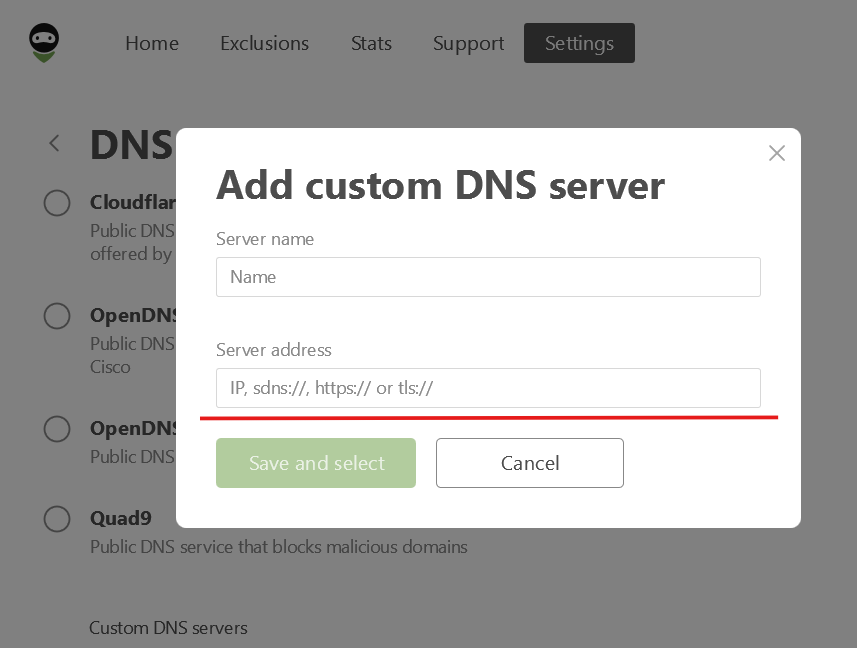
- Click Add custom DNS server.
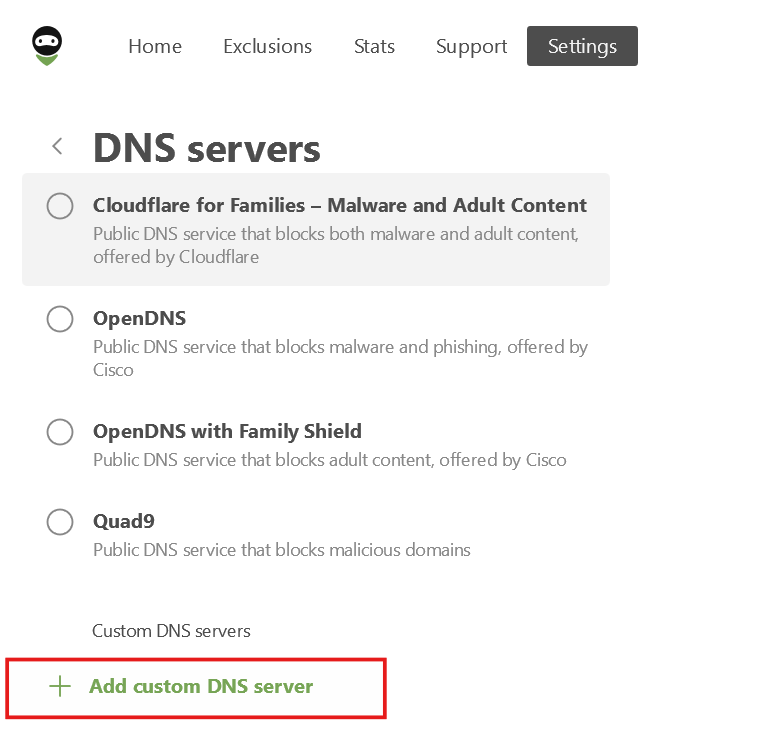
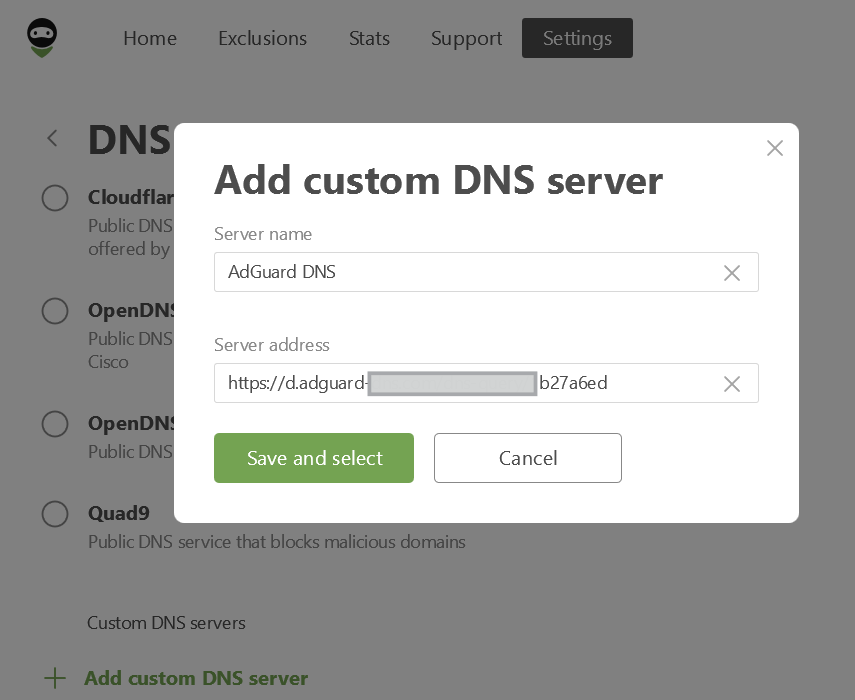
- In the Server address field, paste one of the following addresses. If you’re not sure which one to prefer, select DNS-over-HTTPS.
- Clique em Salvar e selecionar.
All done! Your device is successfully connected to AdGuard DNS.
Configure via Windows settings
Available only on Windows 11.
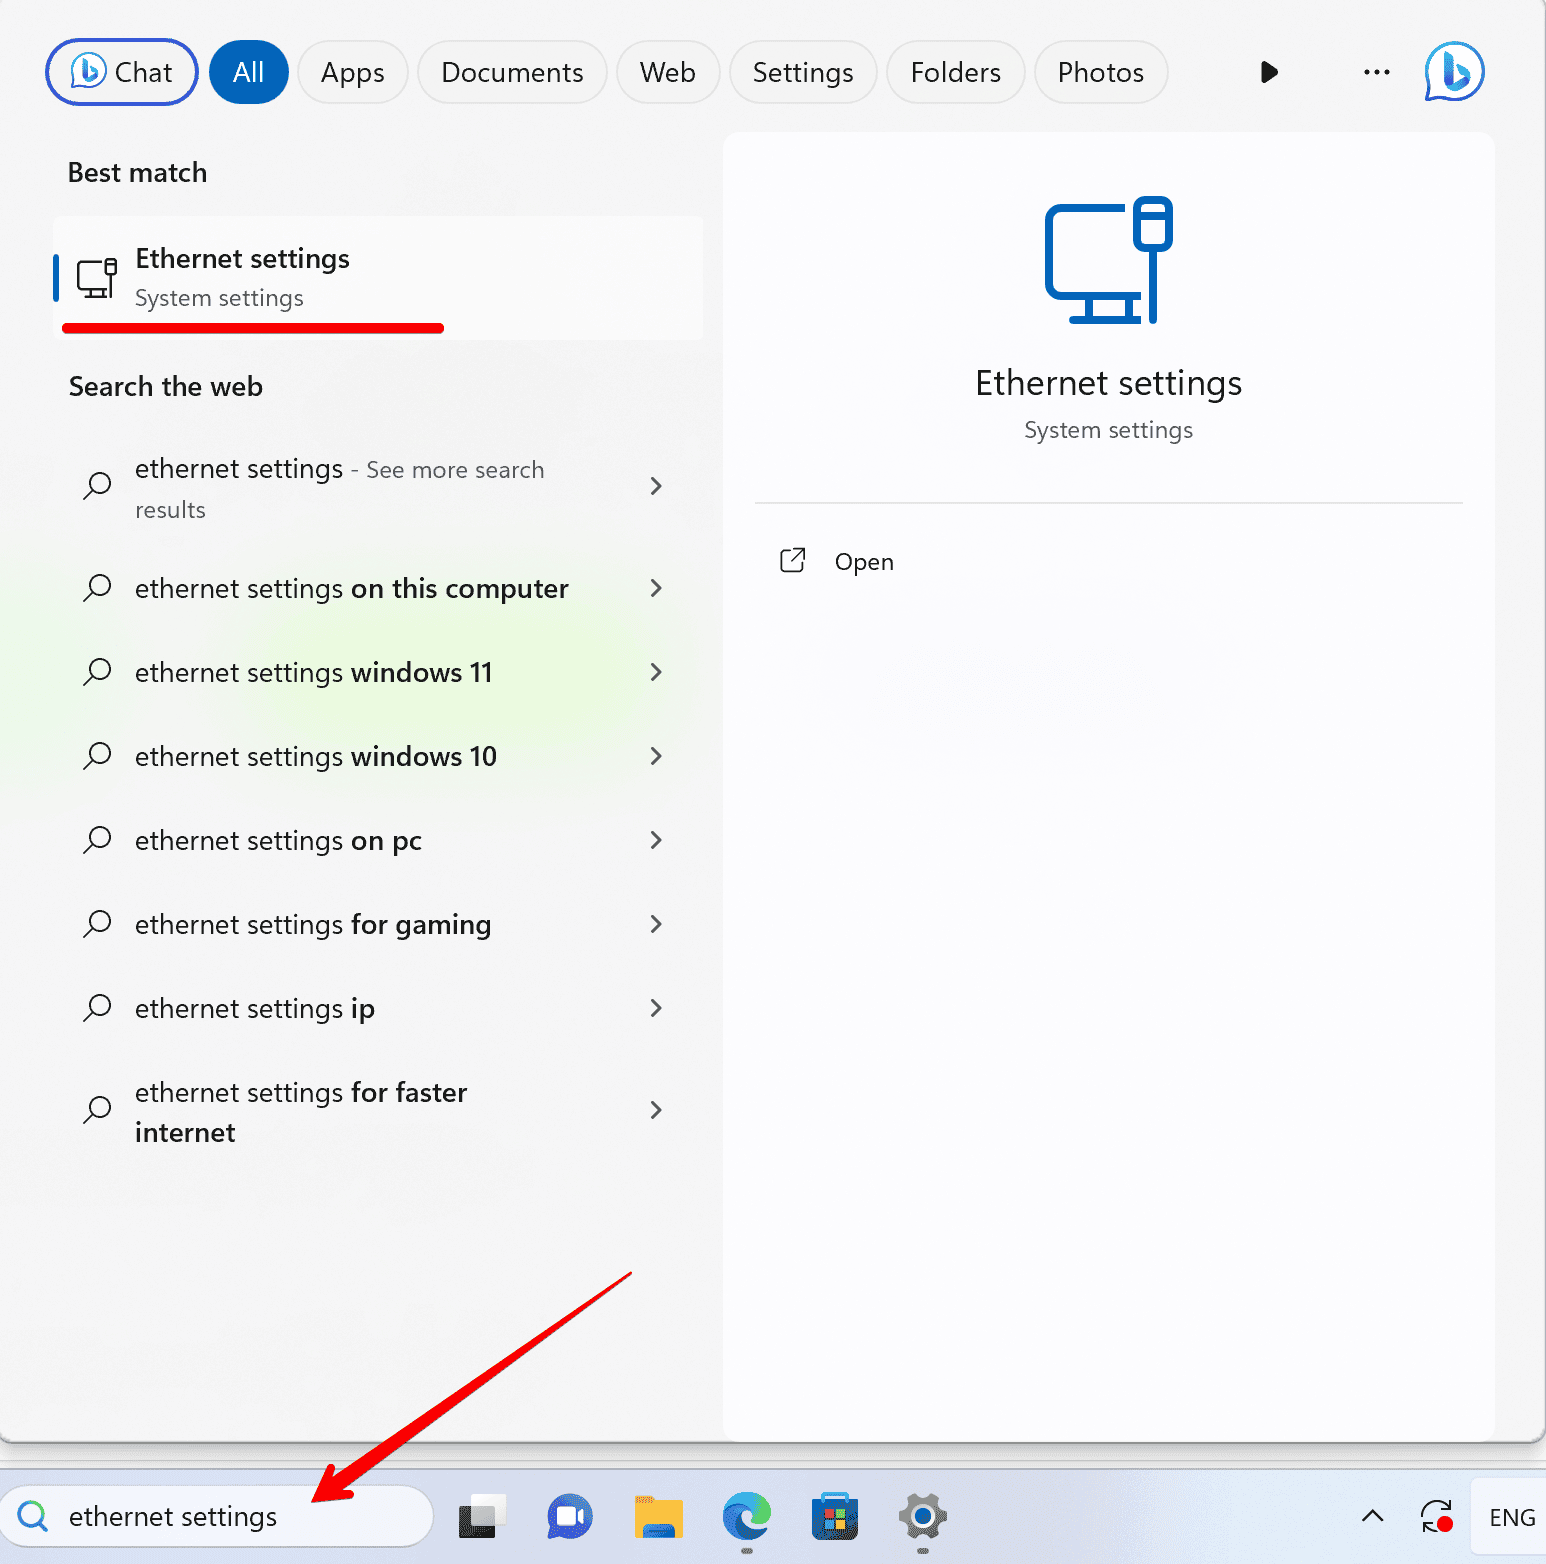
- In the Search bar on the taskbar, type Ethernet settings or Wi-Fi settings, depending on your connection type.
Click the network (Wi-Fi ID or Ethernet) you want to configure.
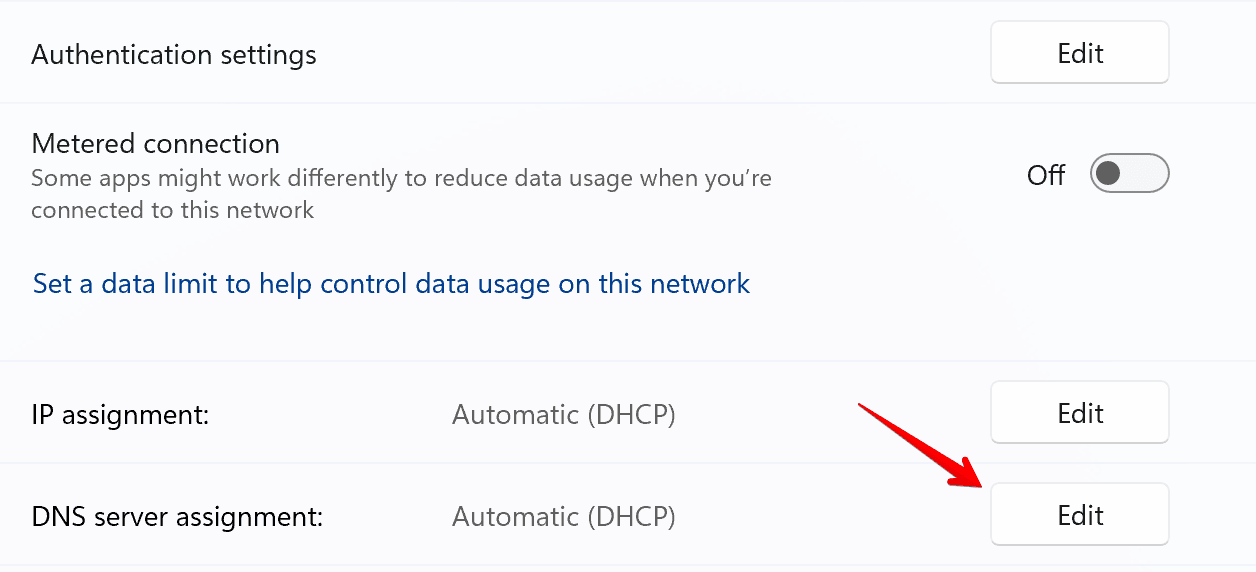
- Scroll to DNS server assignment and click Edit.
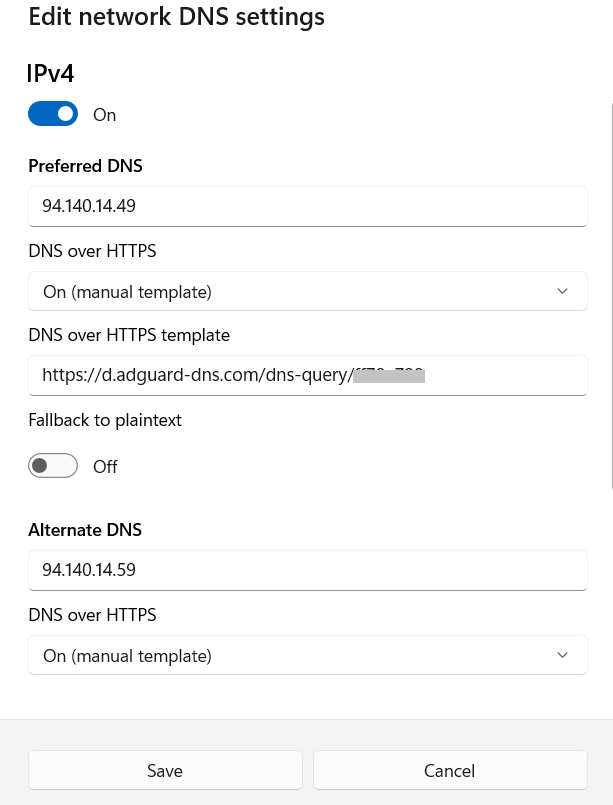
- Change DNS settings to Manual.
- Toggle the IPv4 switch to On.
- Enter the following DNS server addresses:
- Preferred DNS:
94.140.14.49 - Alternate DNS:
94.140.14.59
- Preferred DNS:
- Turn DNS over HTTPS template to On (manual template) and enter your personal DNS address. You can find it in the Dashboard under Server settings → Devices → Devices settings → DNS-over-HTTPS.
- Clique em Salvar*. That’s it — your device is now connected to AdGuard DNS!
Usando o Cliente do AdGuard DNS
AdGuard DNS Client is a versatile, cross-platform console tool that allows you to connect to AdGuard DNS using encrypted DNS protocols.
More details can be found in different article.
Configurando DNS simples
If you prefer not to use extra software for DNS configuration, you can opt for unencrypted DNS. Você tem duas opções: usar IPs vinculados ou IPs dedicados.