Cudy
bilgi
- Ad Shield allows AdGuard DNS to provide network-level filtering of ads, trackers, and other unwanted content. Running at the router level, it protects all connected devices and improves privacy across browsing, streaming, and app usage.
- This feature is available for Cudy routers with firmware version 2.5.0+.
- TR3000 is shown as an example in this tutorial.
Use the Cudy app
-
Connect your phone to the router’s Wi-Fi network.
-
Download the Cudy app on your phone.
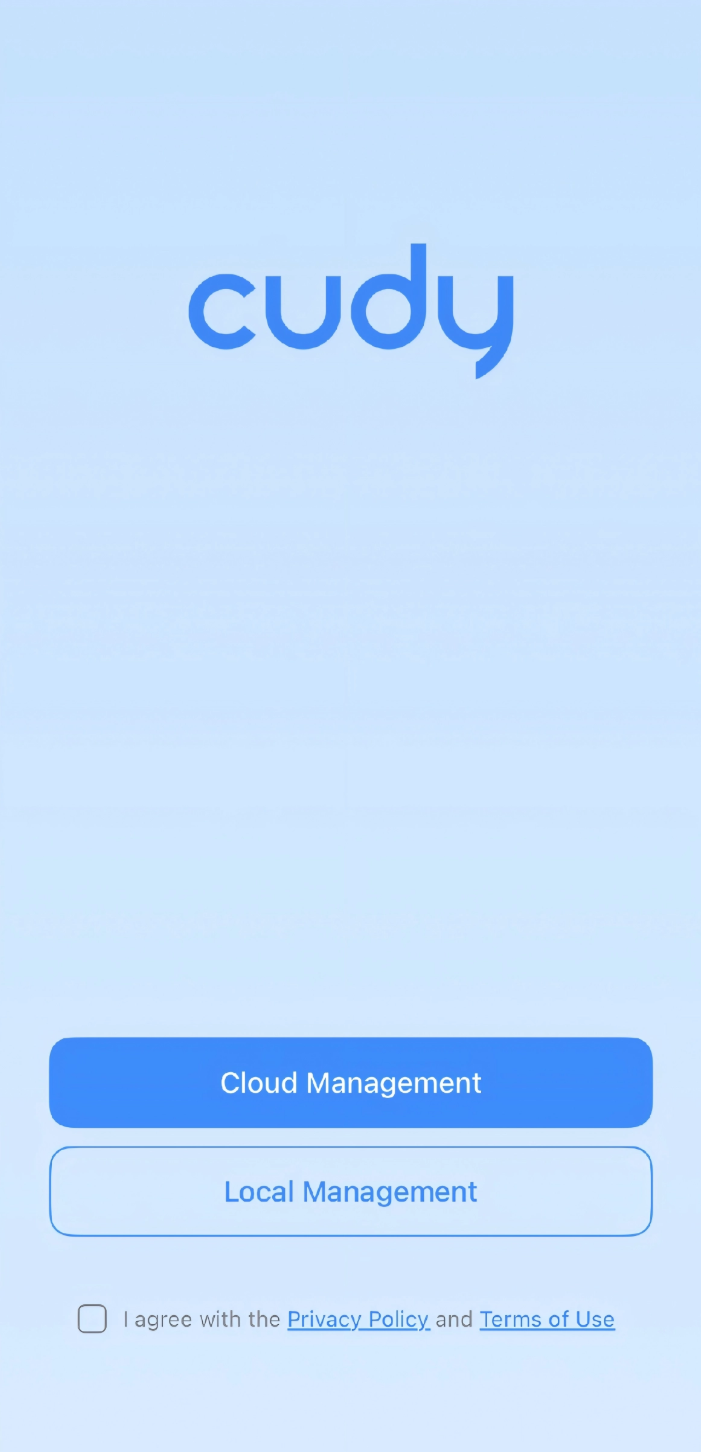
- Open the Cudy App on your phone. Tick I agree with the Privacy Policy and the Terms of Sale and select Local Management.
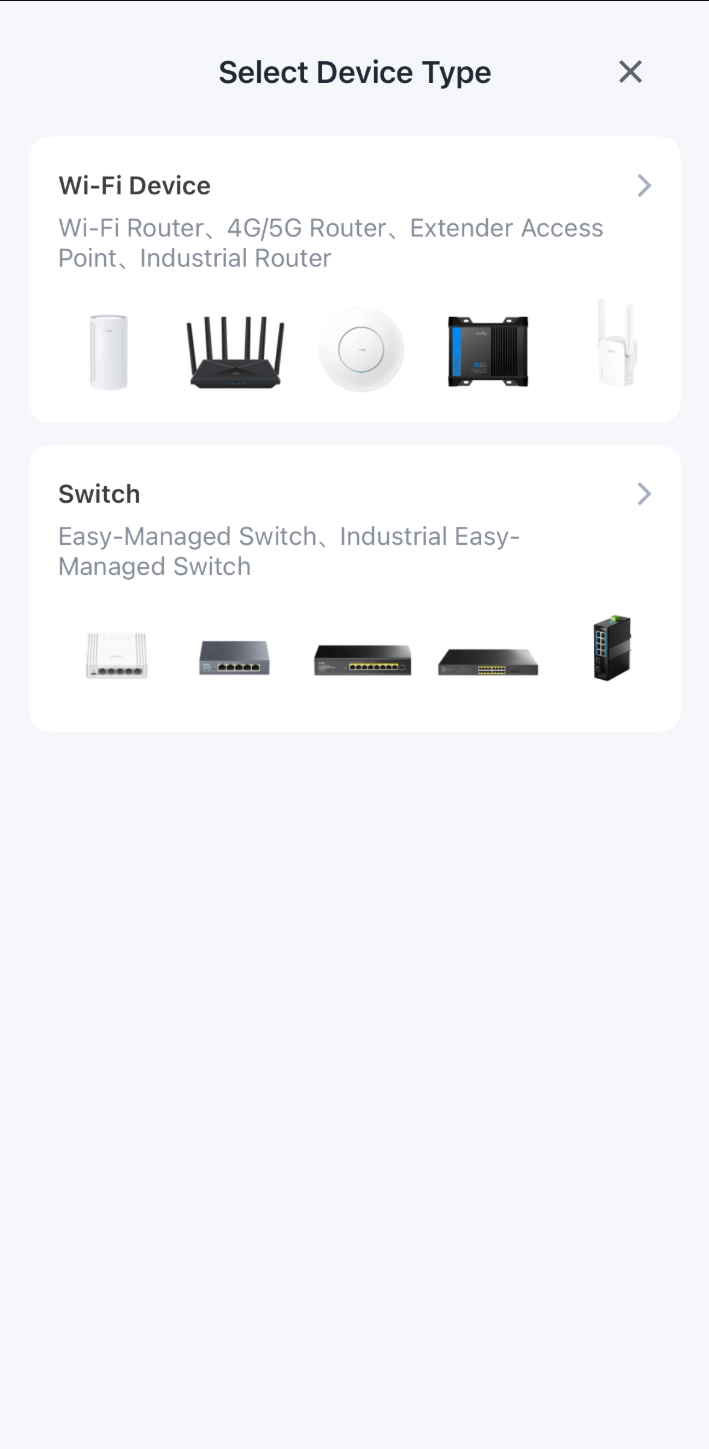
- Select Wi-Fi Device.
ipucu
If you have managed other types of devices on the Cudy App before, you may need to tap the menu icon (☰) on the left of Dashboard to switch to Wi-Fi Device.
- Tap the router.
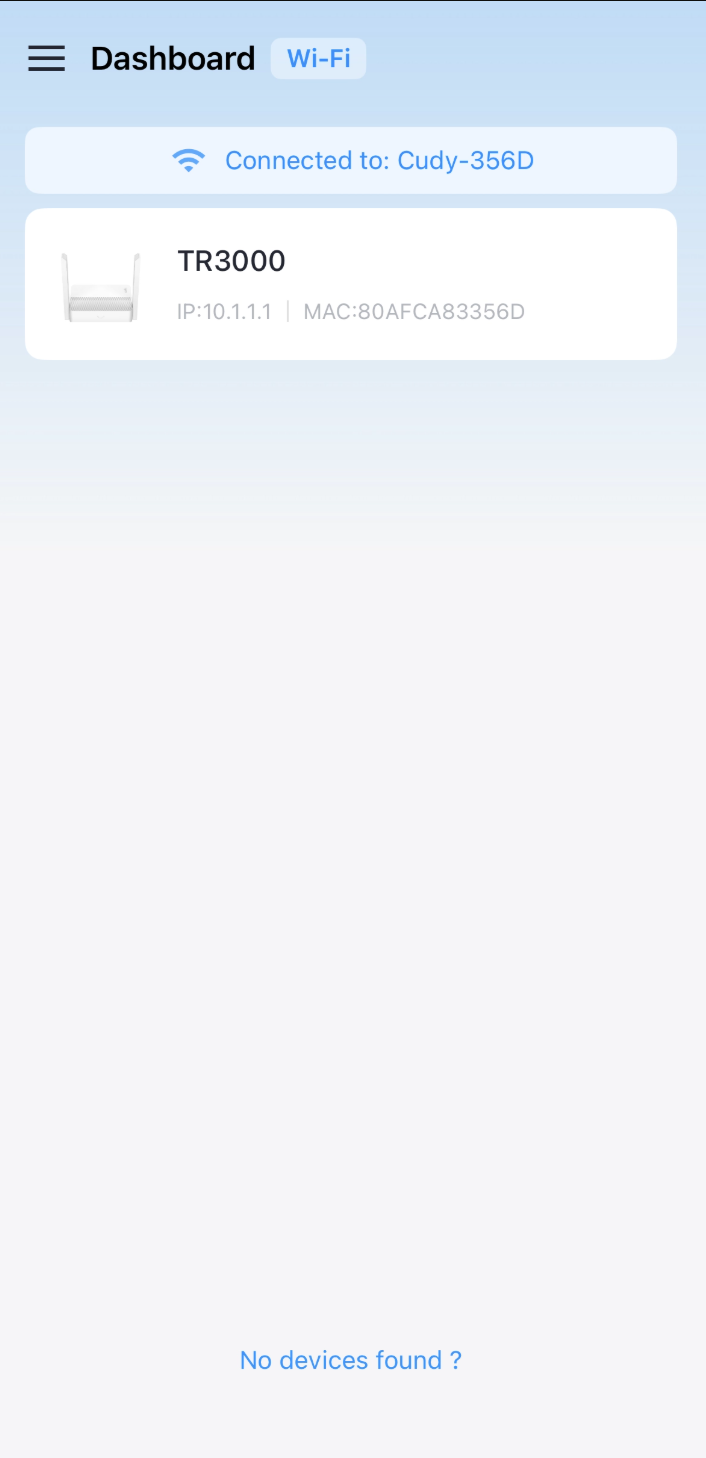
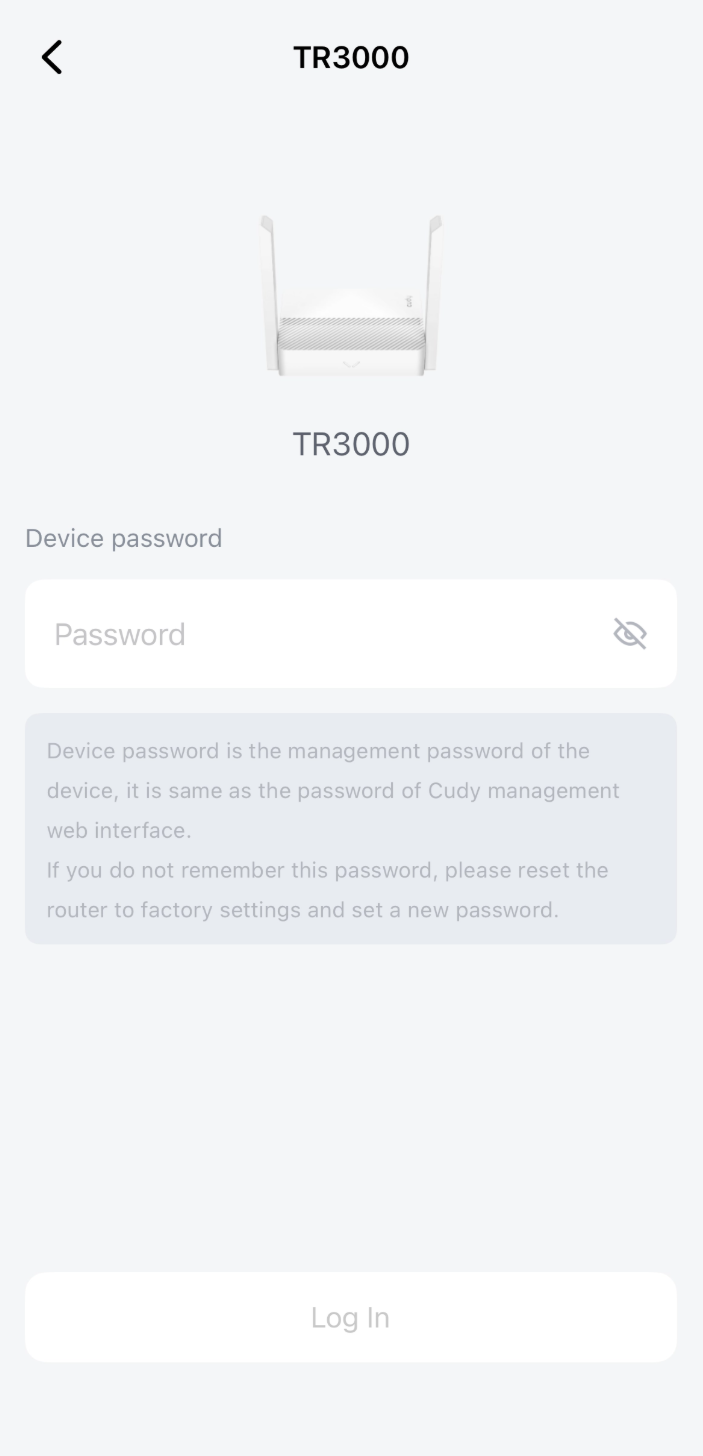
- Enter the router's administrator password. Create one if this is your login for the first time.
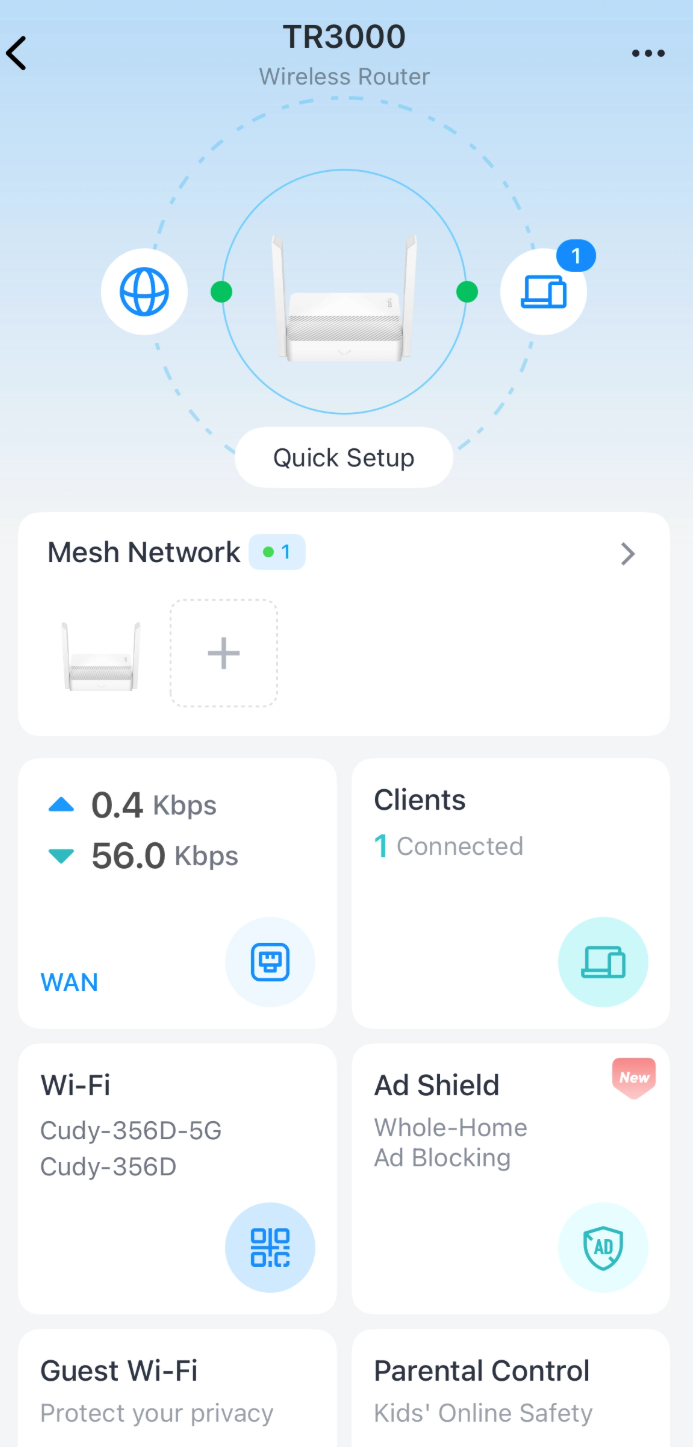
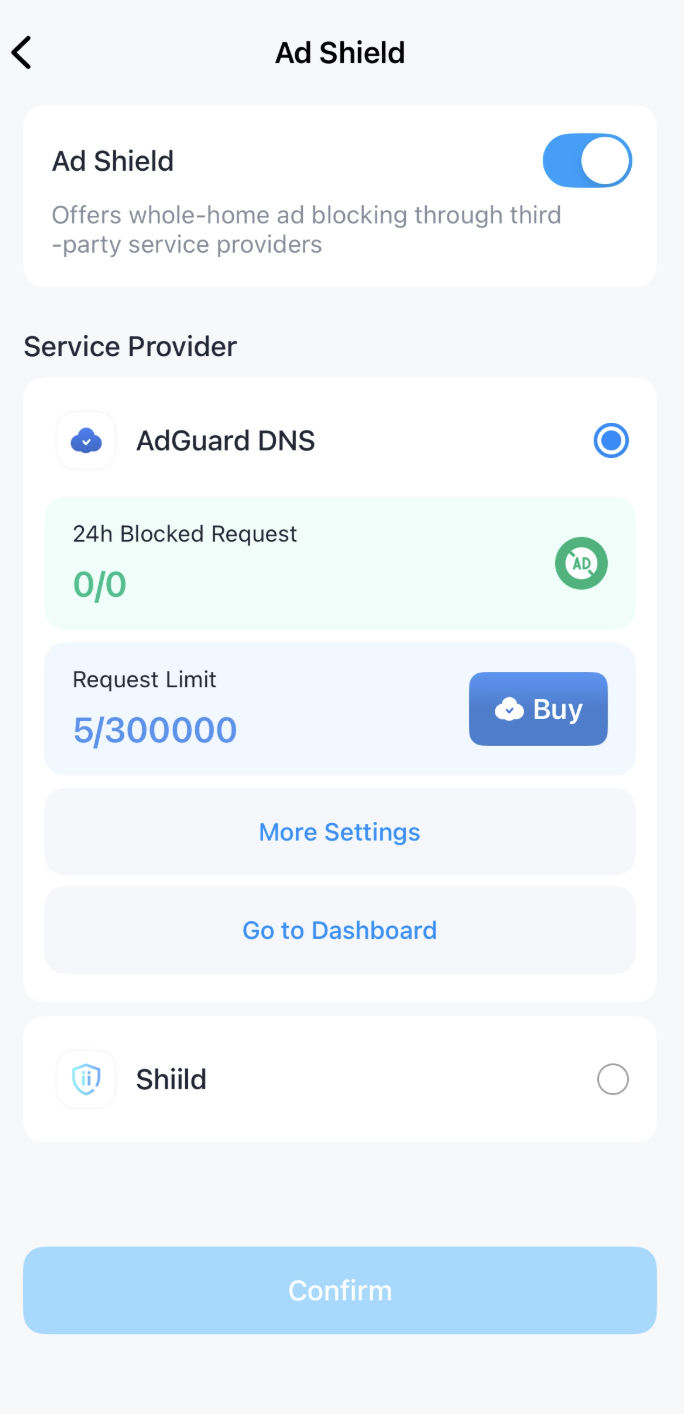
- Tap Ad Shield.
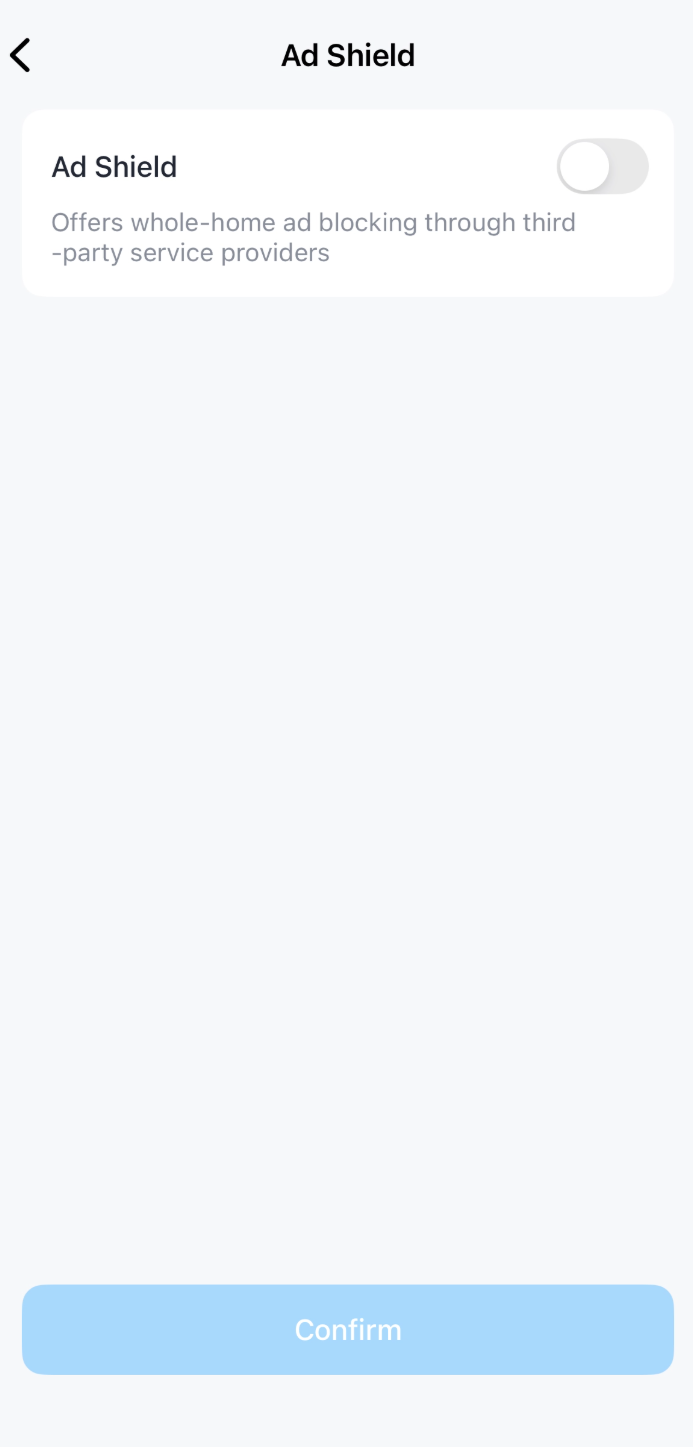
- Toggle on to enable Ad Shield.
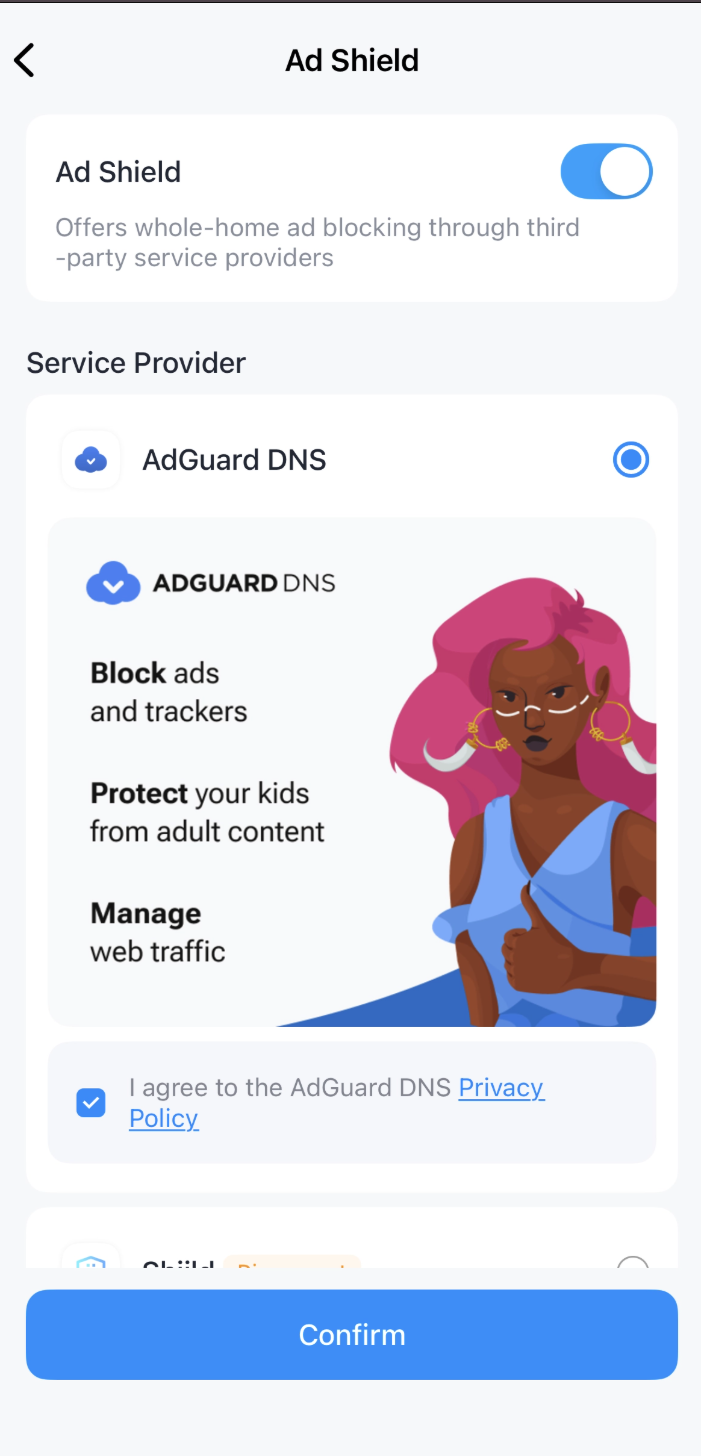
- Select a "AdGuard DNS".
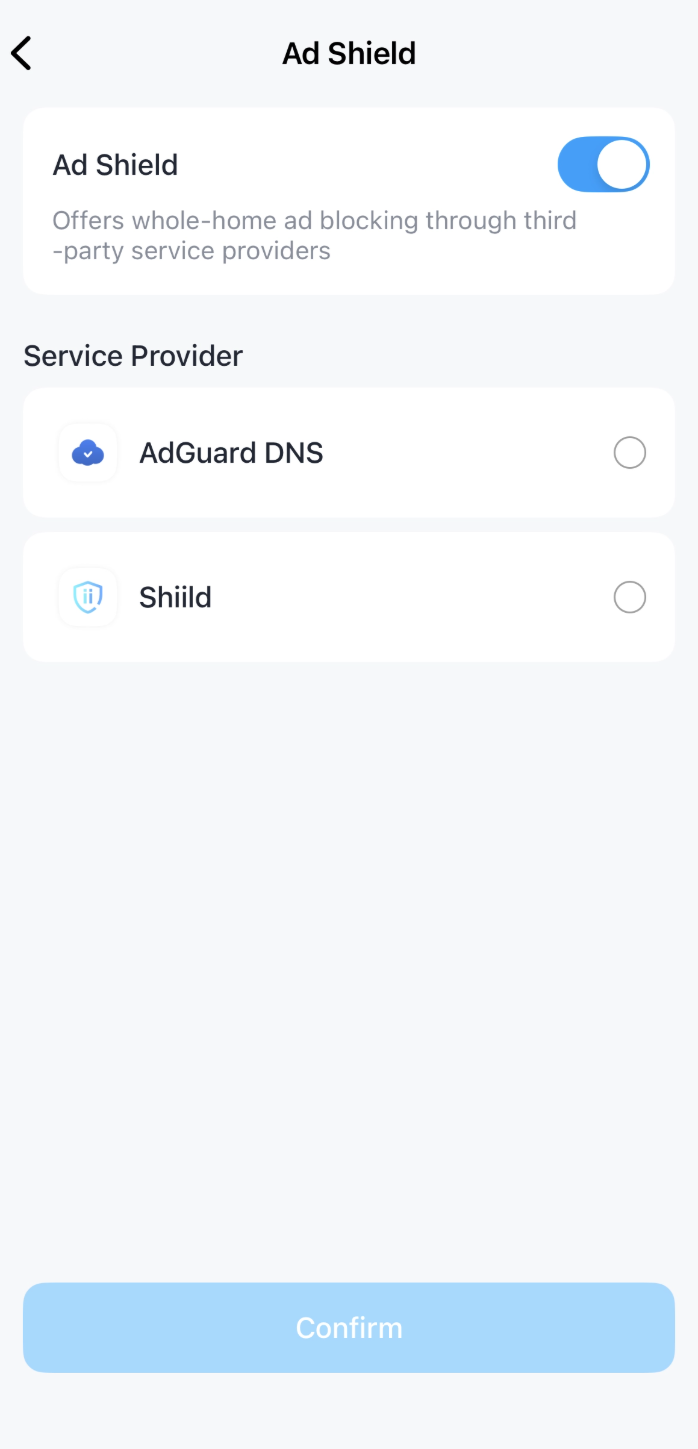
not
AdGuard DNS requires Cudy App V1.5.5+
- Tick I agree to the AdGuard DNS privacy policy, and click Confirm.
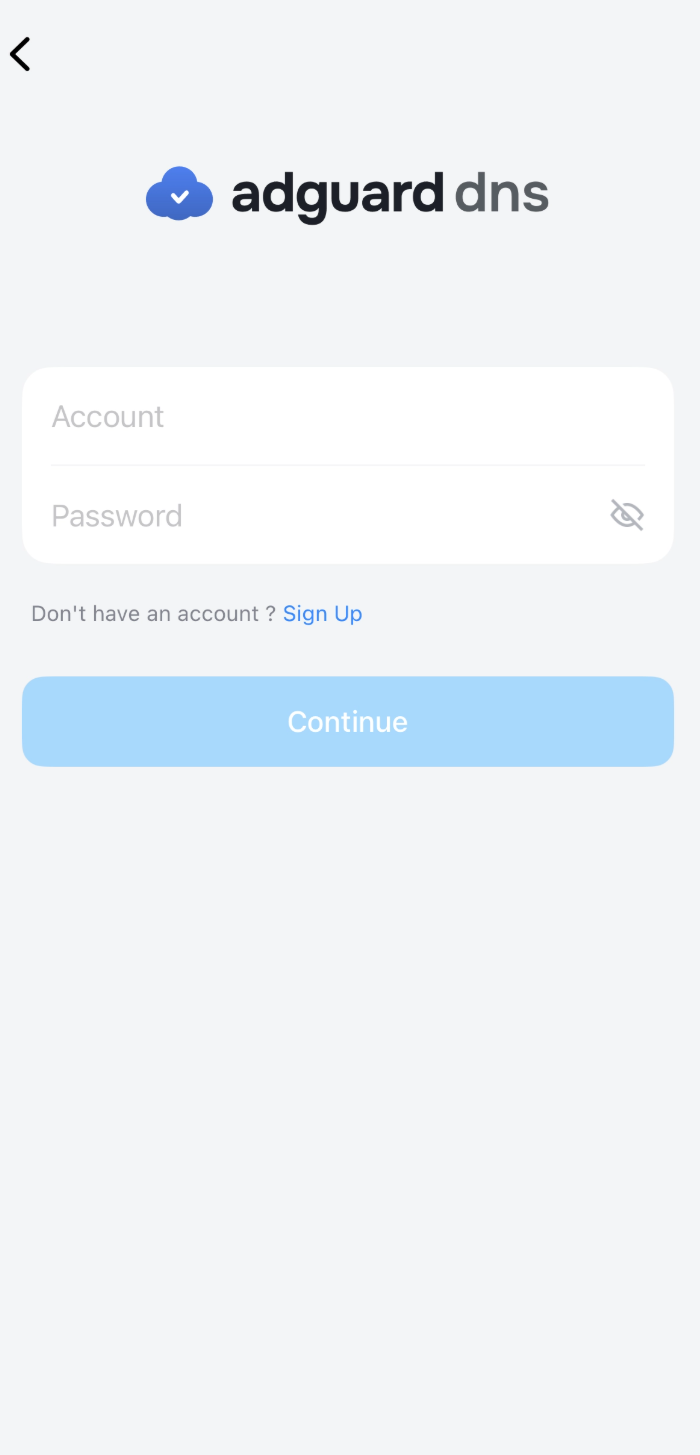
- Enter your AdGuard DNS account username and password, and click Continue.
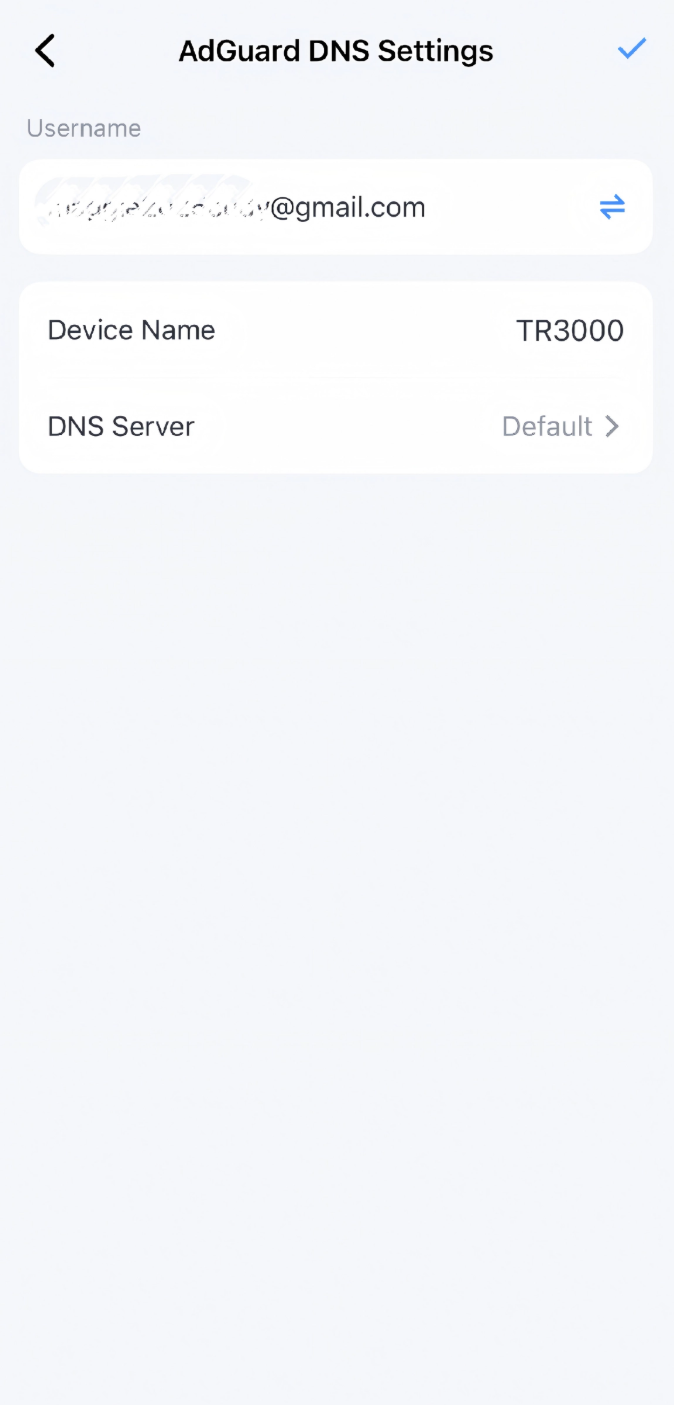
- Set a Device Name, keep DNS Server as Default, and tap the ✔ icon at the top right.
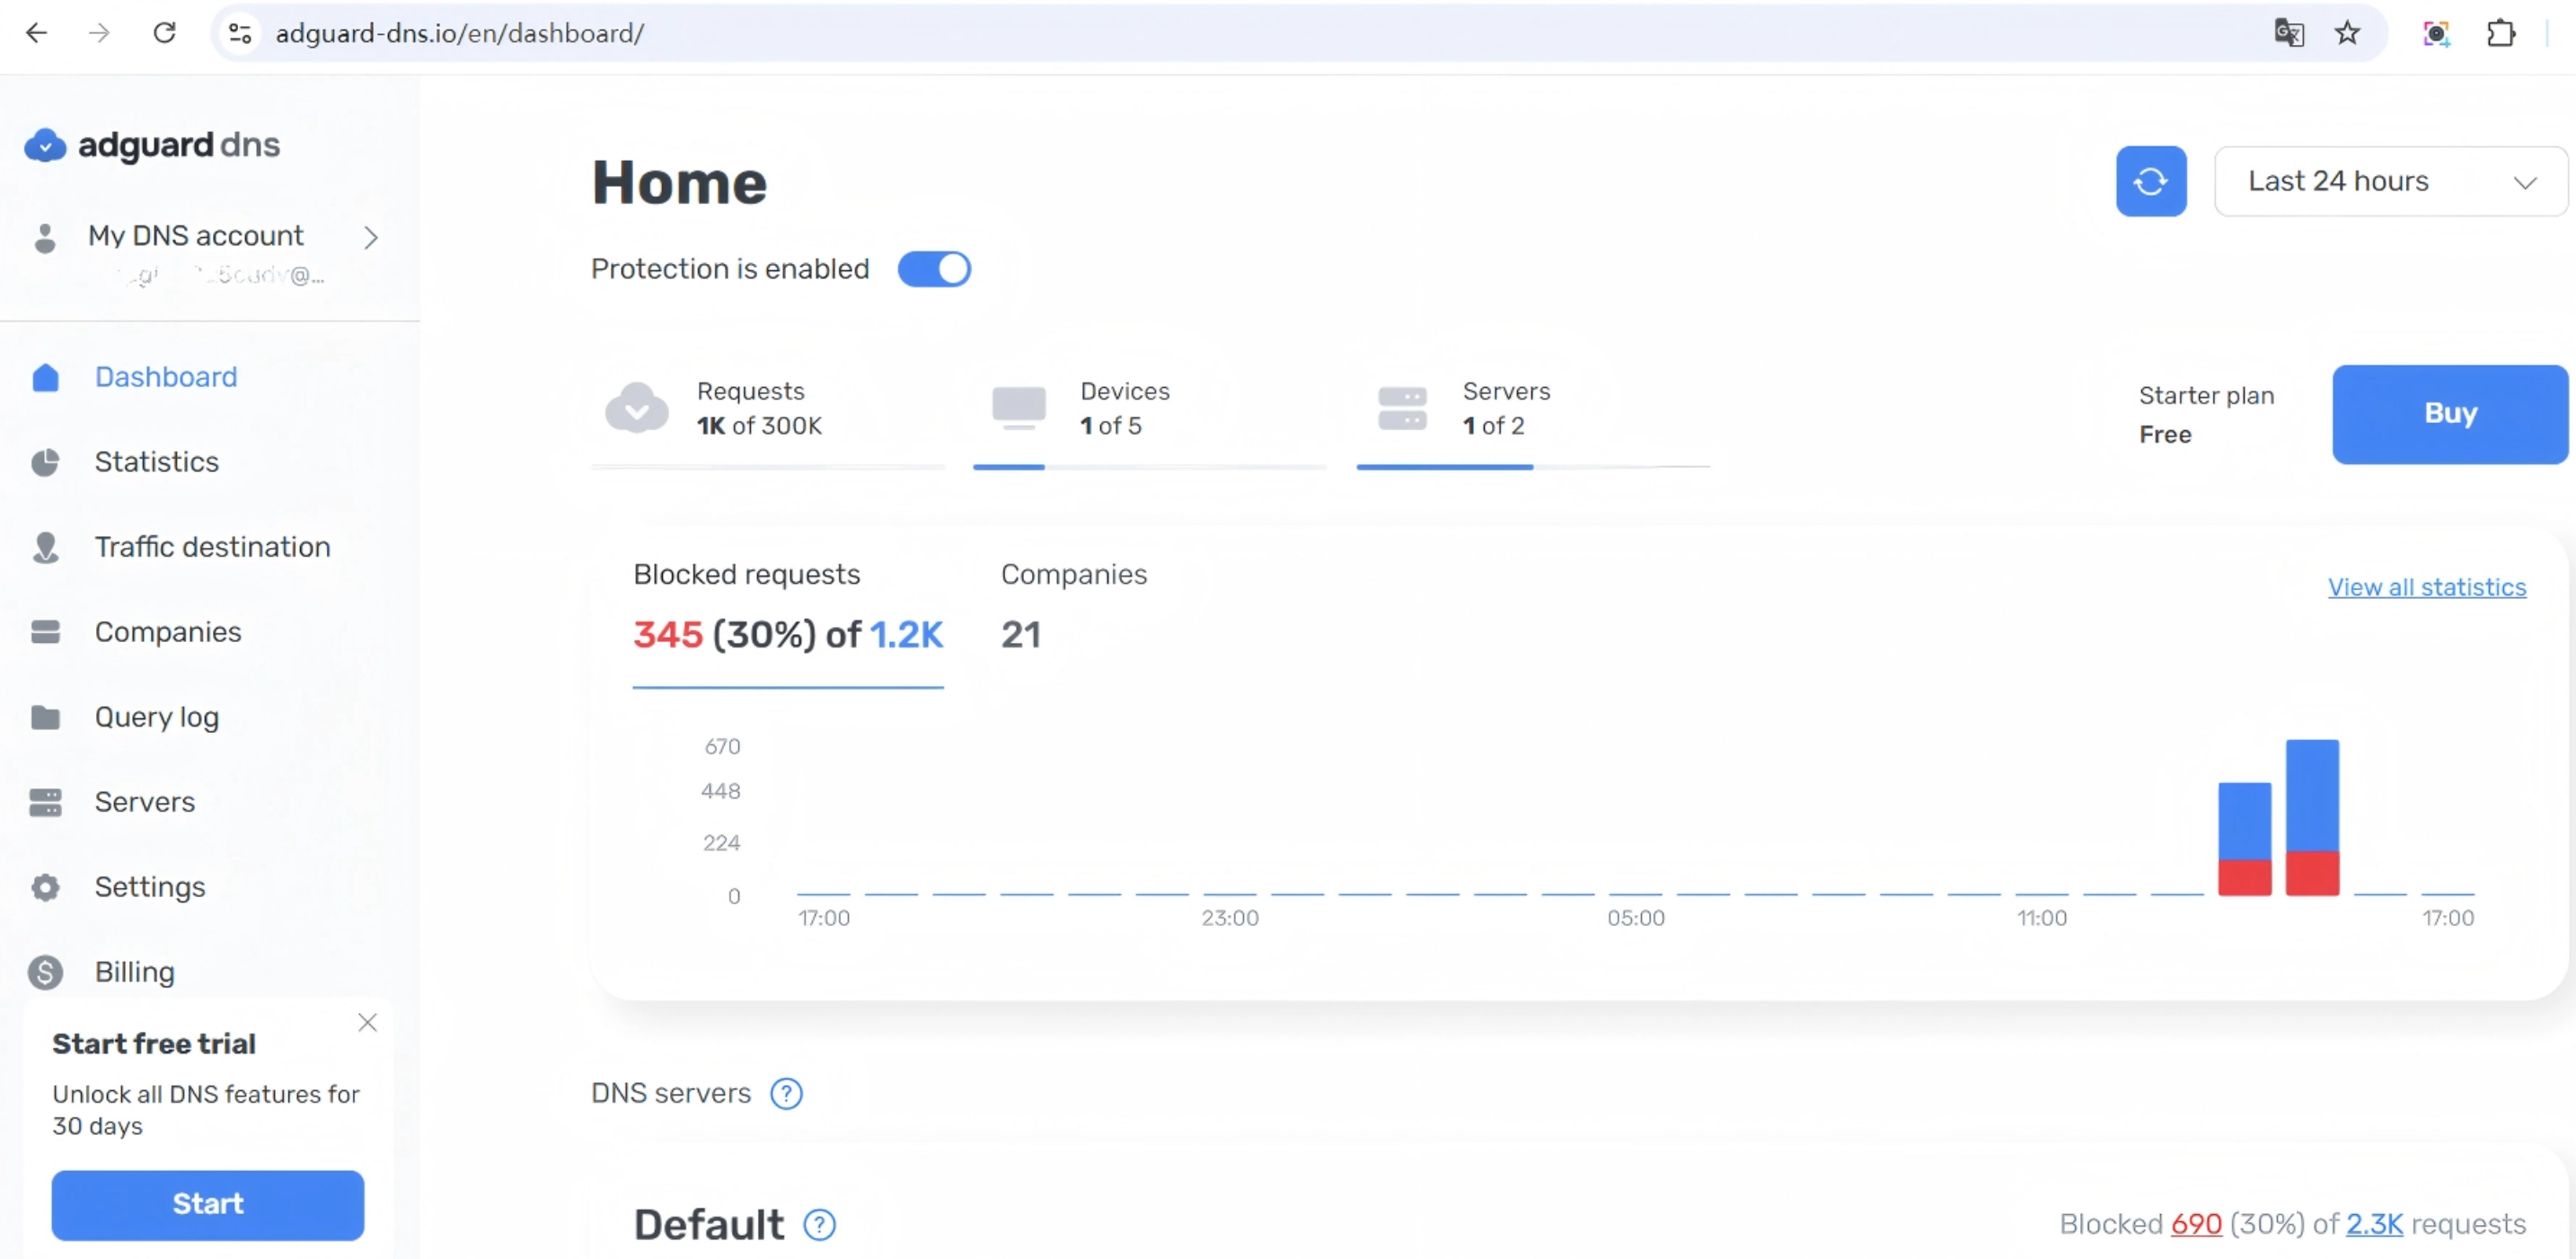
- Now AdGuard DNS is working to help block ads or other unwanted contents. For more settings, click Go to Dashboard.
Using the Web Interface
-
Log in your router's web interface at cudy.net or 192.168.10.1.
-
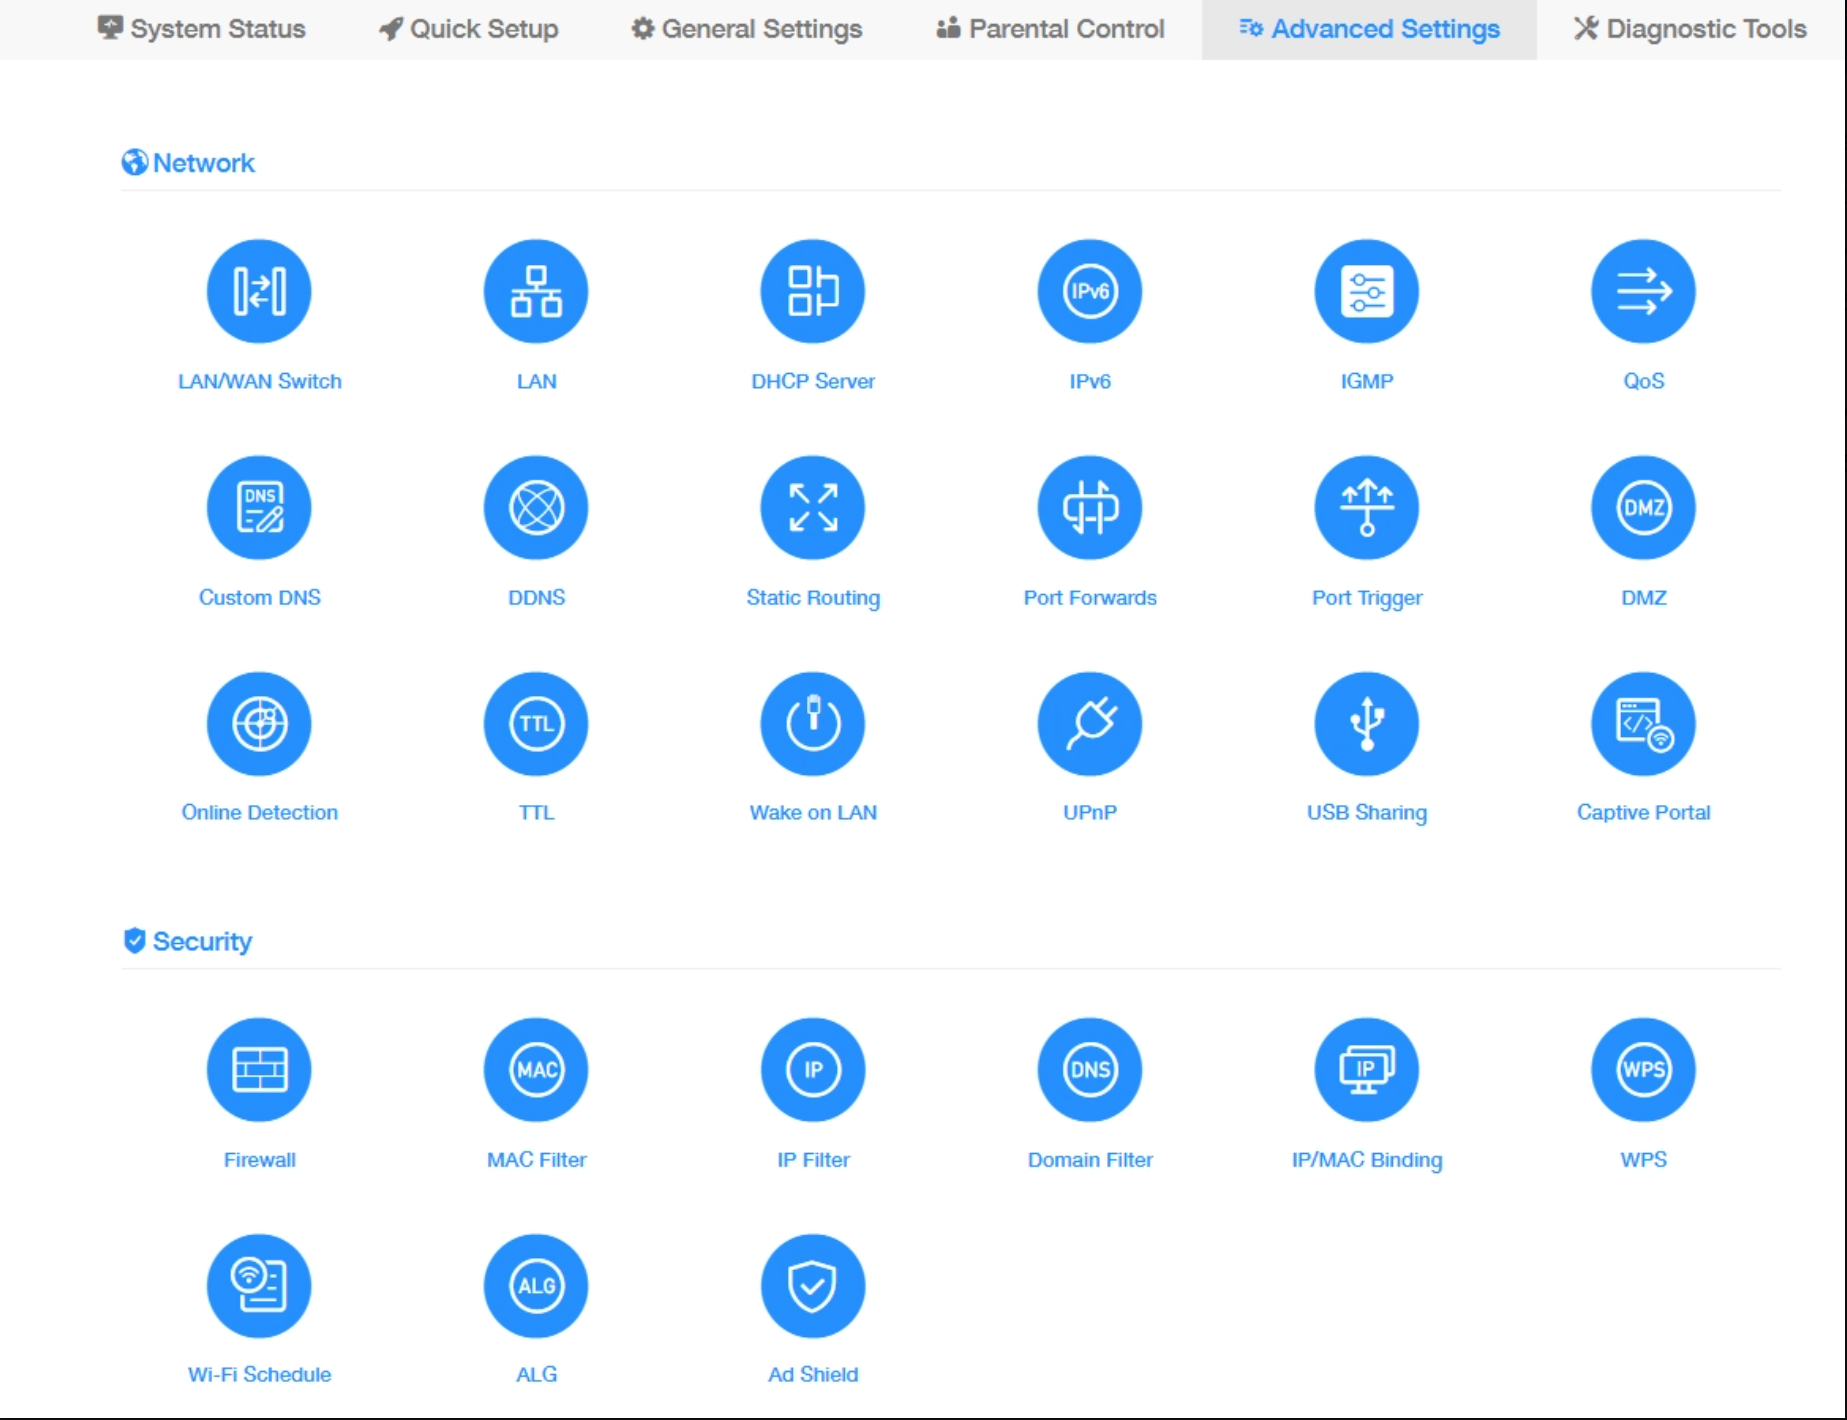
Go to Advanced Settings → Security → Ad Shield.
-
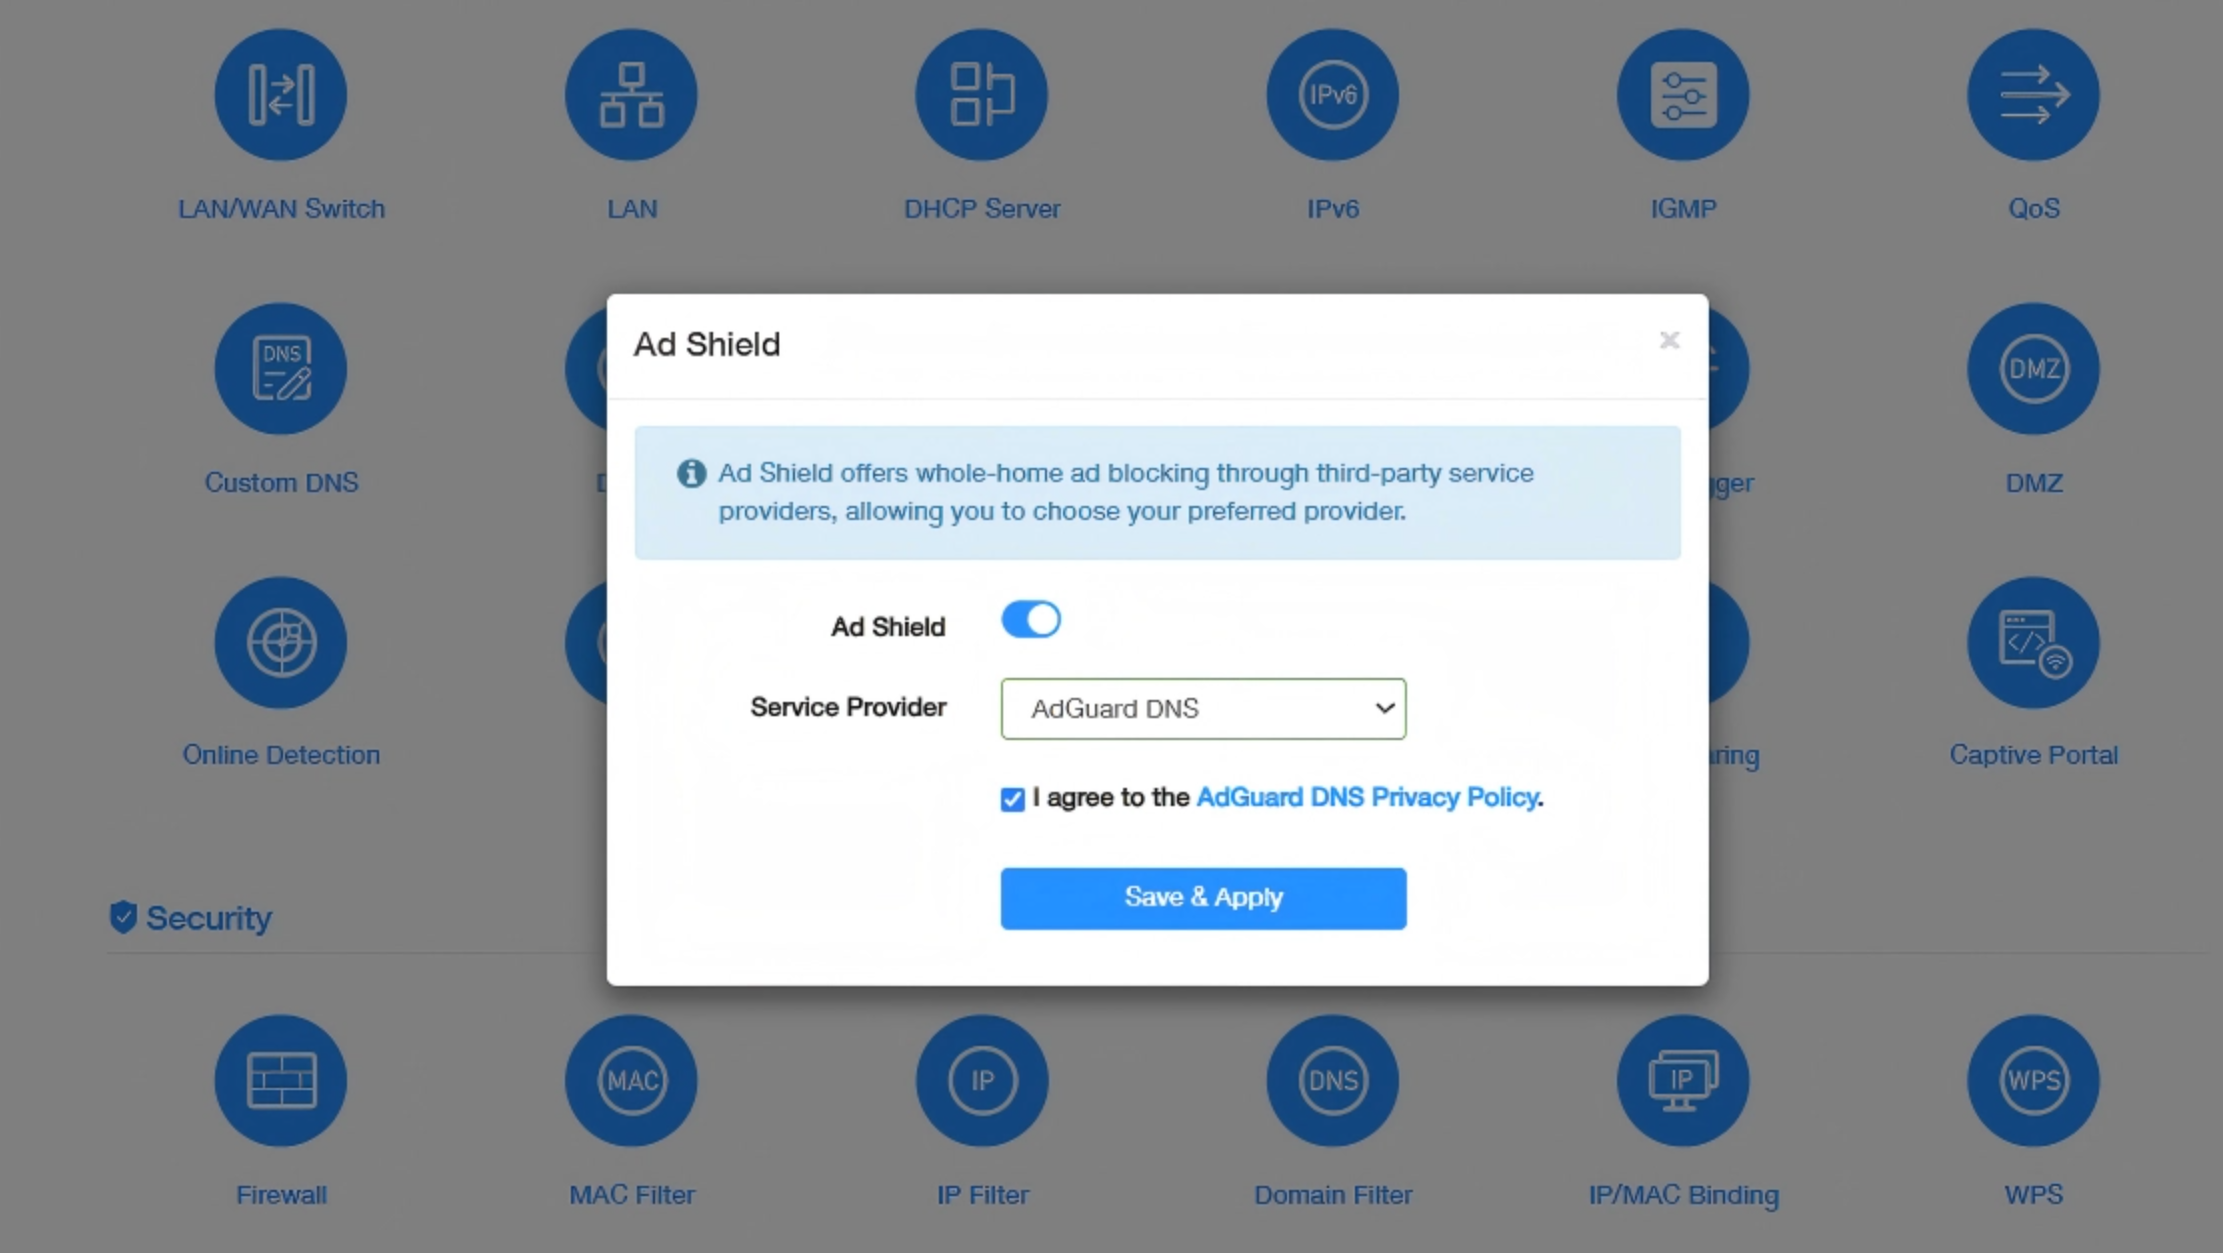
Enable Ad Shield and select AdGuard DNS as the service provider.
-
Tick I agree to the AdGuard DNS Privacy policy and click Save & Apply.
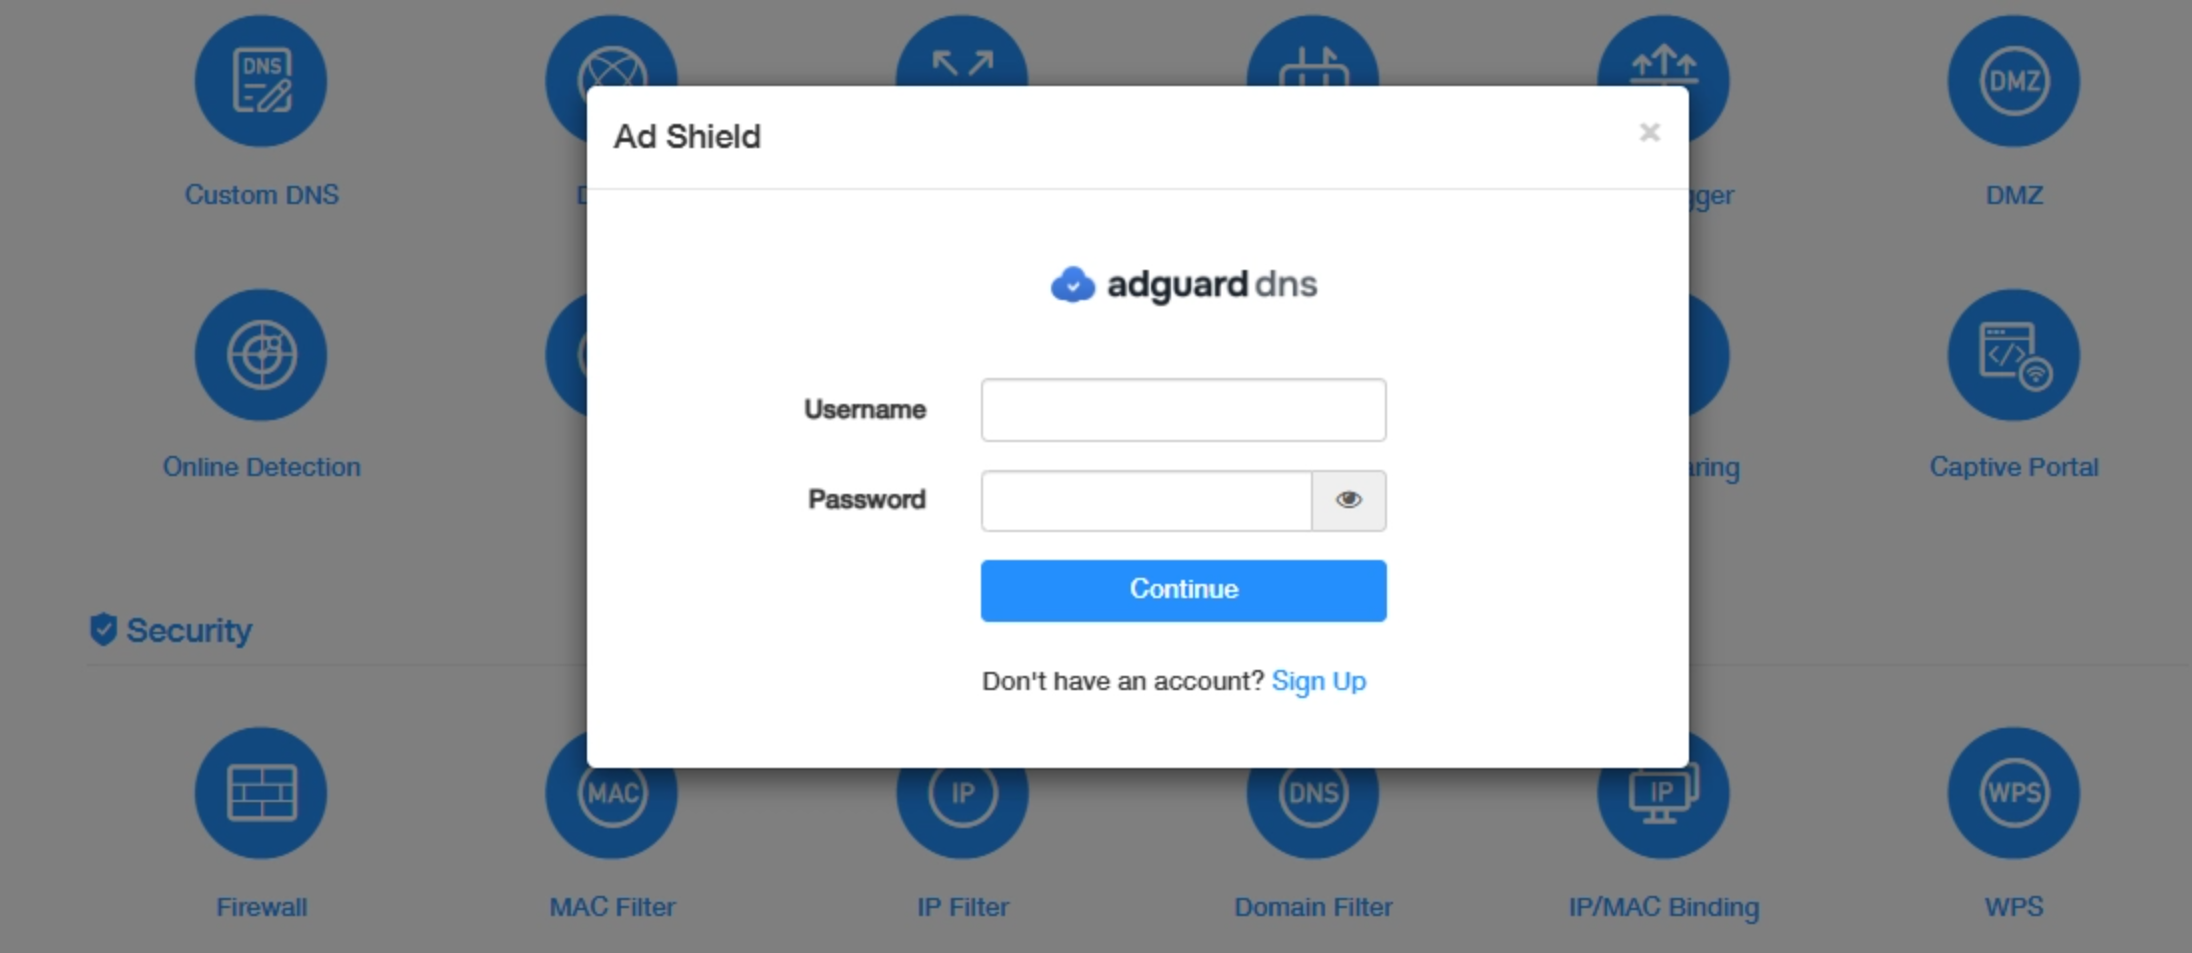
- Log in your Adguard DNS account with the username and password, and click Continue.
- Set Device Name, select Default in DNS Server, and click Save & Apply.
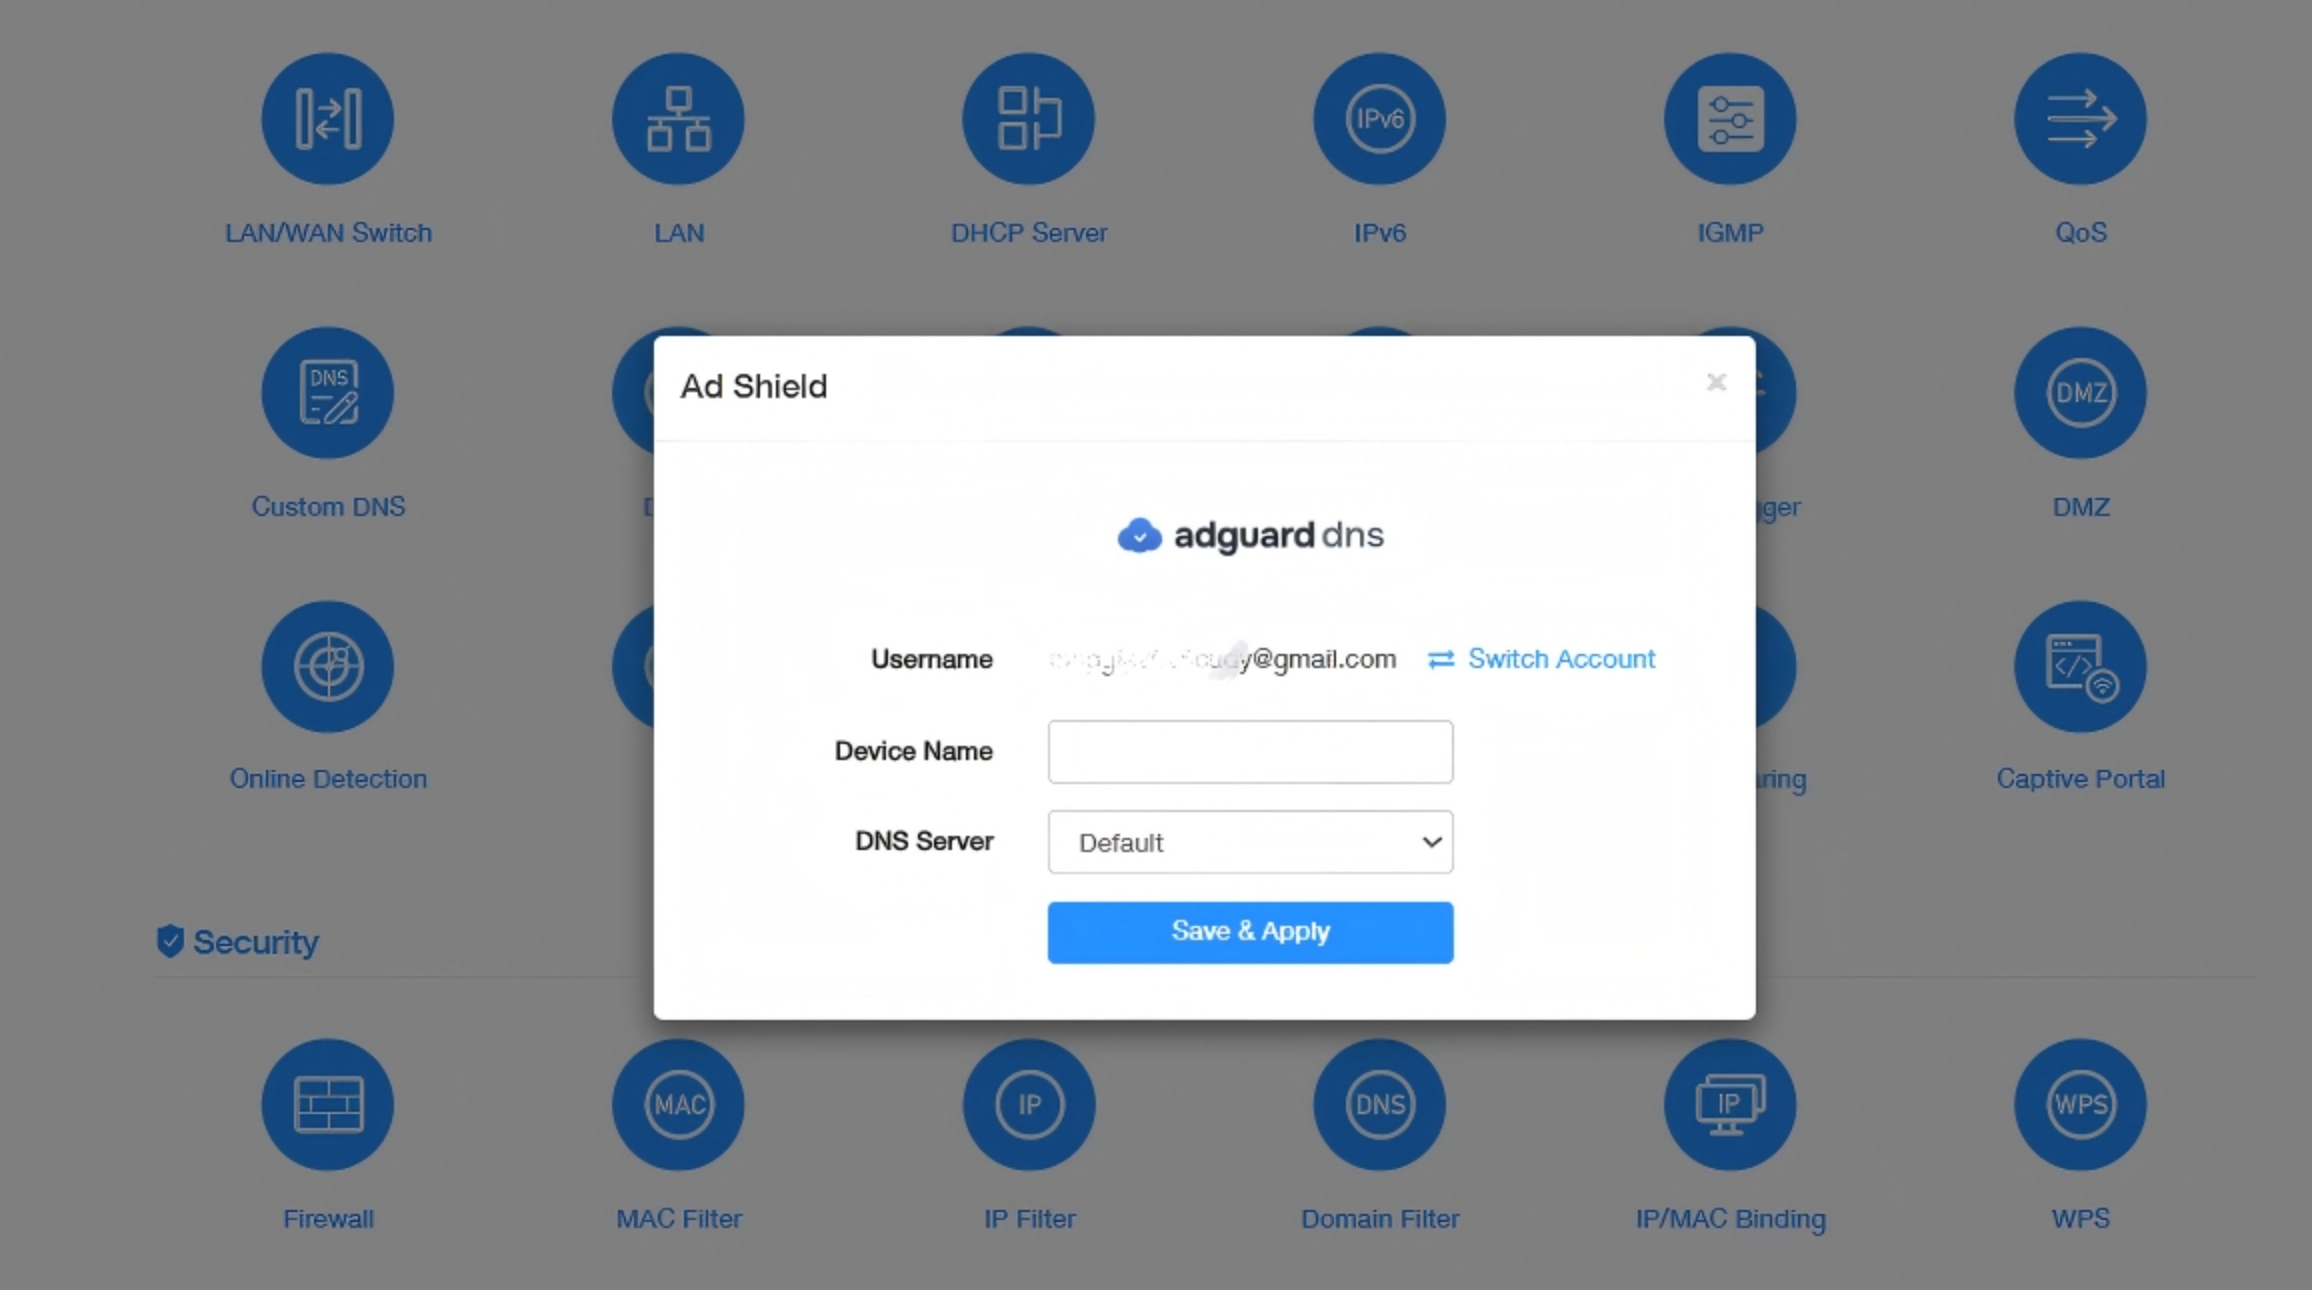
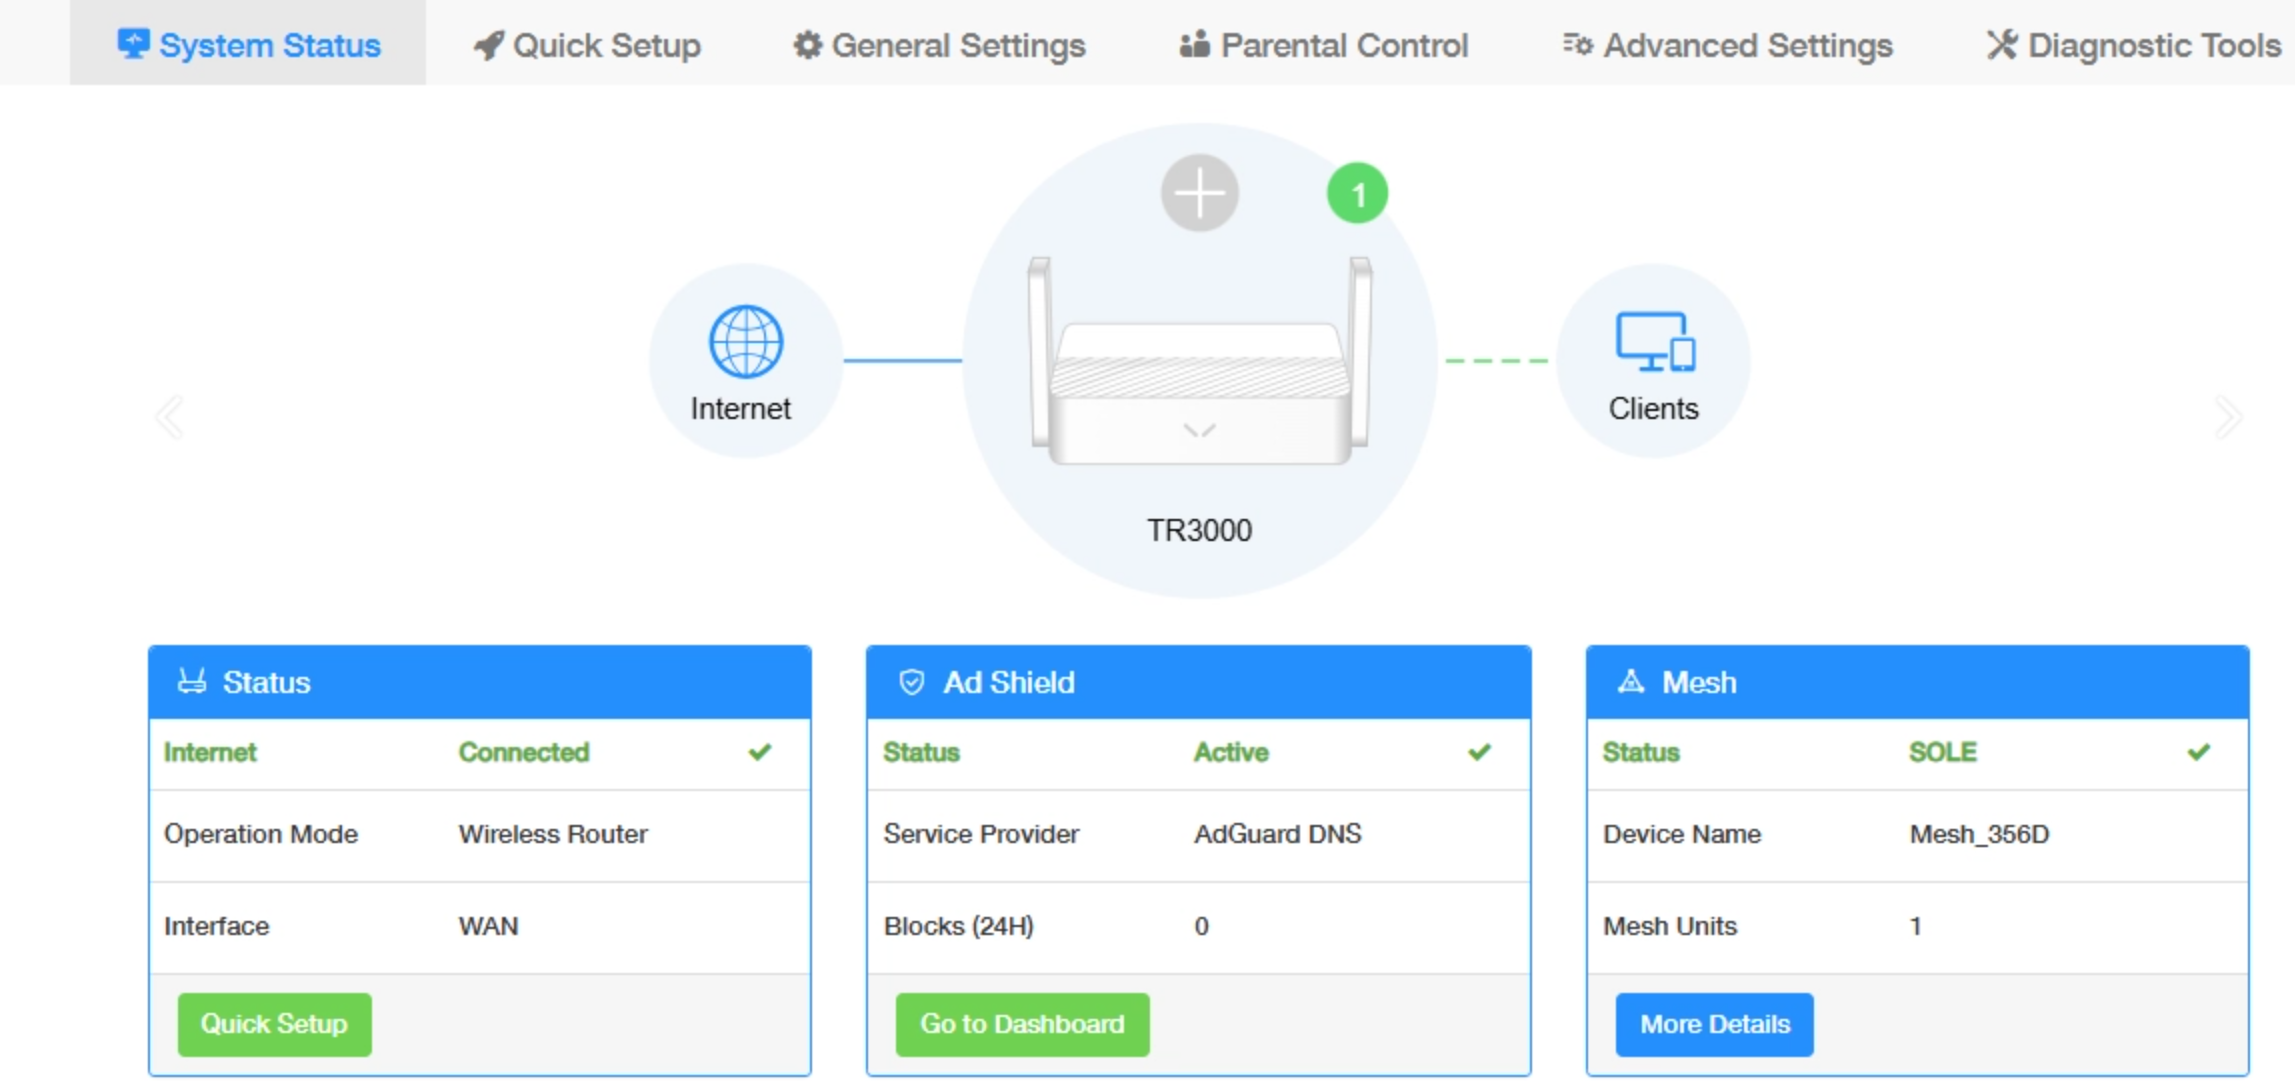
- Check the Active status on System Status → Ad Shield and click Go to Dashboard to set up AdGuard DNS.