Linux
Per collegare un dispositivo Linux ad AdGuard DNS, prima aggiungilo a Cruscotto:
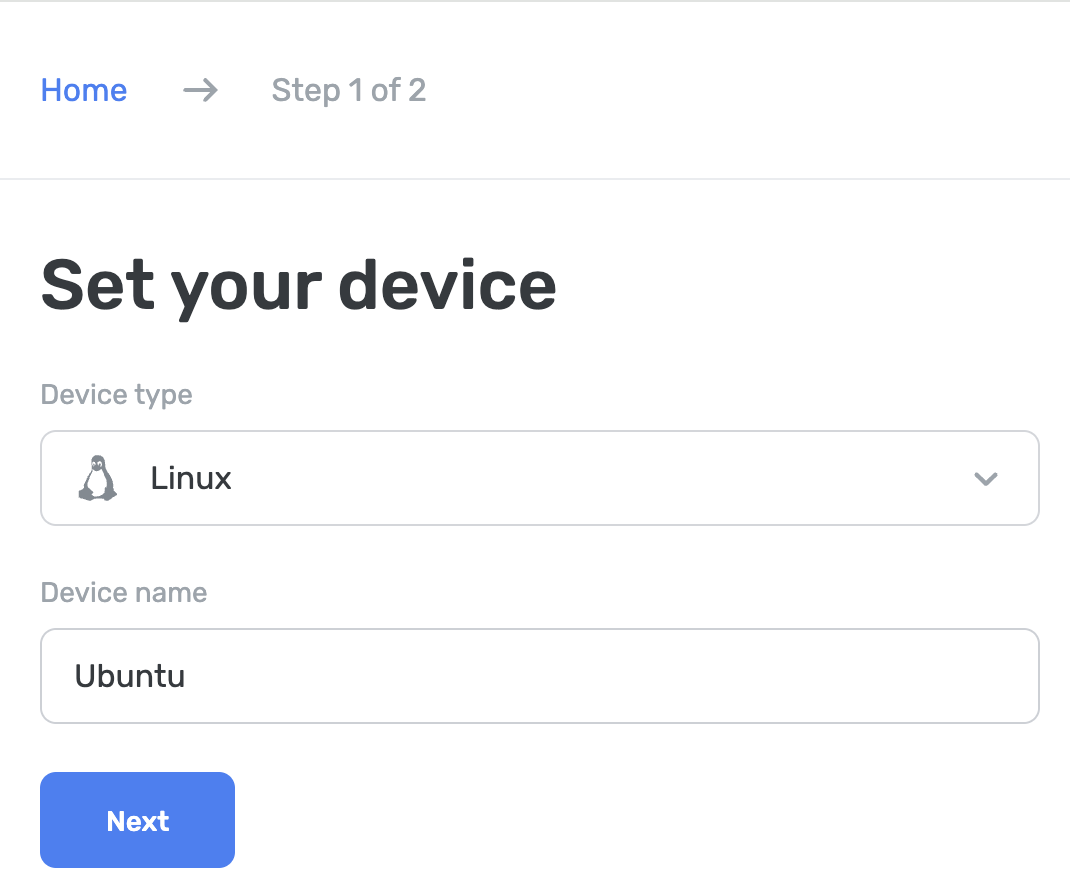
- Vai su Cruscotto e fai clic su Connetti nuovo dispositivo.
- Nel menu a tendina Tipo dispositivo, seleziona Linux.
- Assegna un nome al dispositivo.

Usa il Client AdGuard DNS
Il Client AdGuard DNS è un'utilità console multipiattaforma che ti consente di utilizzare protocolli DNS crittografati per accedere a AdGuard DNS.
Puoi saperne di più in questo articolo correlato.
Usa AdGuard VPN CLI
Puoi configurare AdGuard DNS privato utilizzando AdGuard VPN CLI (interfaccia a riga di comando). Per iniziare con AdGuard VPN CLI, dovrai utilizzare il Terminale.
- Installa AdGuard VPN CLI seguendo queste istruzioni.
- Vai alle impostazioni.
- Per impostare un server DNS specifico, usa il comando:
adguardvpn-cli config set-dns <server_address>, dove<server_address>è l'indirizzo del tuo server privato. - Attiva le impostazioni DNS inserendo
adguardvpn-cli config set-system-dns on.
Configura manualmente su Ubuntu (richiesta IP collegato o IP dedicato)
- Clicca su Sistema → Preferenze → Connessioni di rete.
- Seleziona la scheda Wireless, quindi scegli la rete a cui sei connesso.
- Vai a IPv4.
- Imposta Automatico (DHCP) su Manuale.
- Sostituisci gli indirizzi DNS elencati con gli indirizzi seguenti:
94.140.14.4994.140.14.59
- Clicca su Applica.
- Vai a IPv6.
- Imposta Automatico su Manuale.
- Sostituisci gli indirizzi DNS elencati con gli indirizzi seguenti:
2a10:50c0:0:0:0:0:ded:ff2a10:50c0:0:0:0:0:dad:ff
- Clicca su Applica.
- Collega il tuo indirizzo IP (o il tuo IP dedicato se hai un abbonamento Team):
Configura manualmente su Debian (richiesta IP collegato o IP dedicato)
- Apri il Terminale.
- Nella riga di comando, digita:
su. - Inserisci la tua password
admin. - Nella riga di comando, digita:
nano /etc/resolv.conf. - Modifica gli indirizzi DNS elencati come segue:
- IPv4:
94.140.14.49 e 94.140.14.59 - IPv6:
2a10:50c0:0:0:0:0:ded:ff e 2a10:50c0:0:0:0:0:dad:ff
- IPv4:
- Premi Ctrl + O per salvare il documento.
- Premi Invio.
- Premi Ctrl + X per salvare il documento.
- Nella riga di comando, digita:
/etc/init.d/networking restart. - Premi Invio.
- Chiudi il Terminale.
- Collega il tuo indirizzo IP (o il tuo IP dedicato se hai un abbonamento Team):
Usa dnsmasq
Installa dnsmasq utilizzando i seguenti comandi:
sudo apt updatesudoapt installdnsmasqsudo nano /etc/dnsmasq.confUsa i seguenti comandi in dnsmasq.conf:
no-resolvbogus-privstrict-orderserver=94.140.14.49server=94.140.14.59port=5353add-cpe-id={Your_Device_ID}Riavvia il servizio dnsmasq:
sudo service dnsmasq restart
Tutto fatto! Il tuo dispositivo è connesso correttamente a AdGuard DNS.
Se vedi una notifica che non sei connesso a AdGuard DNS, molto probabilmente la porta su cui dnsmasq è in esecuzione è occupata da altri servizi. Usa queste istruzioni per risolvere il problema.
Usa EDNS (DNS Esteso)
EDNS estende il protocollo DNS, abilitando i pacchetti UDP più grandi a trasportare dati aggiuntivi. In AdGuard DNS, consente il passaggio del DeviceID nel DNS semplice usando un parametro extra.
DeviceID, un identificatore esadecimale a otto cifre (ad es., 1a2b3c4d), aiuta a collegare le richieste DNS a dispositivi specifici. Per il DNS crittografato, questo ID è parte del dominio (ad esempio, 1a2b3c4d.d.adguard-dns.com). Per il DNS non crittografato, è necessario EDNS per trasferire questo identificatore.
AdGuard DNS usa EDNS per recuperare il DeviceID cercando il numero di opzione 65074. Se esiste un'opzione del genere, leggerà il DeviceID da lì. Per questo, puoi usare il comando dig nel terminale:
dig @94.140.14.49 'www.example.com' A IN +ednsopt=65074:3031323334353637
Qui, 65074 è l'ID dell'opzione, e 3031323334353637 è il suo valore in formato esadecimale (DeviceID: 01234567).
Tutto fatto! Il DeviceID deve essere visualizzato.
Il comando dig è solo un esempio, puoi usare qualsiasi programma DNS con la capacità di aggiungere opzioni EDNS per eseguire questa azione.
Usa DNS semplice
Se preferisci non utilizzare software aggiuntivo per la configurazione DNS, puoi optare per DNS non crittografati. Hai due opzioni: utilizzare IP collegati o IP dedicati: