Android
Чтобы подключить устройство Android к AdGuard DNS, сначала добавьте его на Панель управления:
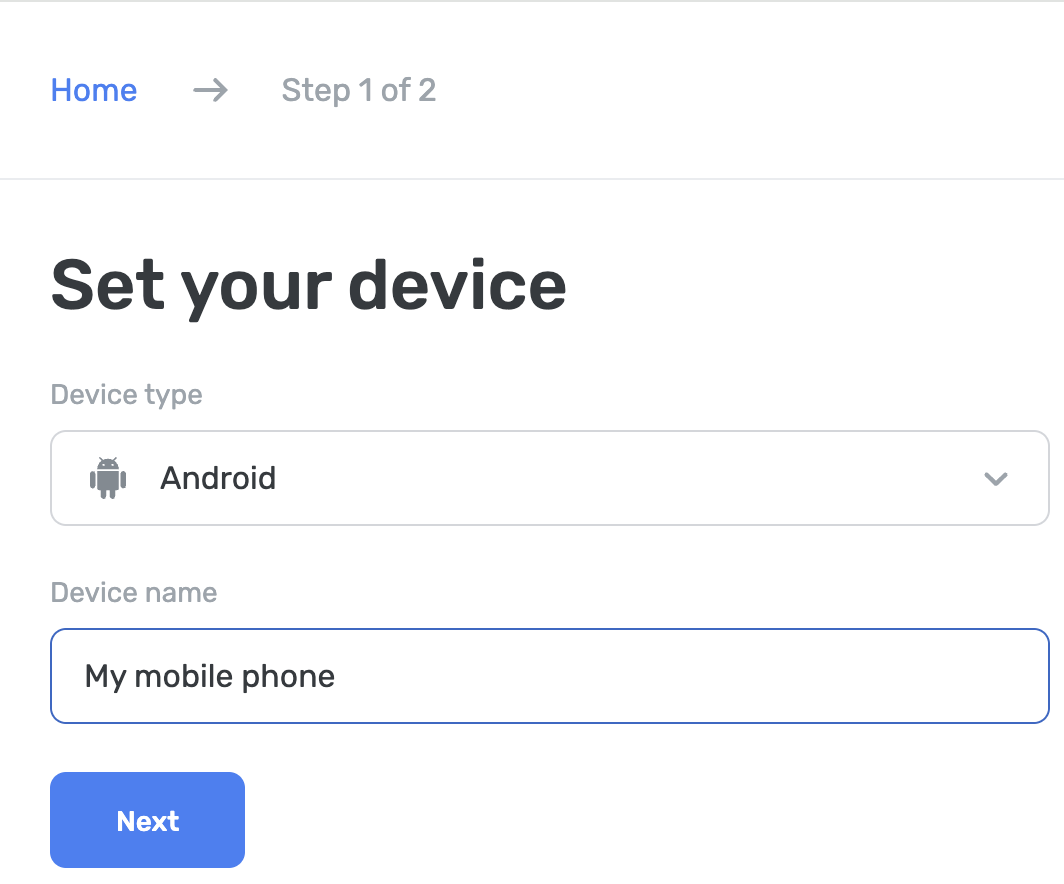
- Перейдите на Панель управления и нажмите Добавить устройство.
- В выпадающем меню Тип устройства выберите Android.
- Назовите устройство.
Через AdGuard DNS
Приложение AdGuard DNS предназначено для базовой защиты на уровне DNS — блокировки рекламы, трекеров и вредоносных сайтов. Если вам не нужен полный набор функций, которые предлагают Блокировщик рекламы AdGuard или AdGuard VPN, этот вариант может стать для вас оптимальным.
Чтобы настроить устройство:
Перейдите на Панель управления AdGuard DNS по адресу adguard-dns.io/dashboard.
Click Connect device on the Home tab.
Выберите тип устройства и дайте ему название, затем нажмите Далее.
Разверните раздел Через приложения AdGuard.
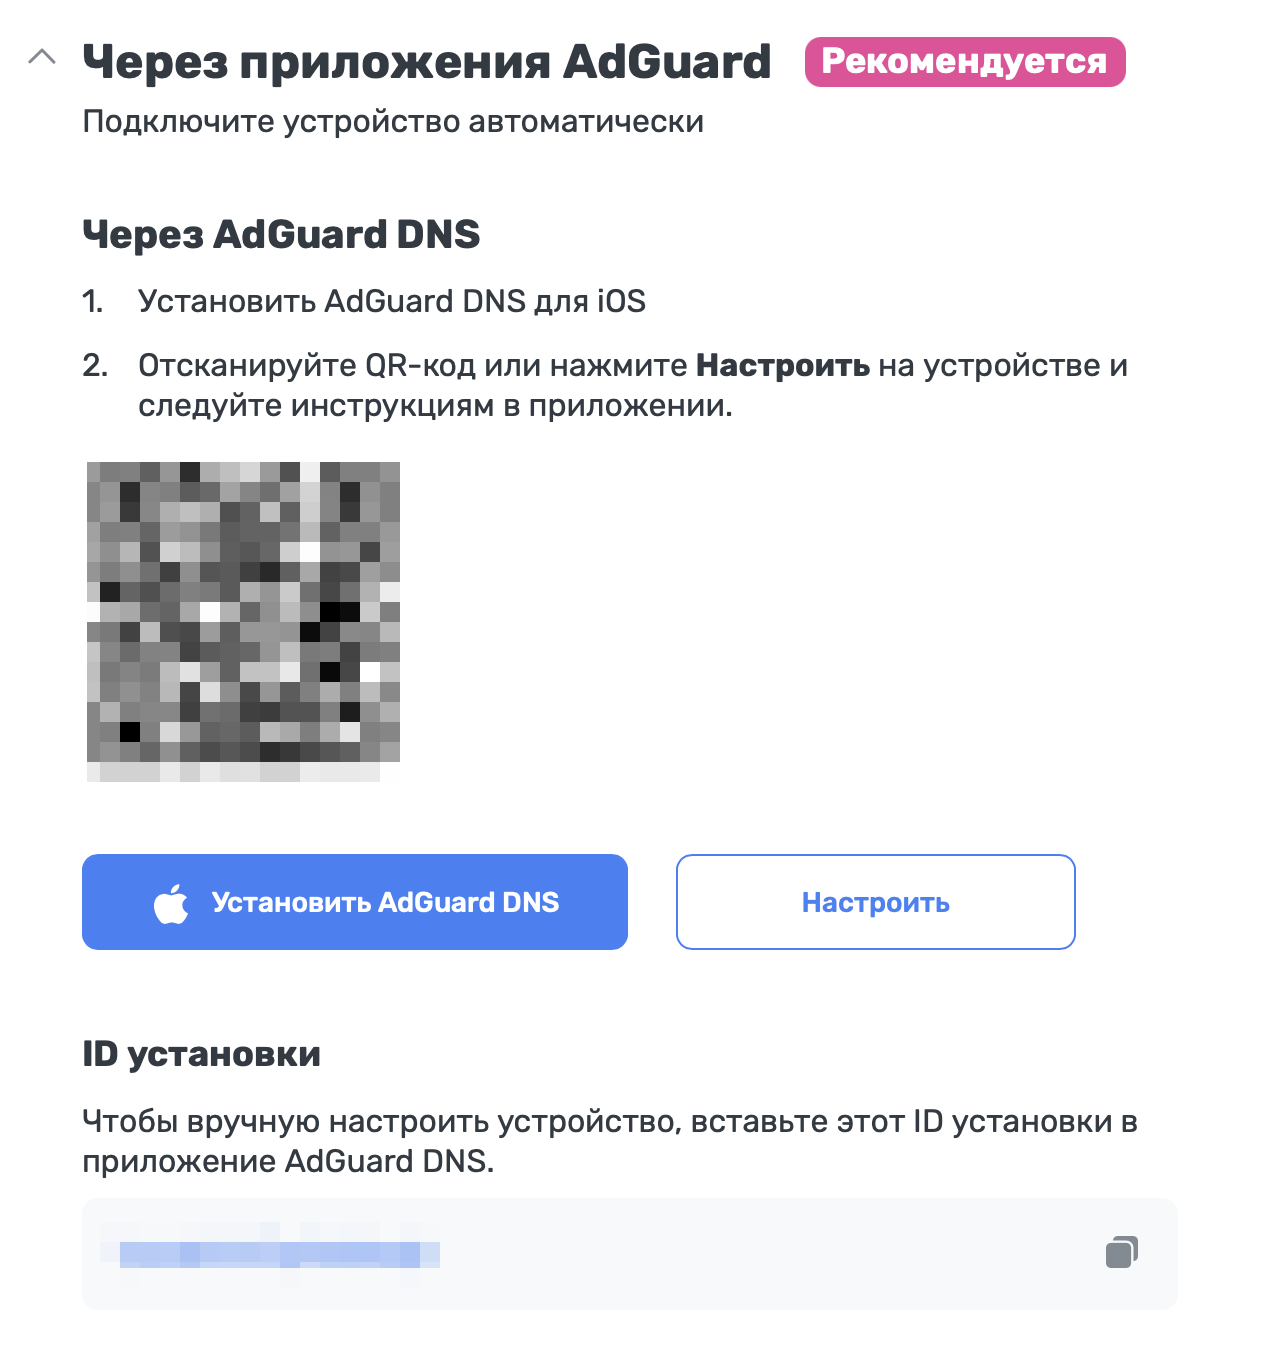
В разделе Через AdGuard DNS выберите один из следующих способов настройки:
Нажмите Настроить на устройстве, которое хотите защитить.
Отсканируйте QR-код с помощью устройства, которое хотите защитить.
Скопируйте ID установки и вставьте его в приложение.
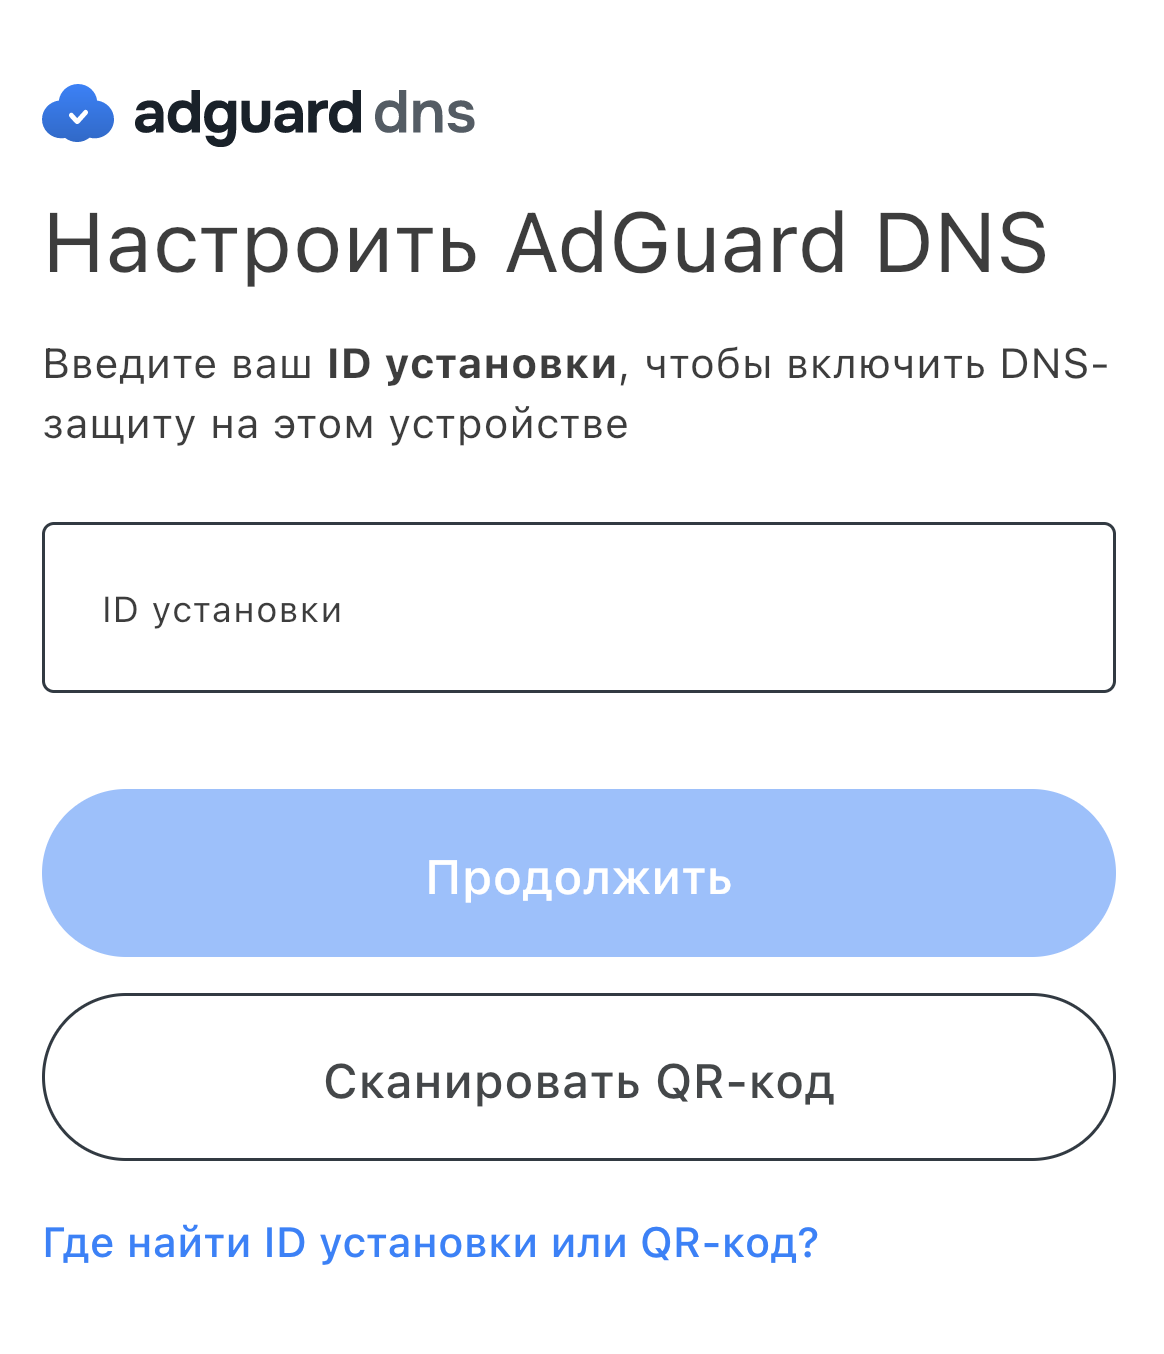
Нажмите Продолжить → Подключиться.
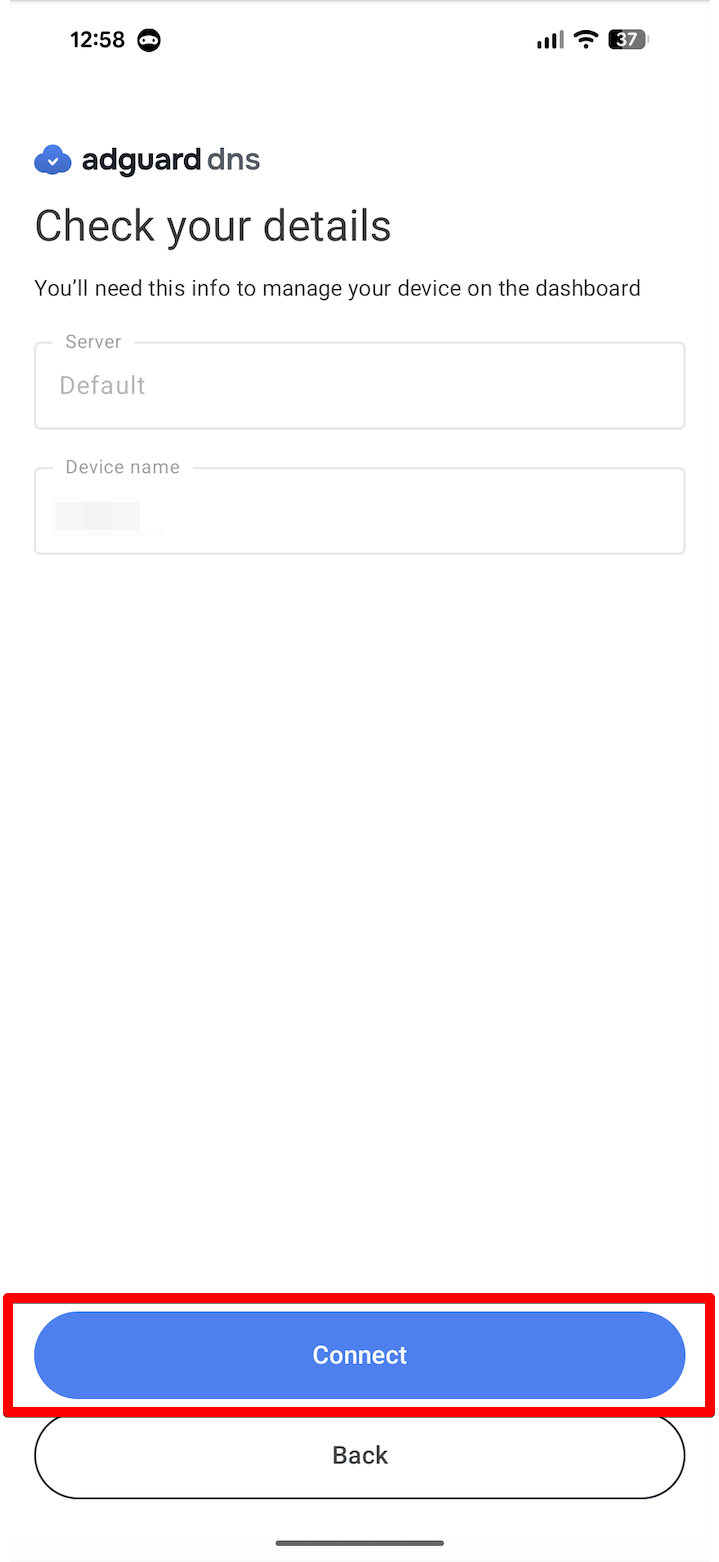
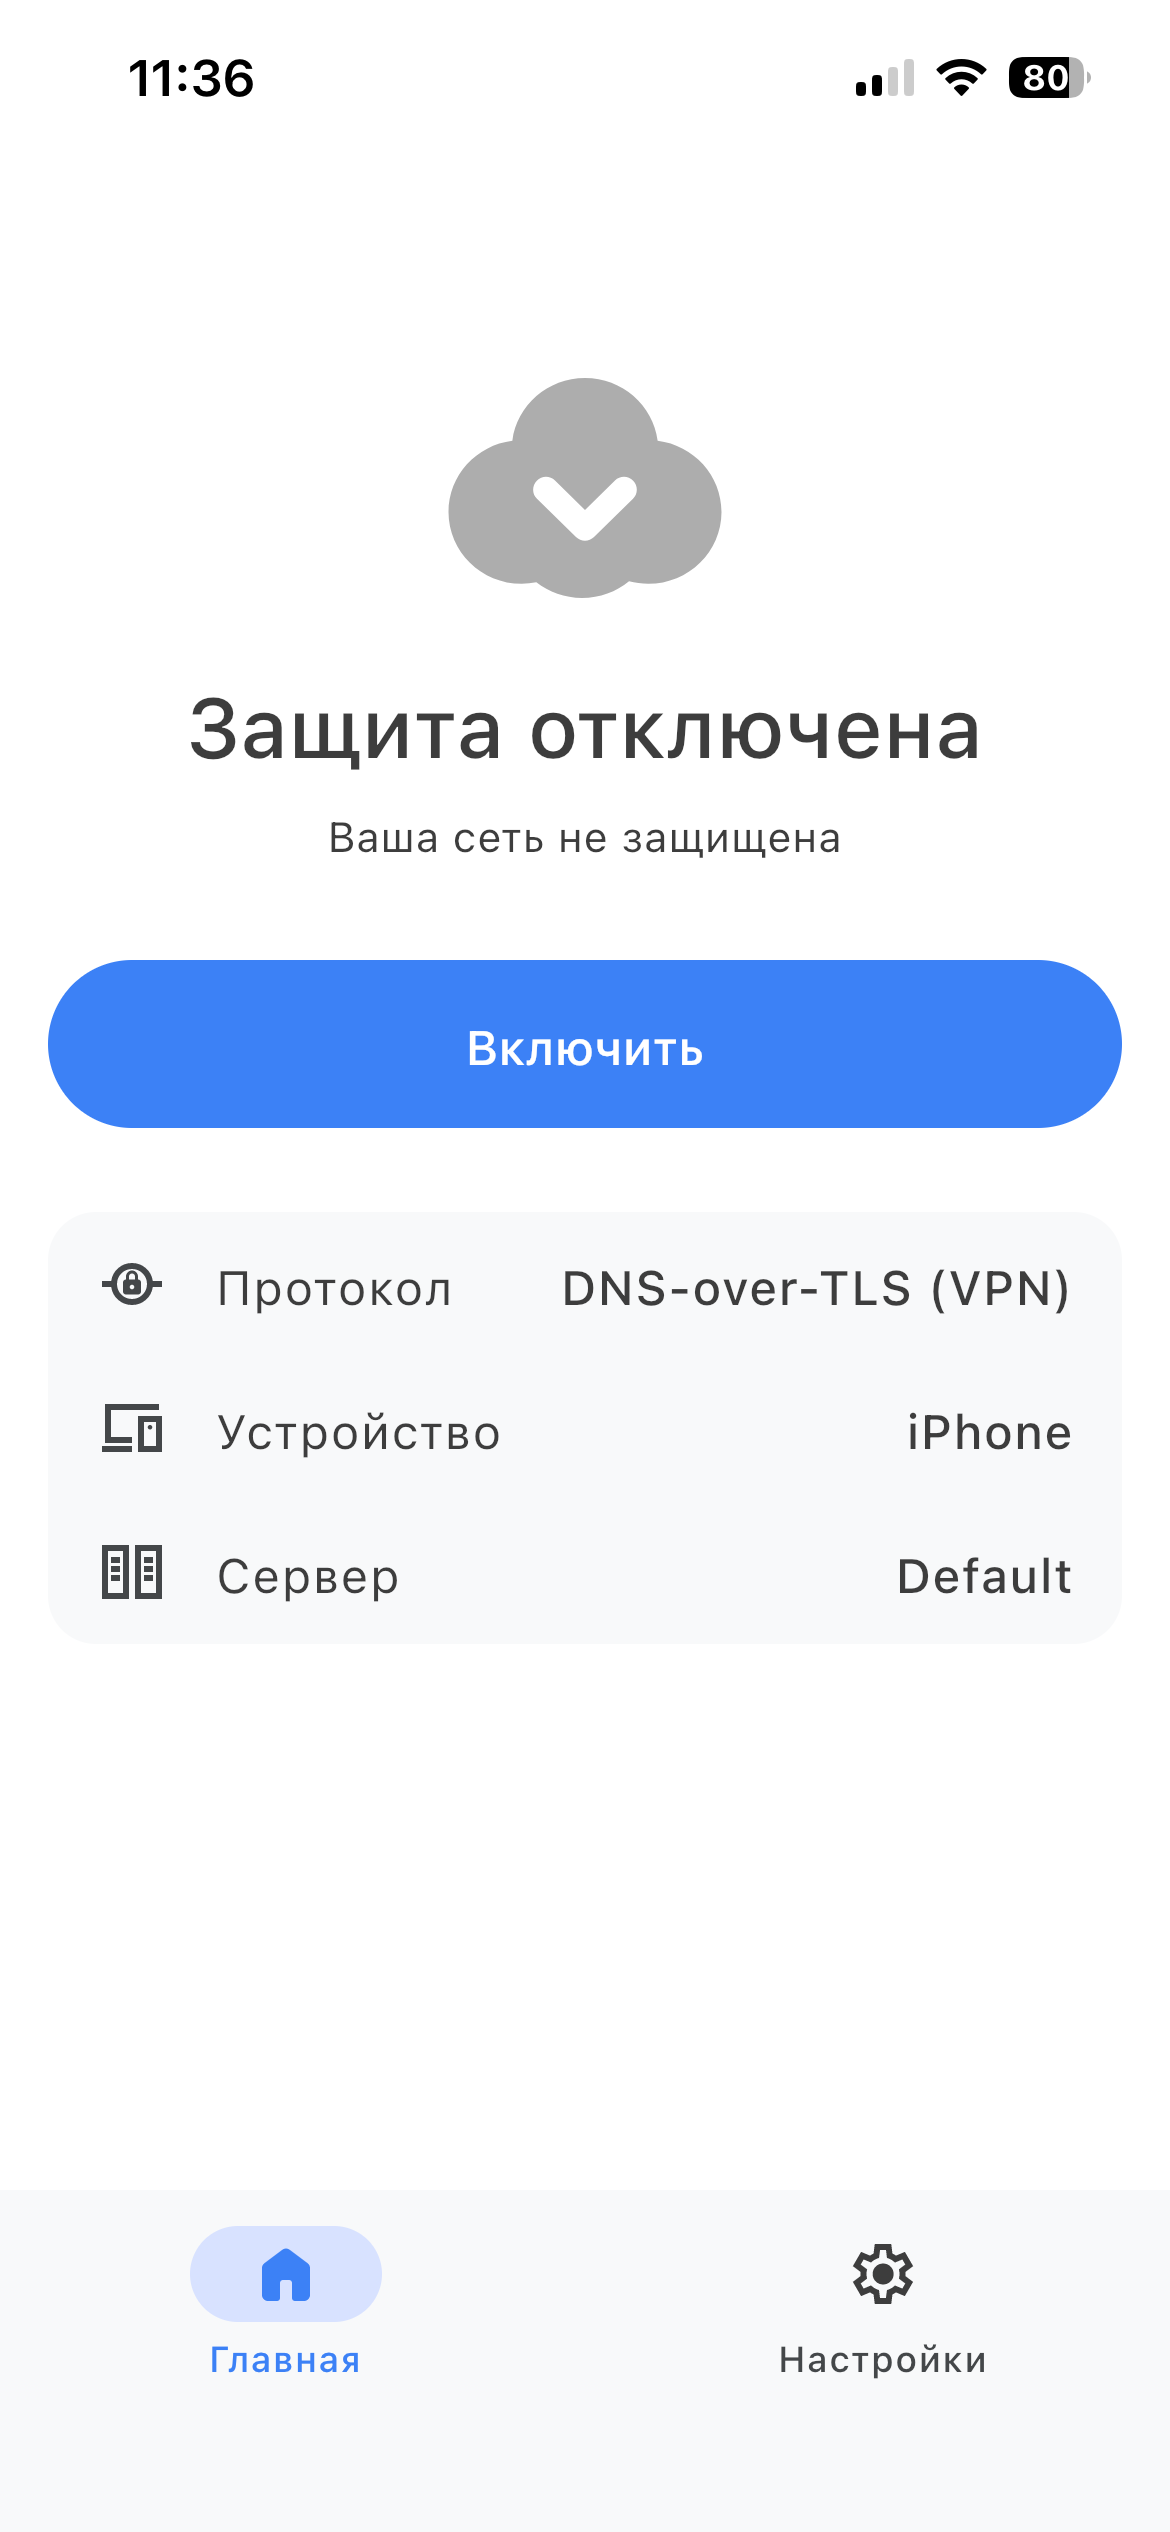
При использовании протокола на основе VPN сначала нужно разрешить создание VPN-профиля. Для этого перейдите на главную страницу приложения, нажмите Включить и следуйте инструкции.
Готово! Ваше устройство успешно подключено к AdGuard DNS. Нажимайте Включить каждый раз, когда хотите запустить защиту.
Используйте Блокировщик рекламы AdGuard (платная опция)
Приложение AdGuard позволяет использовать зашифрованный DNS, что делает его идеальным для настройки AdGuard DNS на вашем устройстве Android. Вы можете выбрать различные протоколы шифрования. Вместе с фильтрацией DNS вы также получите отличный блокировщик рекламы, который работает во всей системе.
- Установите приложение AdGuard на устройство, к которому вы хотите подключиться через AdGuard DNS.
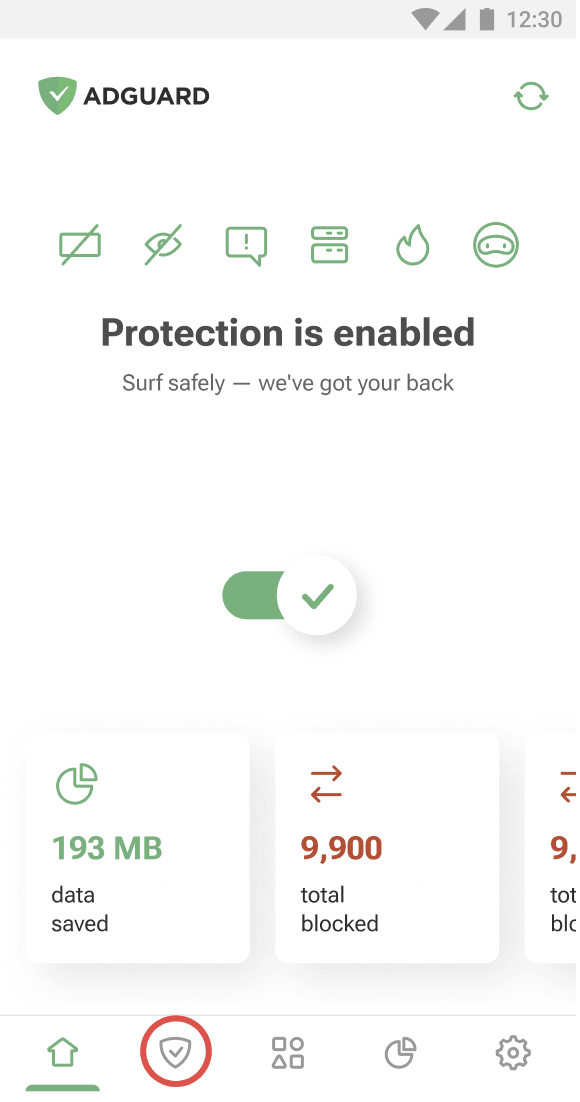
- Откройте приложение.
- Нажмите на значок щита в меню внизу экрана.
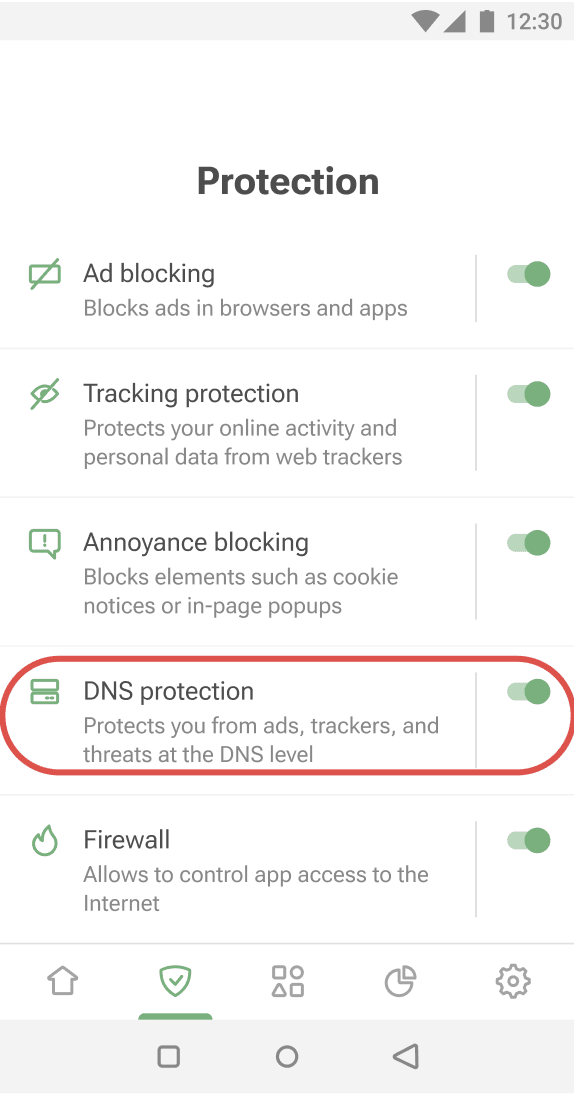
- Нажмите «DNS-защита».
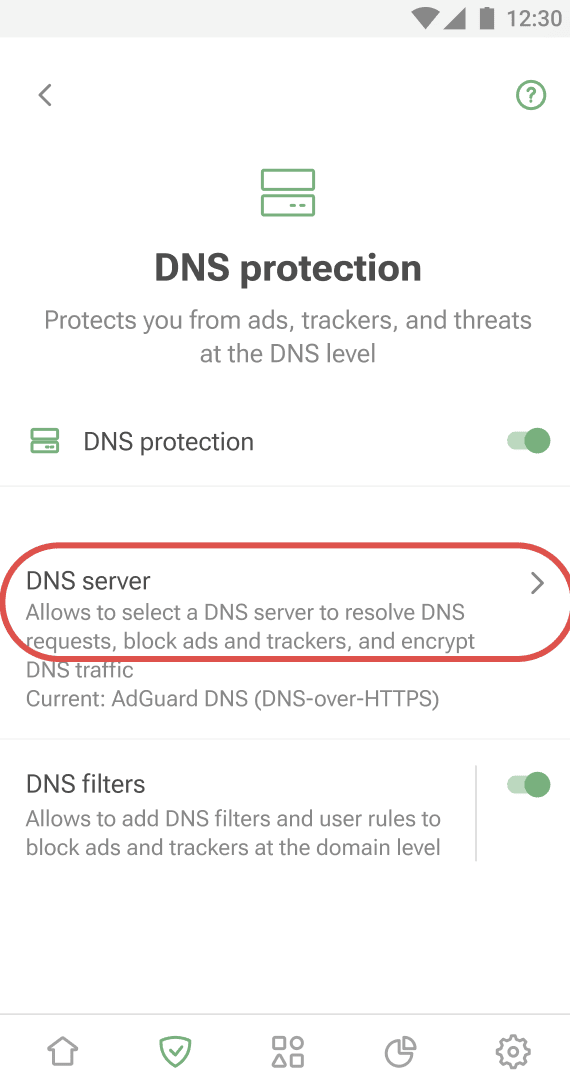
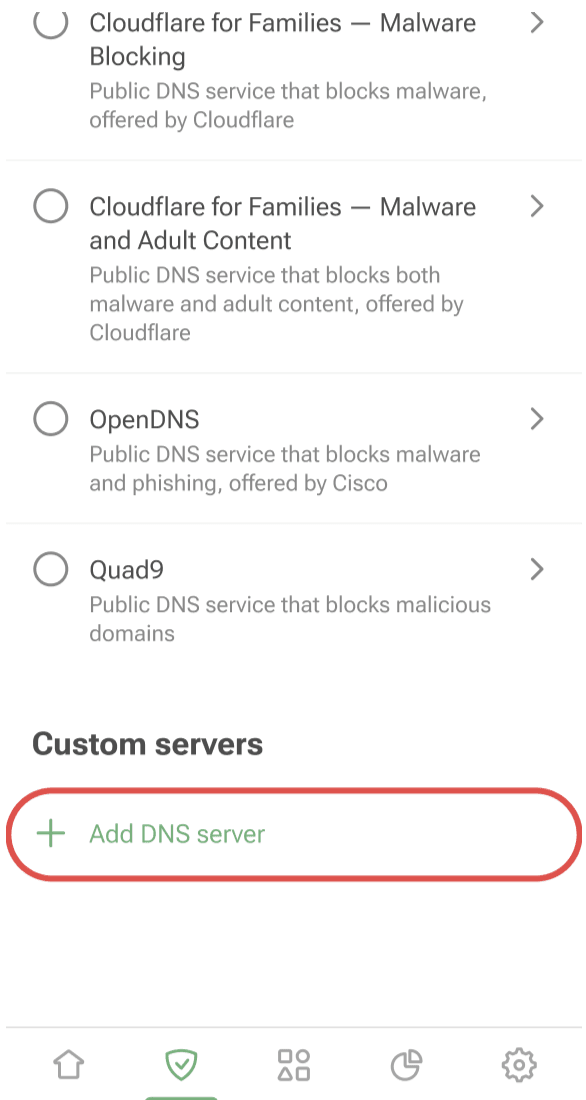
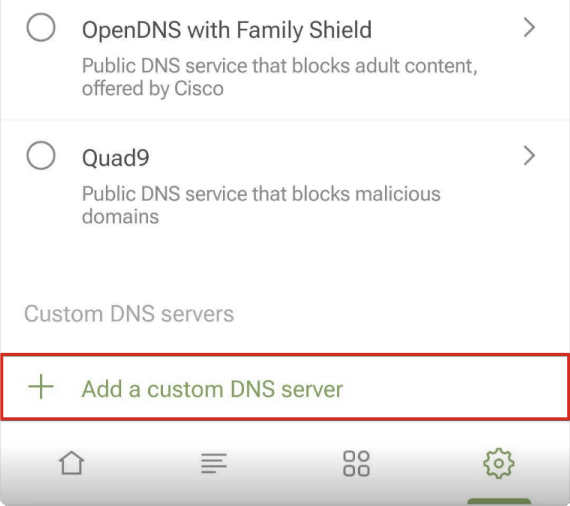
- Выберите DNS-сервер.
- Прокрутите вниз до раздела «Пользовательские серверы» и нажмите Добавить DNS-сервер.
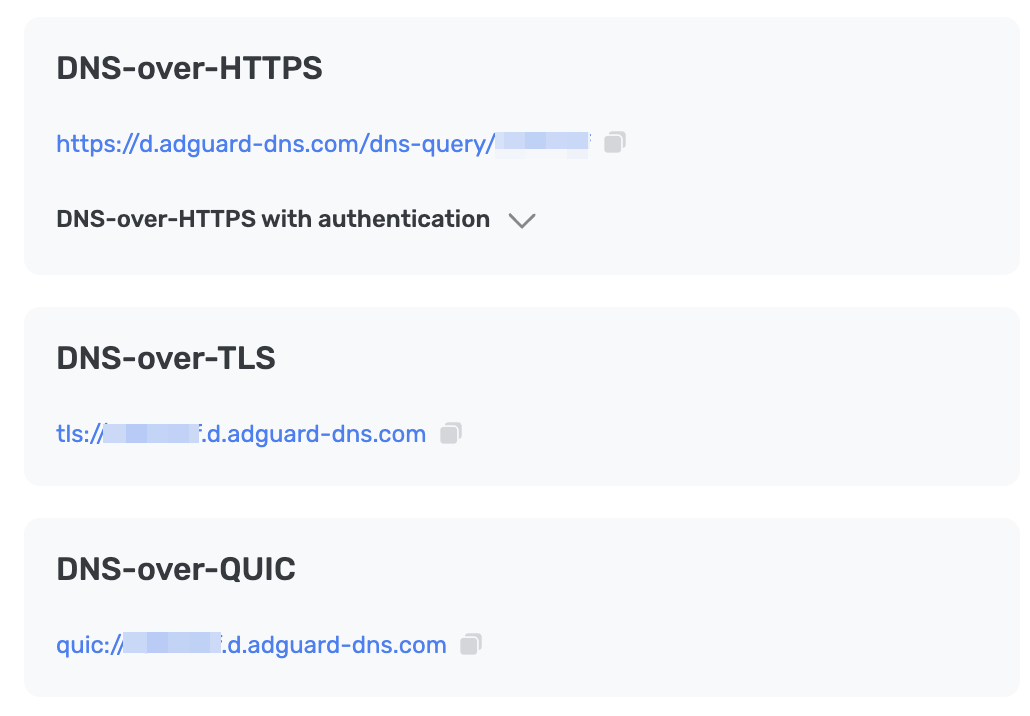
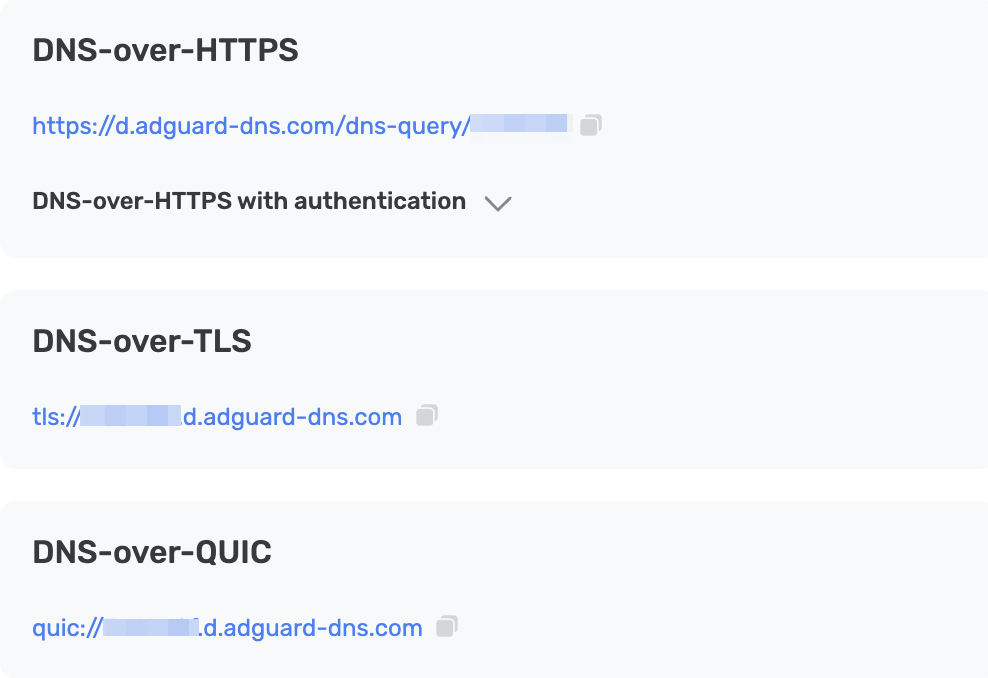
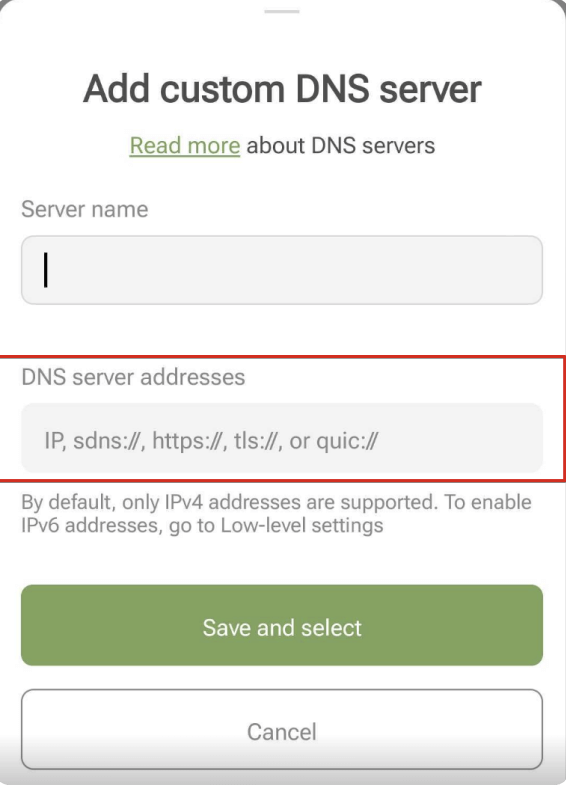
- Скопируйте один из следующих DNS-адресов и вставьте его в поле Адреса серверов в приложении. Если вы не уверены, какой выбрать, выберите DNS-over-HTTPS.
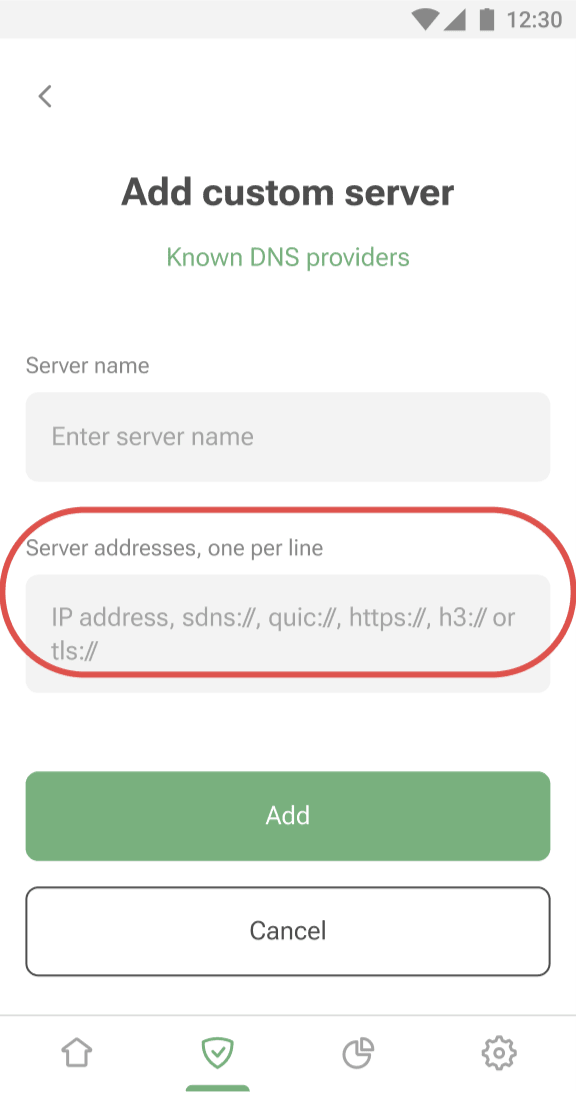
- Нажмите Добавить.
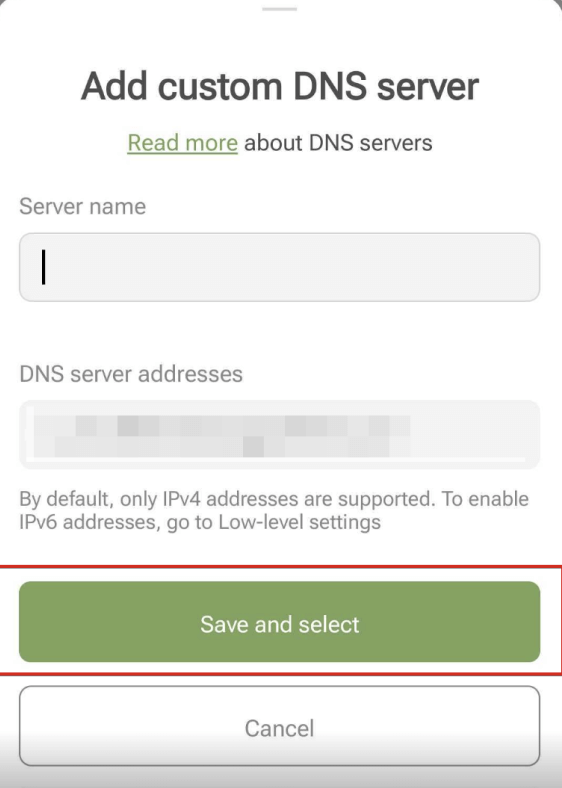
- Добавленный вами DNS-сервер появится внизу списка Пользовательских серверов. Чтобы его выбрать, нажмите на его название или на кнопку-переключатель рядом с ним.
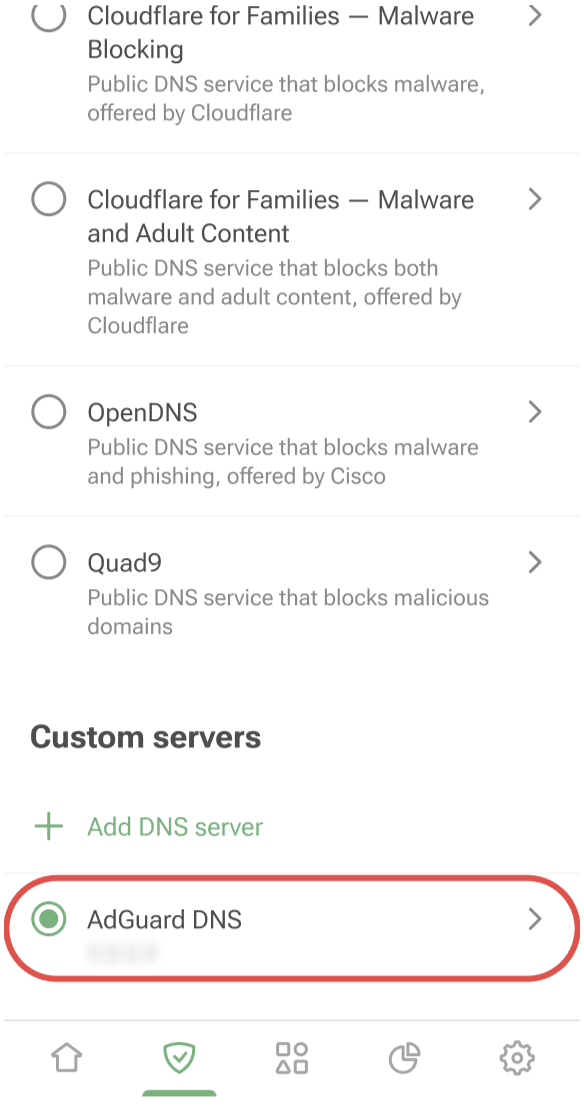
- Нажмите Сохранить и выбрать.
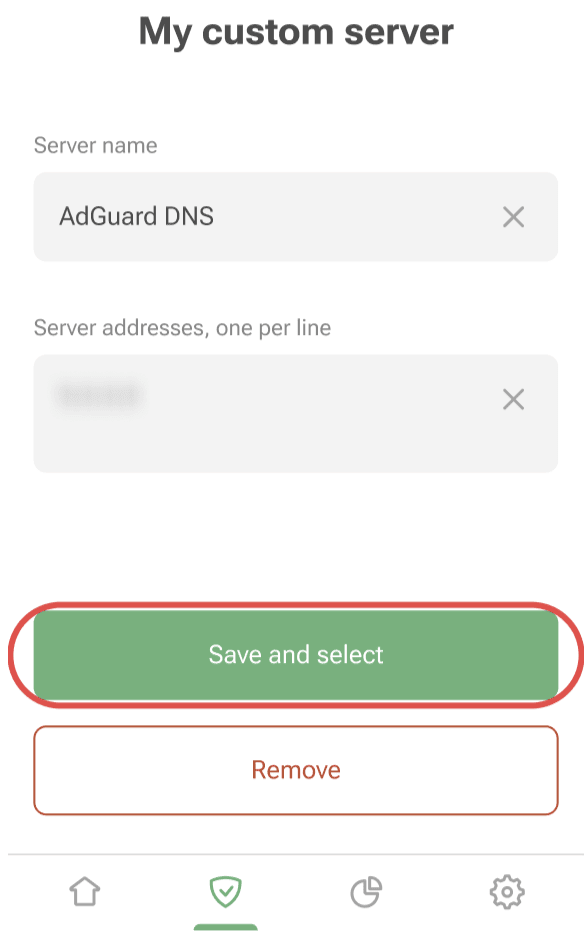
Готово! Ваше устройство успешно подключено к AdGuard DNS.
Используйте AdGuard VPN
Не все VPN-сервисы поддерживают зашифрованный DNS. Однако наш VPN это поддерживает, так что если вы нуждаетесь как в VPN, так и в частном DNS, AdGuard VPN — ваш выбор.
- Установите приложение AdGuard VPN на устройство, которое вы хотите подключить к AdGuard DNS.
- Откройте приложение.
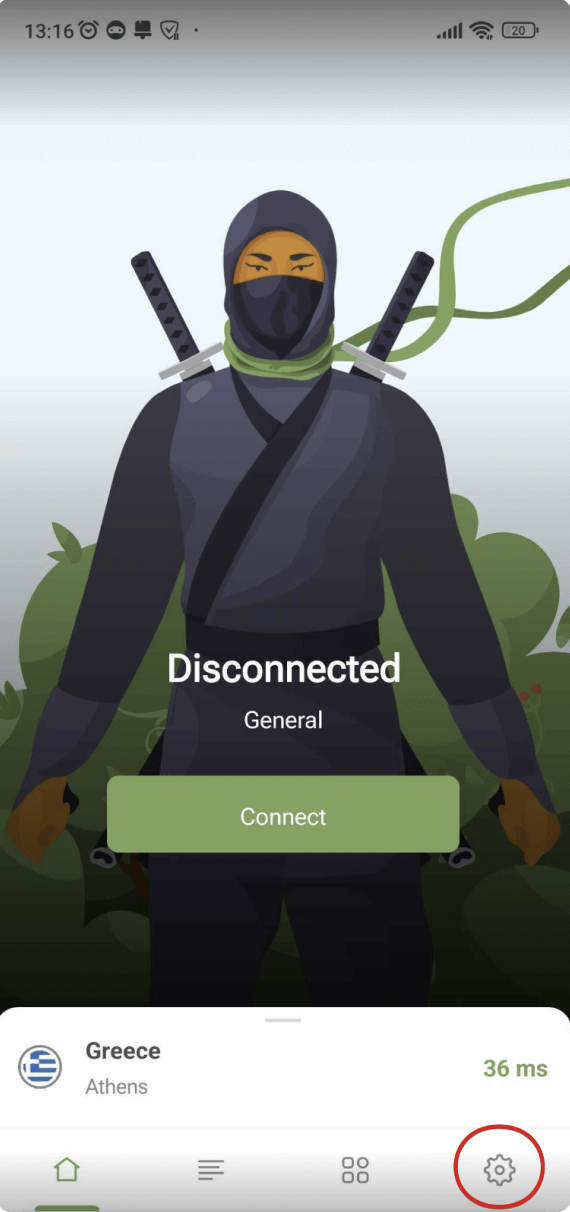
- Нажмите на значок настроек внизу экрана.
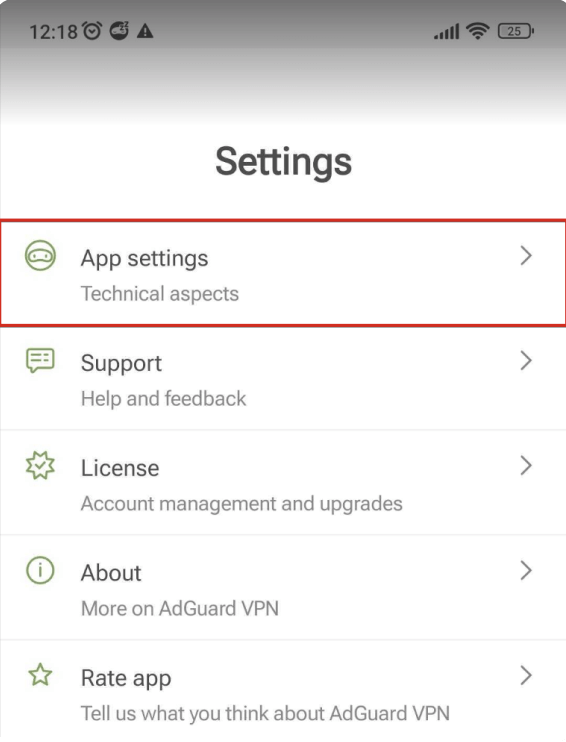
- Откройте Настройки приложения.
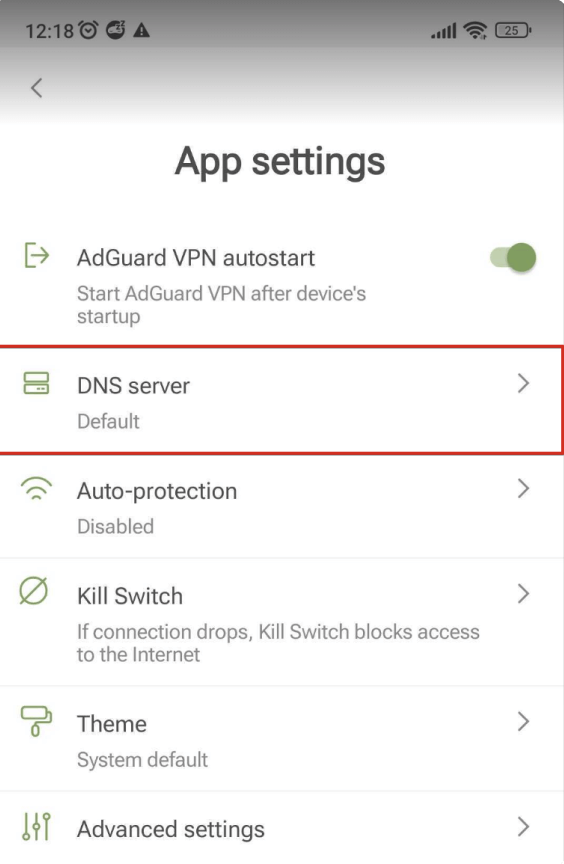
- Выберите DNS-сервер.
- Прокрутите вниз и нажмите Добавить пользовательский DNS-сервер.
- Скопируйте один из следующих DNS-адресов и вставьте его в поле Адреса DNS-серверов в приложении. Если вы не уверены, какой выбрать, выберите DNS-over-HTTPS.
- Нажмите Сохранить и выбрать.
- Добавленный вами DNS-сервер появится внизу списка Пользовательских DNS-серверов.
Готово! Ваше устройство успешно подключено к AdGuard DNS.
Настройте Личный DNS вручную
Вы можете настроить свой DNS-сервер в настройках устройства. Обратите внимание, что устройства Android поддерживают только протокол DNS-over-TLS.
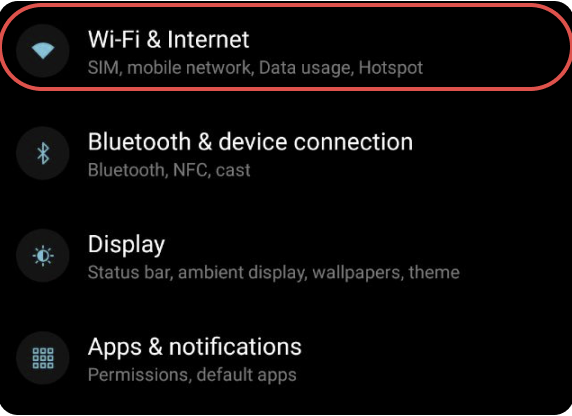
- Откройте Настройки → Wi-Fi и интернет (или Сеть и интернет, в зависимости от версии ОС).
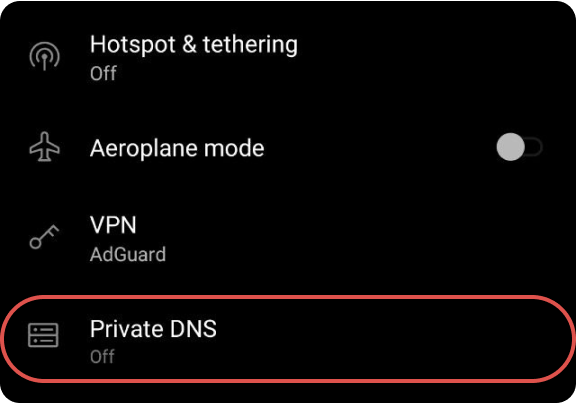
- Выберите Расширенные и нажмите Личный DNS.
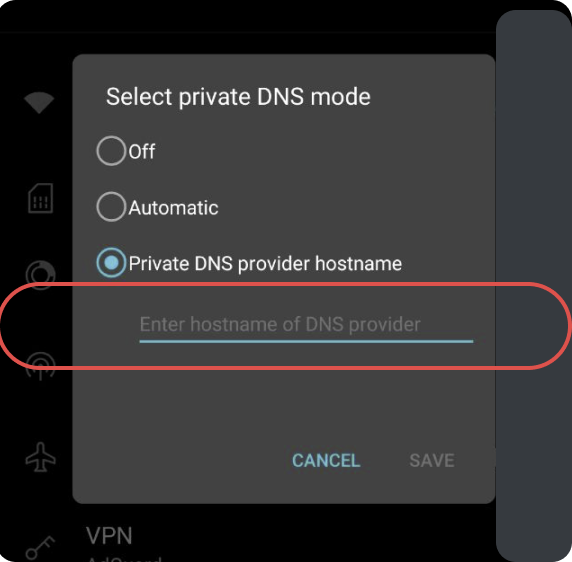
- Выберите опцию Имя хоста личного DNS-провайдера и введите адрес вашего личного сервера:
{Your_Device_ID}.d.adguard-dns.com. - Нажмите Сохранить.
 Готово! Ваше устройство успешно подключено к AdGuard DNS.
Настройка незашифрованного DNS
Если вы предпочитаете не использовать дополнительное программное обеспечение для настройки DNS, вы можете выбрать незашифрованный DNS. У вас есть два варианта: использовать привязанные IP или выделенные IP.