iOS
To connect an iOS device to AdGuard DNS, first add it to Dashboard:
- Go to Dashboard and click Connect new device.
- In the drop-down menu Device type, select iOS.
- Name the device.
Use the AdGuard DNS app
The AdGuard DNS app is designed for basic DNS-level protection — blocking ads, trackers, and malicious websites. If you don’t need the full range of features offered by AdGuard Ad Blocker or AdGuard VPN, this may be the best choice for you.
To set up your device:
- Download the AdGuard DNS app.
- Go to your AdGuard DNS dashboard at adguard-dns.io/dashboard.
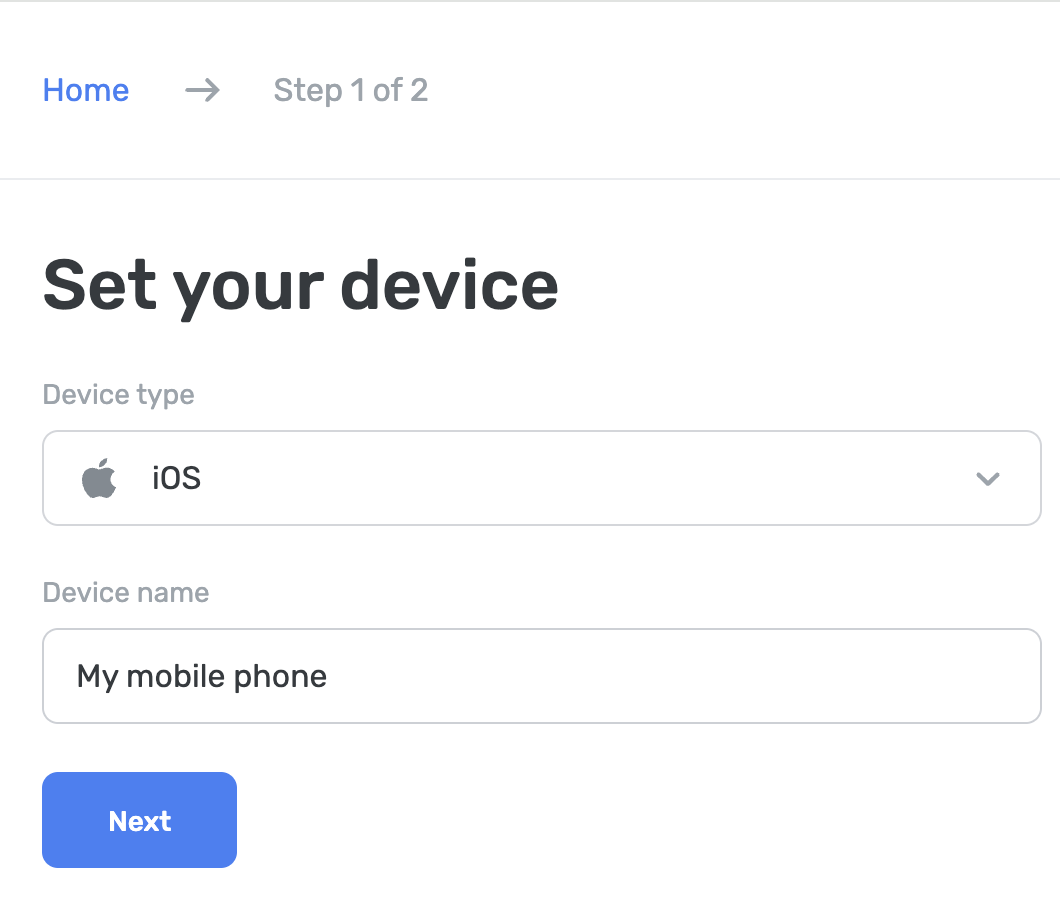
- Click Connect device on the Home tab.
- Select your device type and give it a name, then click Next.
- Expand the Use AdGuard apps section.
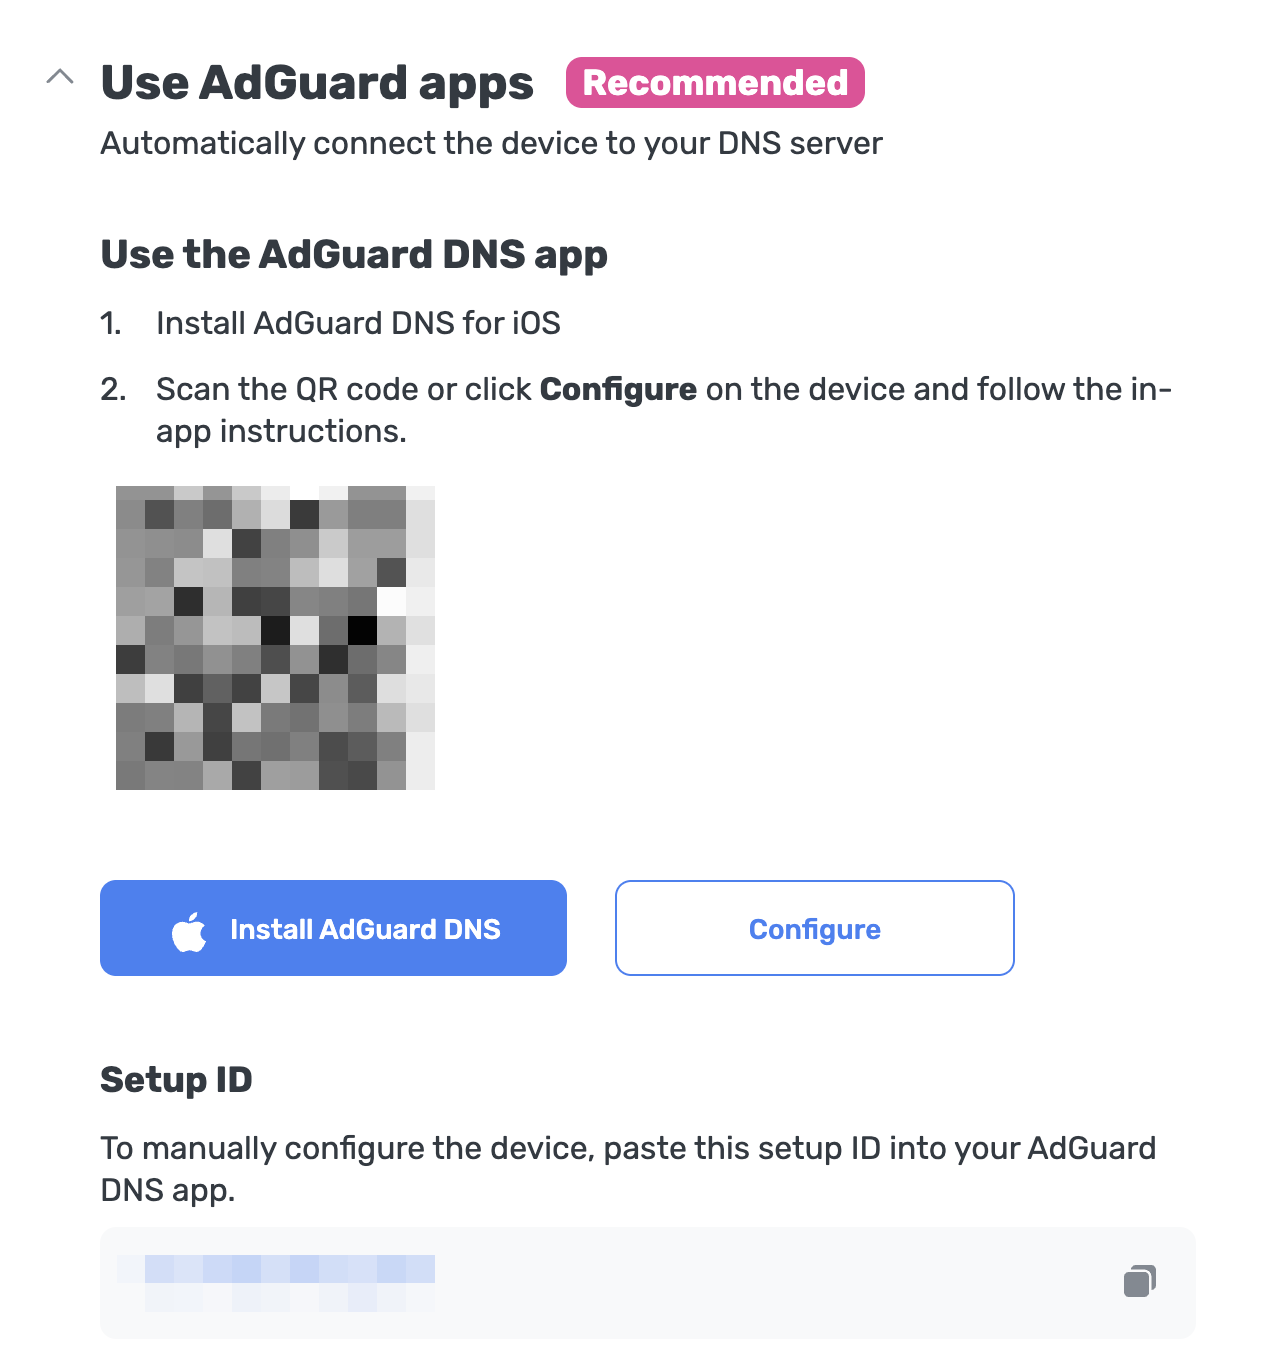
Under Use the AdGuard DNS app, choose one of these setup methods:
Click Configure if you’re on the device you want to protect.
Scan the QR code with the device you want to protect.
Copy your setup ID and paste it directly into the app.
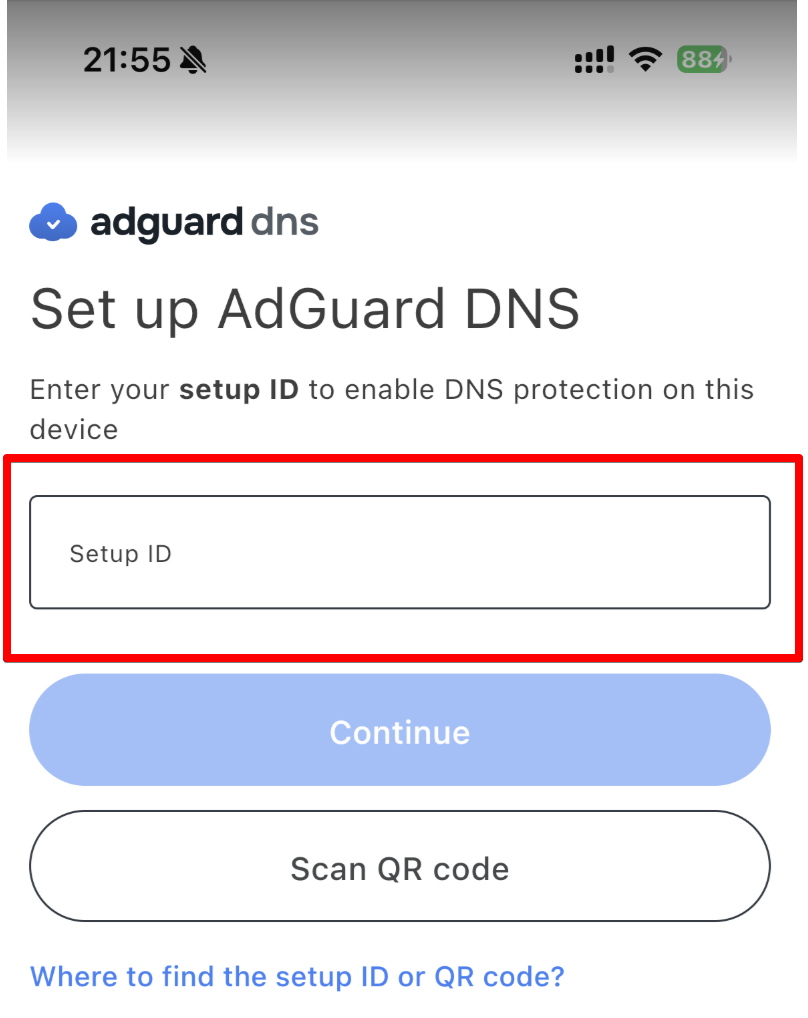
Tap Continue → Connect.
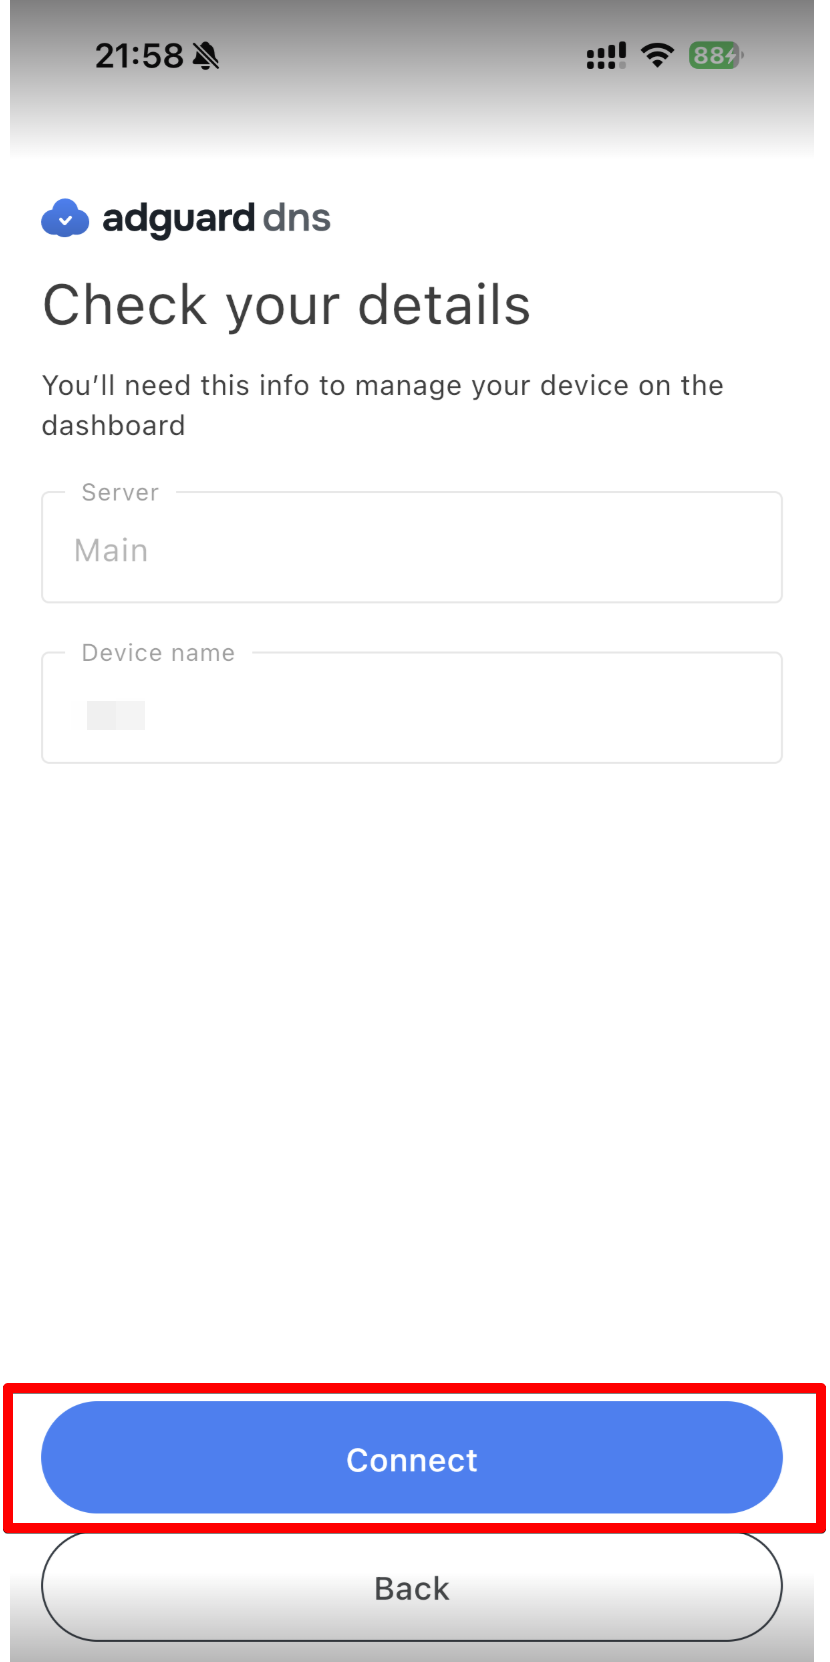
- Your device is successfully connected to AdGuard DNS. All you have to do is tap Enable to start the protection.
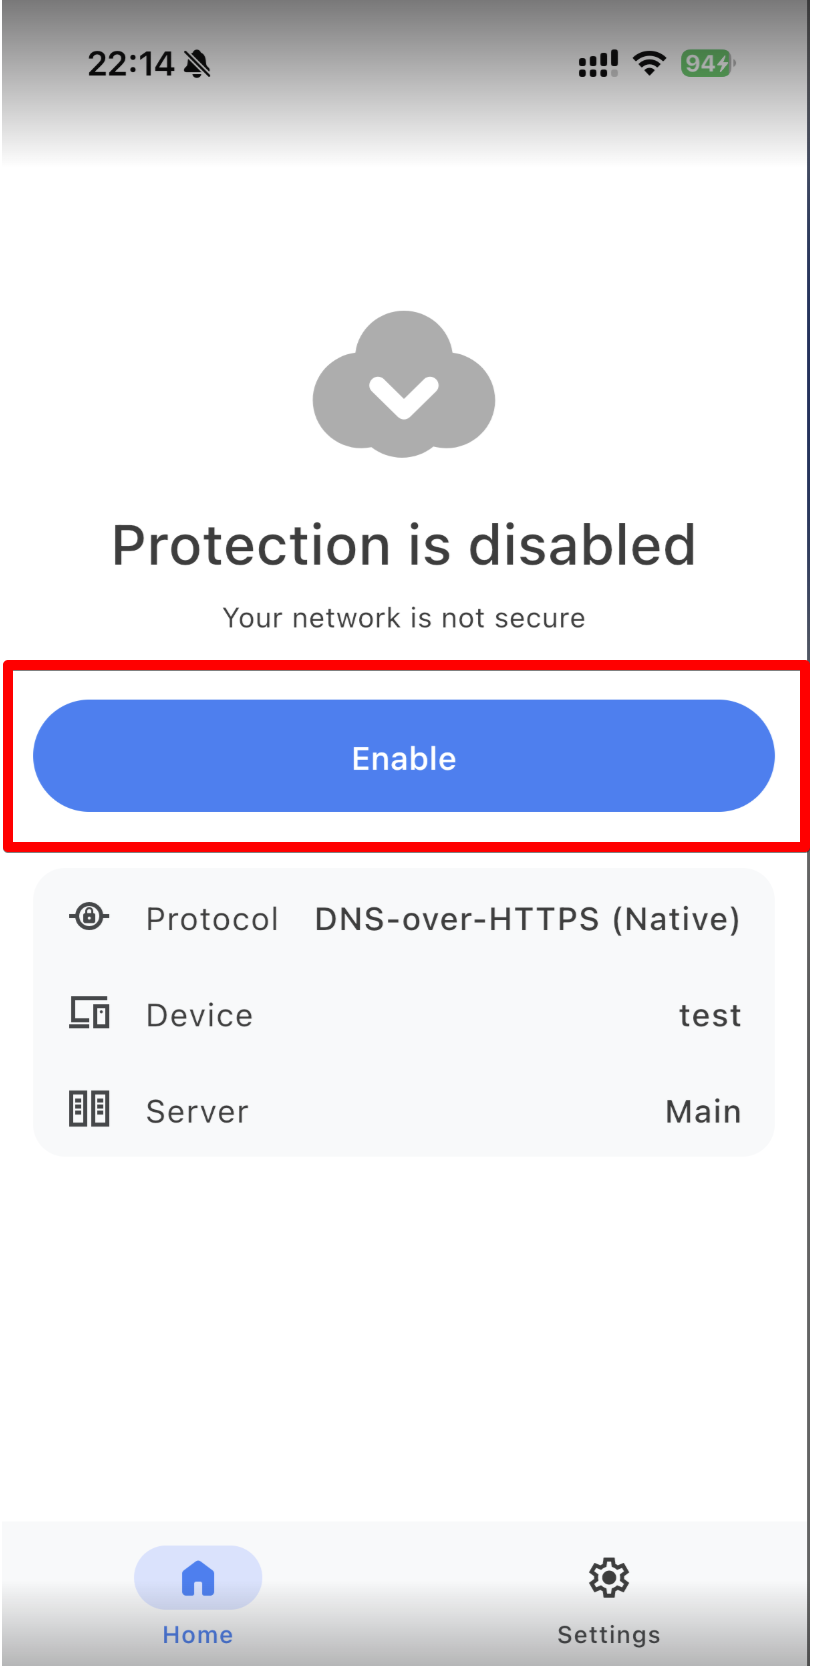
When using a VPN-based protocol, you still need to allow creating a VPN profile before being fully protected. To do this, go to the app’s home page, click Enable, and follow the in-app instructions.
If you prefer to use native DNS, go to Settings → General → VPN & Device Management → DNS and enable AdGuard DNS.
All done! Your device is successfully connected to AdGuard DNS.
Use AdGuard Ad Blocker (paid option)
The AdGuard app lets you use encrypted DNS, making it perfect for setting up AdGuard DNS on your iOS device. You can choose from various encryption protocols. Along with DNS filtering, you also get an excellent ad blocker that works across your entire system.
- Install the AdGuard app on the device you want to connect to AdGuard DNS.
- Open the AdGuard app.
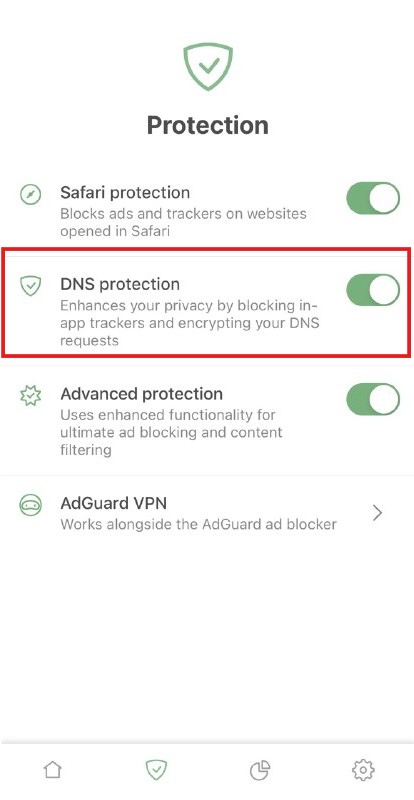
- Select the Protection tab in the bottom menu.
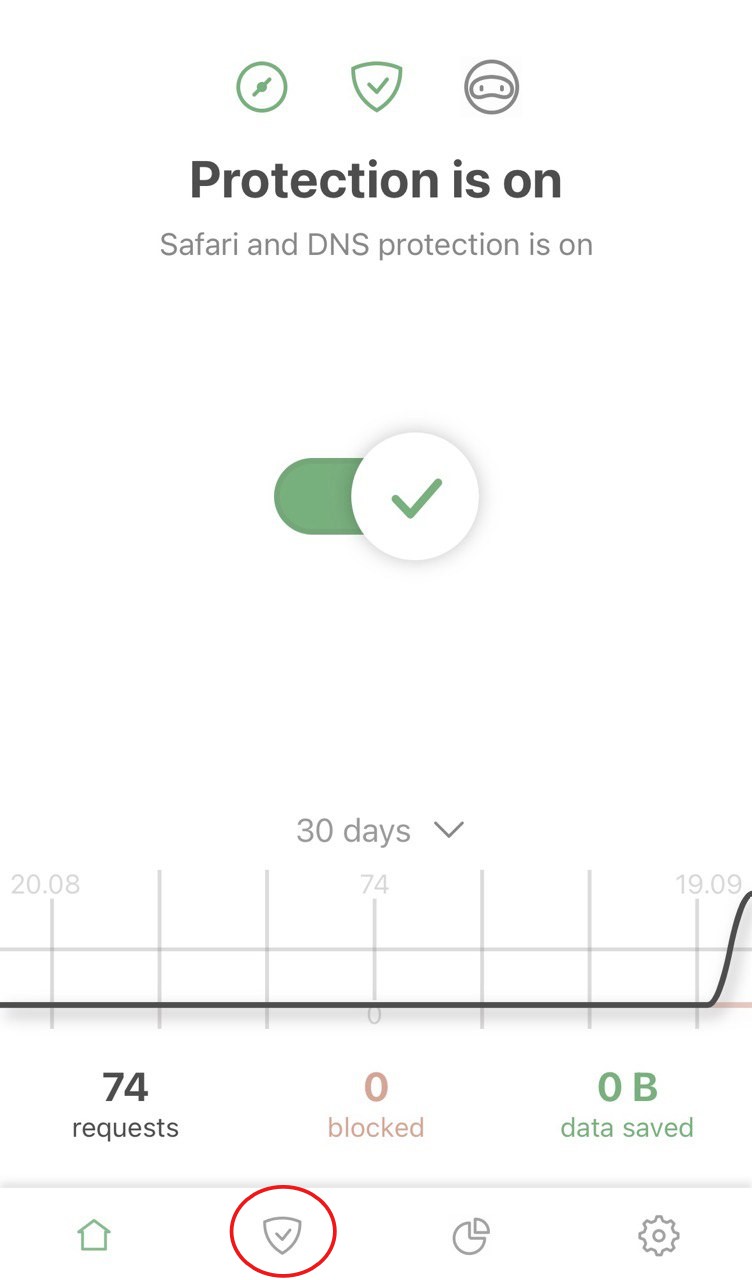
- Make sure that DNS protection is toggled on and then tap it. Choose DNS server.
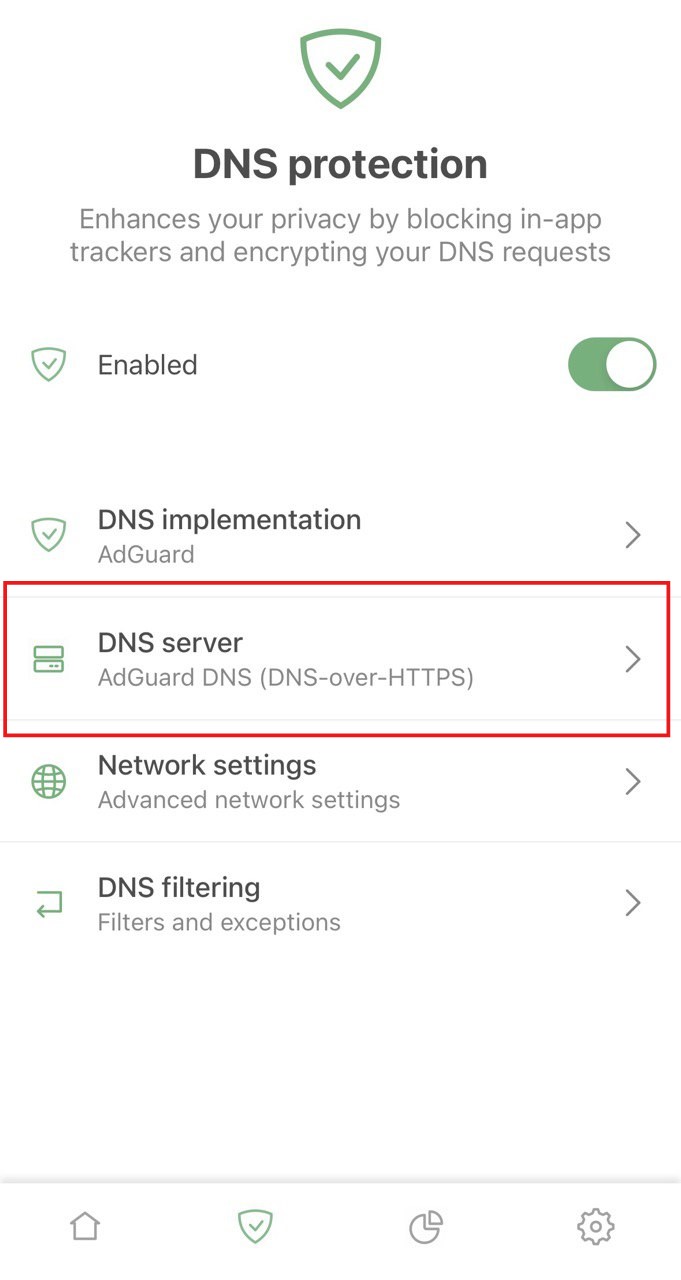
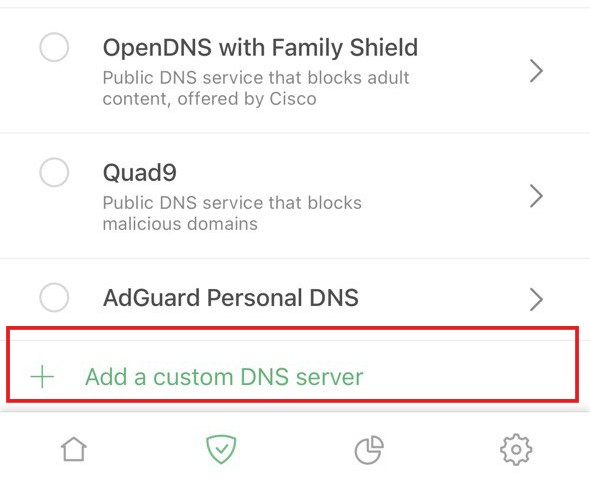
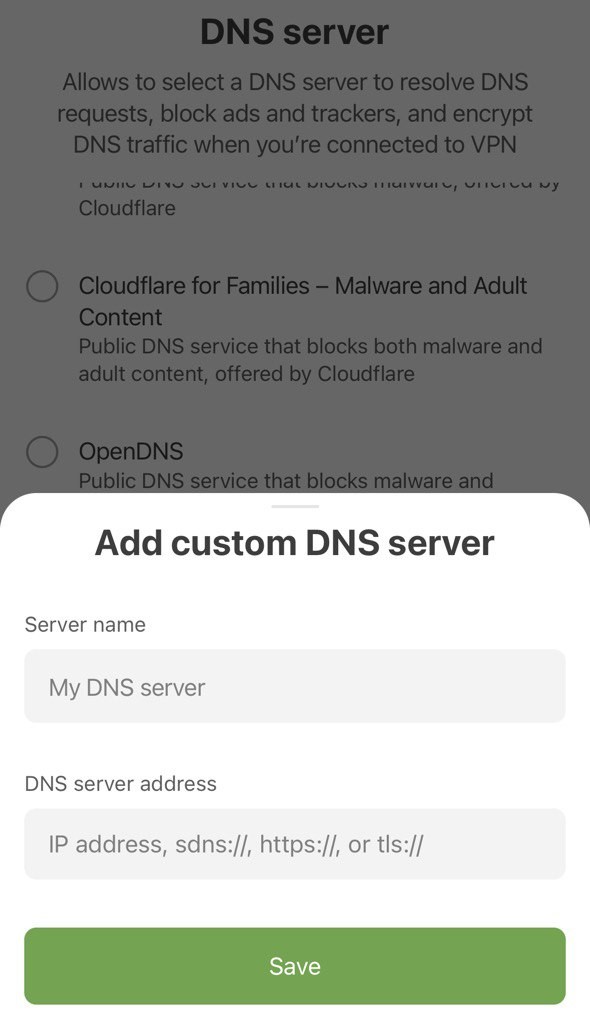
- Scroll down to the bottom and tap Add a custom DNS server.
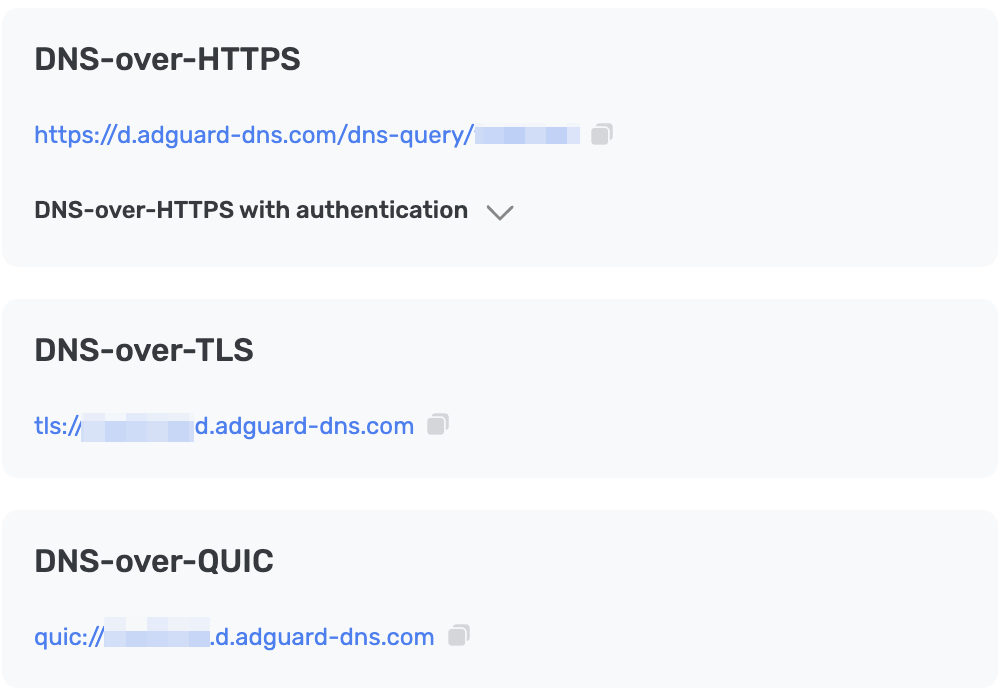
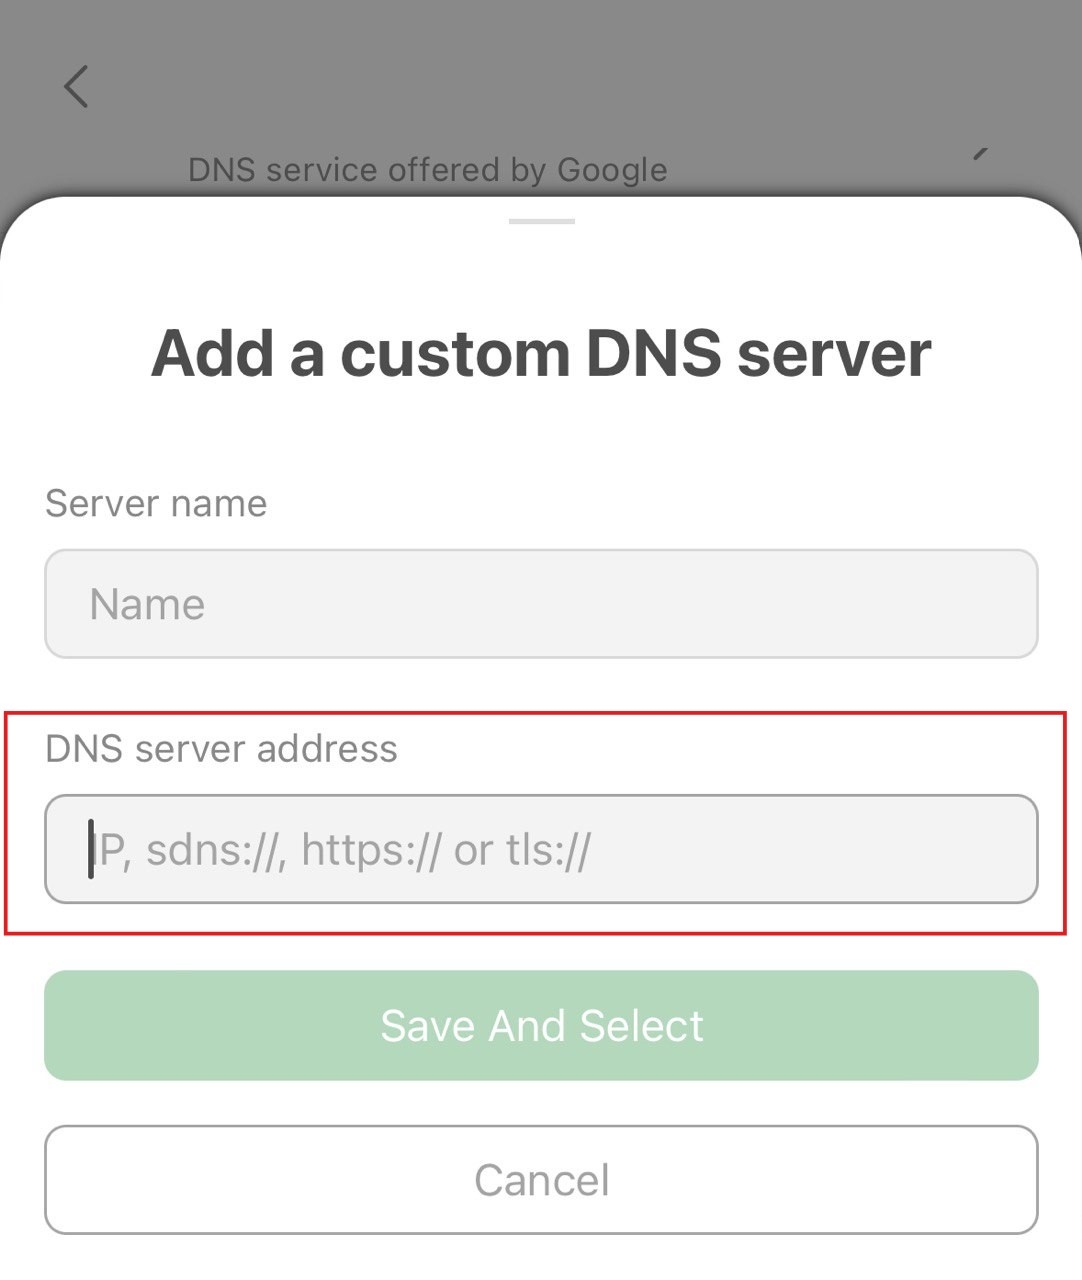
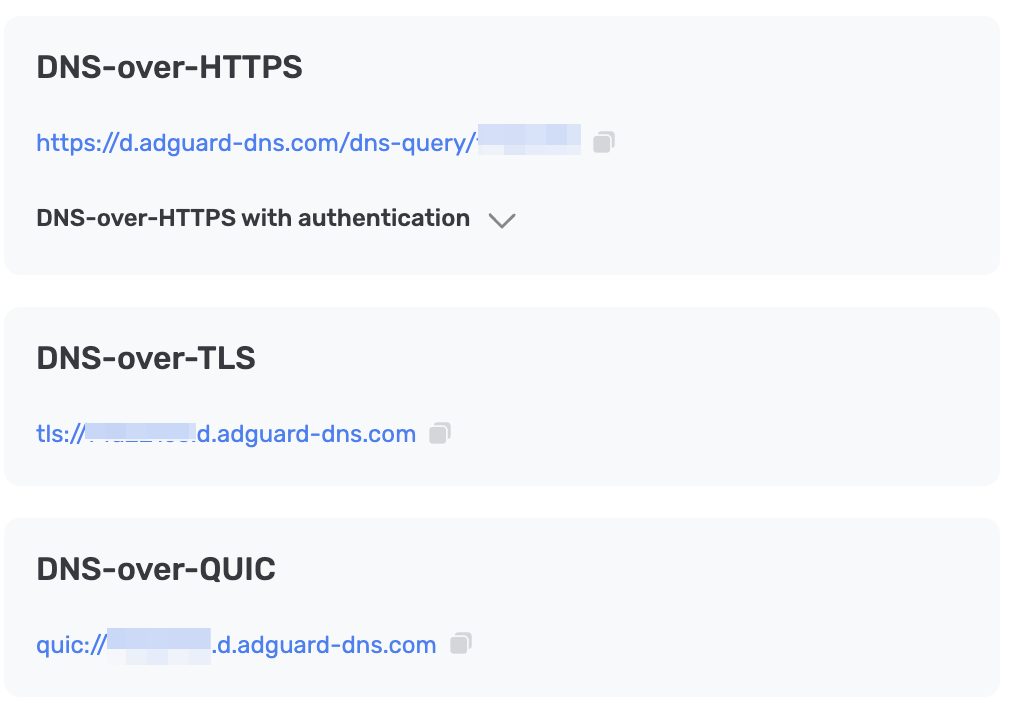
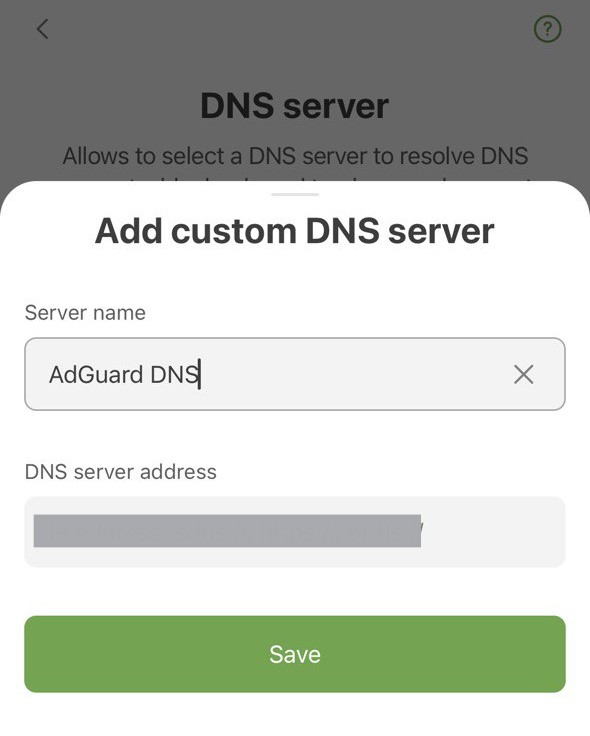
- Copy one of the following DNS addresses and paste it into the DNS server adress field in the app. If you are not sure which one to prefer, choose DNS-over-HTTPS.
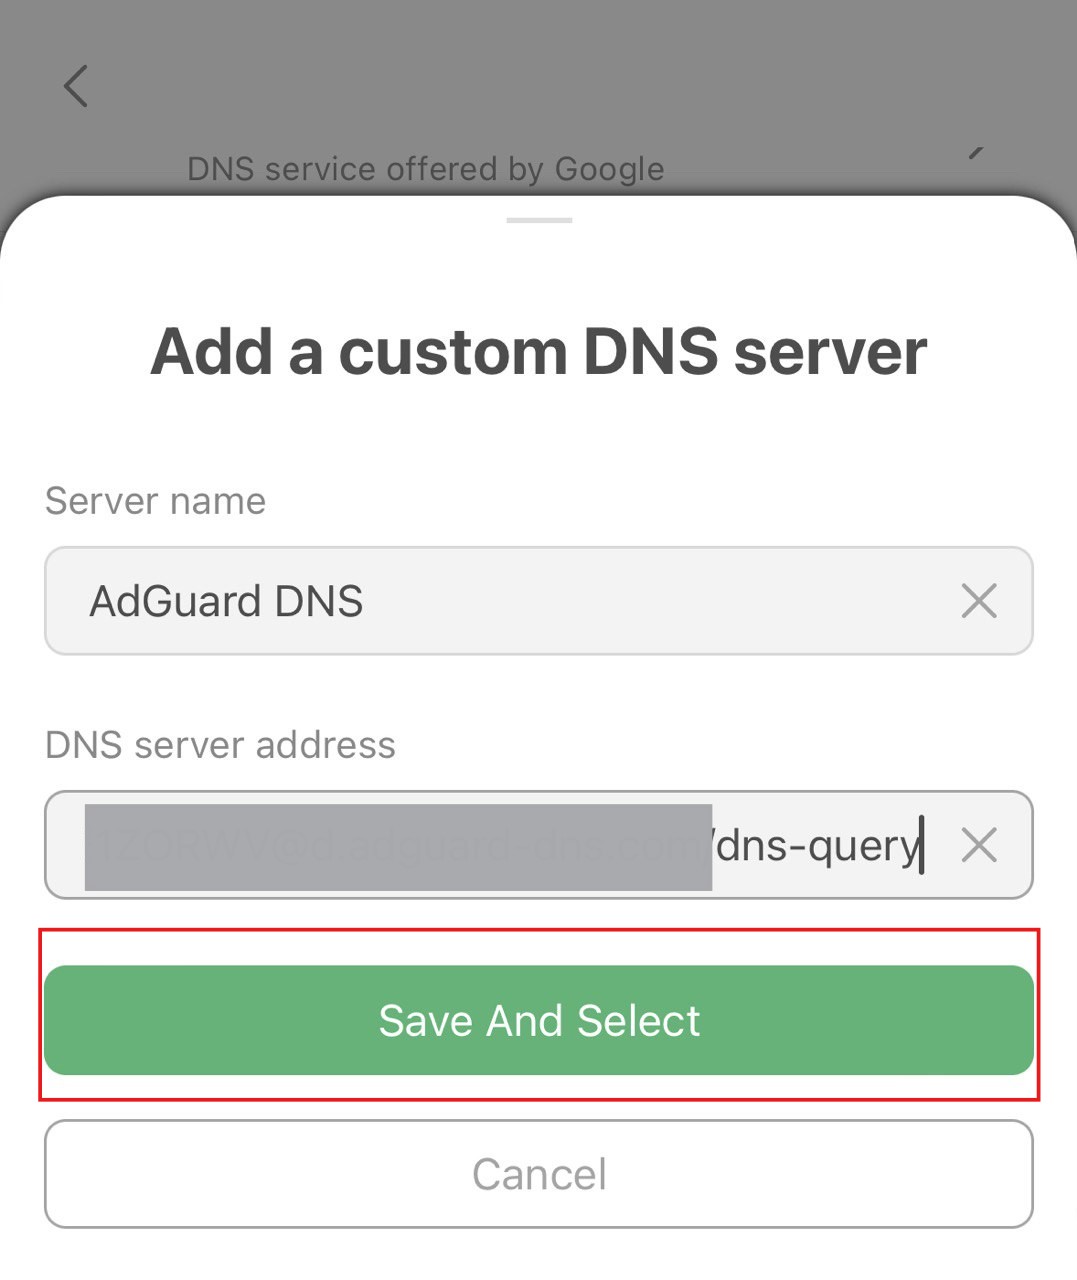
- Tap Save And Select.
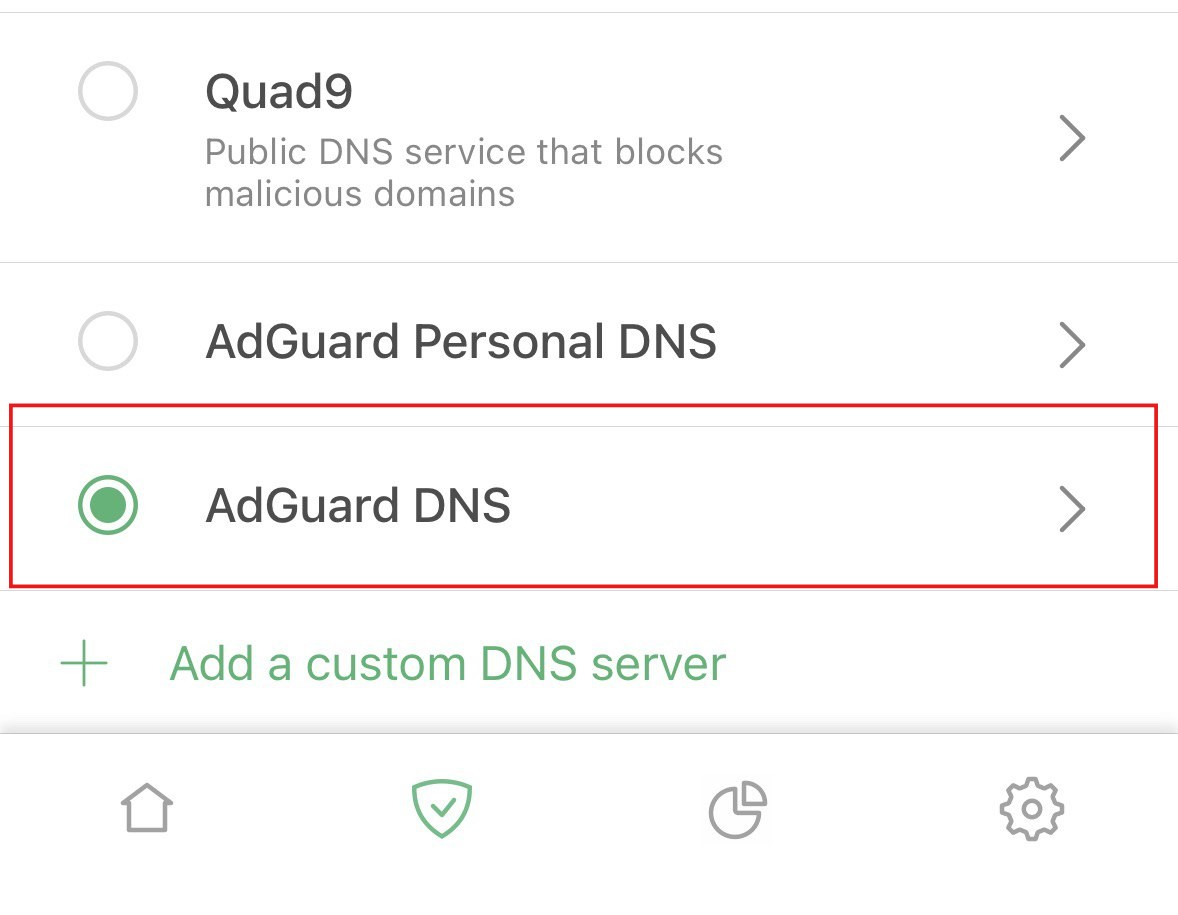
- Your freshly created server should appear at the bottom of the list.
All done! Your device is successfully connected to AdGuard DNS.
Use AdGuard VPN
Not all VPN services support encrypted DNS. However, our VPN does, so if you need both a VPN and a private DNS, AdGuard VPN is your go-to option.
- Install the AdGuard VPN app on the device you want to connect to AdGuard DNS.
- Open the AdGuard VPN app.
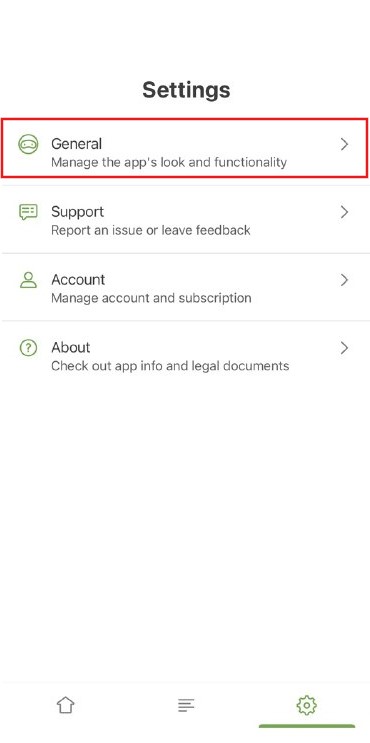
- Tap the gear icon in the bottom right corner of the screen.

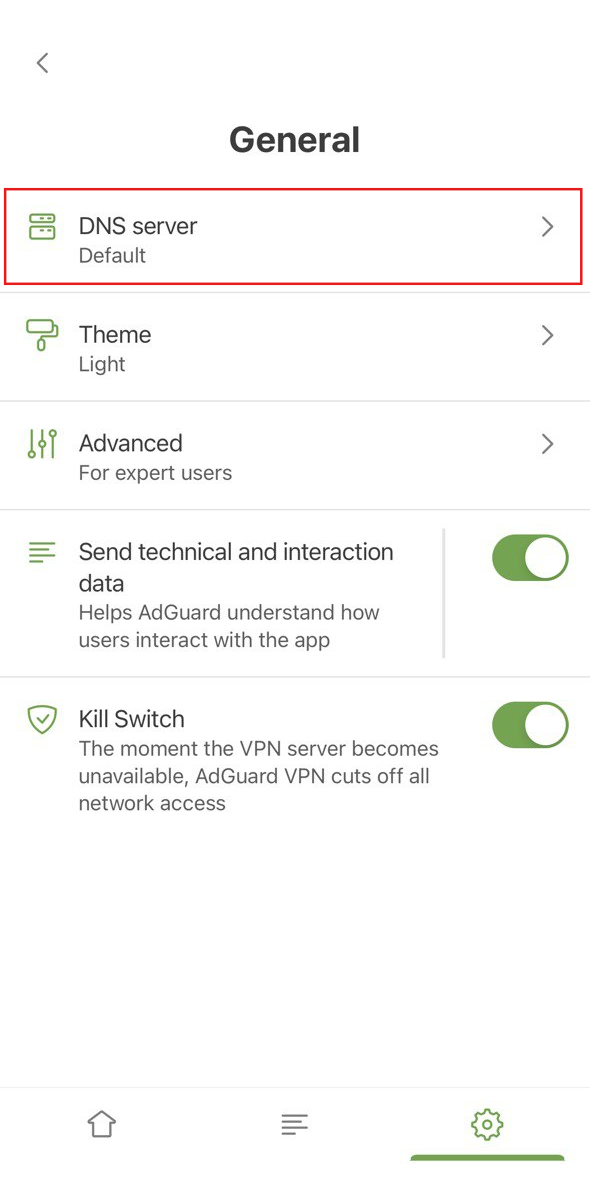
- Open General.
- Select DNS server.
- Scroll down to Add custom DNS server.
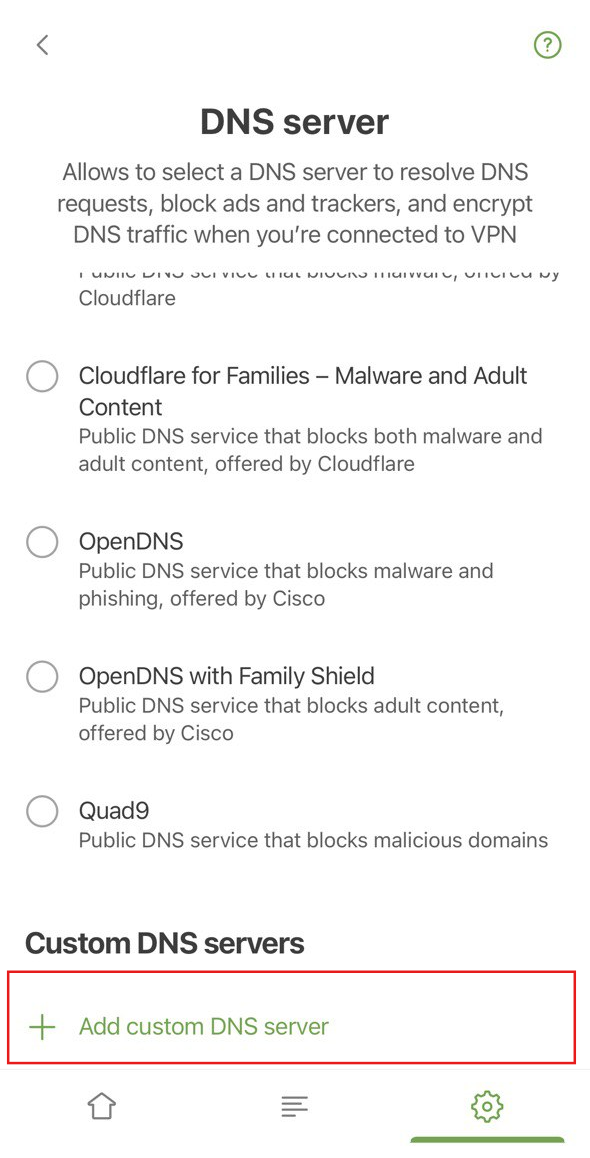
- Copy one of the following DNS addresses and paste it into the DNS server addresses text field. If you are not sure which one to prefer, select DNS-over-HTTPS.
- Tap Save.
- Your freshly created server should appear under Custom DNS servers.

All done! Your device is successfully connected to AdGuard DNS.
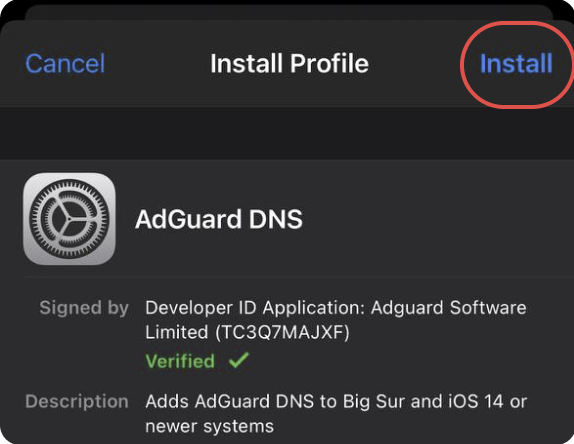
Use a configuration profile
An iOS device profile, also referred to as a configuration profile by Apple, is a certificate-signed XML file that you can manually install on your iOS device or deploy using an MDM solution. It also allows you to configure Private AdGuard DNS on your device.
If you are using a VPN, the configuration profile will be ignored.
- Download the profile.
- Open settings.
- Tap Profile Downloaded.
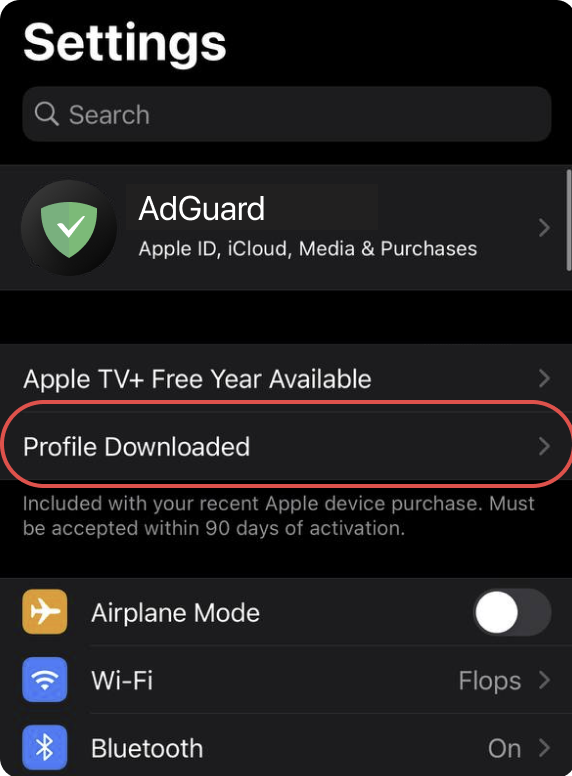
- Tap Install and follow the onscreen instructions.
Configure plain DNS
If you prefer not to use extra software to configure DNS, you can opt for unencrypted DNS. There are two options: using linked IPs or dedicated IPs.